Owner guides
Product guides for the brands we carry
Step-by-step maintenance, winterization, and how-to guides, written by people who work with this equipment. Search, or pick your brand and topic.
103 guides across 7 brands
Popular guides
Browse by category — or search above.
 Featured
 Coyote OutdoorInstallation
Coyote C-Series Built-In Installation Guide (C3C30, C3C34, C3C36)
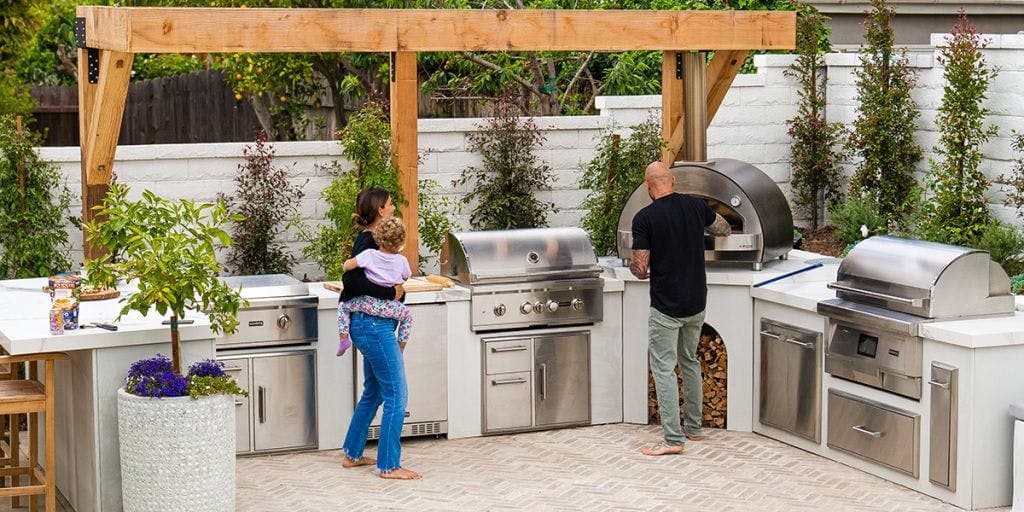
The C-Series is Coyote's base built-in line with a stainless cook box, ceramic briquette tray, and either three or four tube burners. Cut the opening to the Coyote cutout spec exactly — oversized is worse than undersized because the mounting lip sits on the counter — run a dedicated gas line sized to the BTU load, and give the grill 24 to 48 hours of cure time after the first burn-off before cooking on it.
120 minOpen Coyote OutdoorInstallation
Coyote CL-Series Built-In Installation Guide (C3CL36, C3CL42)
The CL-Series is the C-Series with Coyote's lift-assist hood spring and a safety gas valve added. Install is the same drop-in process as the C-Series, with two extra confirmations: the hood pivot bracket has to clear the back of the surround, and the safety valve tubing needs to route cleanly through the mounting cavity without kinks.
150 minOpen Coyote OutdoorInstallation
Coyote SL-Series Built-In Installation Guide (C3SL30, C3SL36, C3SL42)
The SL-Series adds Coyote's RapidSear rear infrared burner and a factory rotisserie motor + spit on top of the CL-Series hardware. Install follows the same drop-in path with two extras: the RapidSear ceramic emitter needs 30 minutes of cure cycle before first use, and the rotisserie motor mount brings its own 110V power requirement in the enclosure.
180 minOpen- Coyote OutdoorInstallation
Coyote C3HY50 Hybrid Install Guide (Charcoal + Gas on One Grill)
The C3HY50 is a 50-inch built-in that splits its cook box into a gas side and a charcoal side with independent controls. Install follows the C-Series pattern with a wider cutout, dual gas routing (one supply line still serves both burner banks), and a charcoal-side ash management plan before first fire.
180 minOpen - Coyote OutdoorInstallation
Coyote C3PB Power Burner Install Guide
The C3PB is a 60,000 BTU built-in power burner — a single high-output burner designed for wok cooking, fish fries, and canning stock. Install is a simpler cutout than a full grill, but the BTU load and heat intensity above the burner want specific clearance thinking.
90 minOpen - Coyote OutdoorInstallation
Coyote C3FTG30 30-inch Flat Top Install Guide
The C3FTG30 is a built-in commercial-style gas griddle — not a griddle plate on top of a grill, but a dedicated flat-top cook box. Install is a straightforward drop-in with one specific twist: the seasoning before first cook is non-negotiable. Skip it and the first pancake sticks forever.
120 minOpen - Coyote OutdoorInstallation
Coyote C3CO50 50-inch Combo Grill Install Guide
The C3CO50 pairs a 4-burner main grill with a dedicated side cook surface in a single 50-inch cutout. Install combines the SL-Series lift-assist process with an auxiliary gas routing to the second cook head. Allocate a longer afternoon than a single C-Series.
210 minOpen - Coyote OutdoorInstallation
Coyote Outdoor Refrigerator Install (C115R-S, C121R-S, C124R-S)
Coyote makes 15-, 21-, and 24-inch outdoor-rated refrigerators for built-in outdoor kitchens. Install is a cutout drop-in like the grill, with three specific extras: a 110V GFCI-protected circuit, proper rear ventilation (never a sealed cavity), and the reverse-hinge option if your door should open the other way.
90 minOpen - Coyote OutdoorInstallation
Coyote Outdoor Kitchen Cutout Dimensions Reference
A single-source table of cutout widths, depths, and clearances for every Coyote built-in product. Confirm these against YOUR model's specific PDF before cutting — Coyote updates specs between generations. This page is a starting reference, not a final spec.
3 minOpen - Coyote OutdoorMaintenance
How to Clean and Maintain a Coyote Grill
A Coyote gas grill holds its finish for years if you brush the grates after every cook, pull the ceramic briquette tray and flame tamers every quarter, and keep water out of the RapidSear infrared burner. Plan on about 40 minutes for a deep clean, ten for the post-cook wipe — and add 15 more if you also own the C3C30 flat top, because griddle seasoning is its own job.
40 minOpen - Coyote OutdoorTroubleshooting
Coyote RapidSear Infrared Burner: Troubleshooting Uneven Heat
The RapidSear ceramic emitter should heat uniformly and glow red within 60-90 seconds. If it glows in patches, won't glow at all, or glows too hot in one spot, the cause is almost always one of four things: igniter weakness, debris on the emitter face, incorrect inlet pressure, or a cracked emitter. A 10-minute diagnostic covers all four.
20 minOpen - Coyote OutdoorTroubleshooting
Coyote Outdoor Refrigerator Not Cooling: Diagnostic Flowchart
An outdoor Coyote refrigerator that stops cooling is usually not a dead compressor. The top three causes in order are: blocked front vent (hot air can't escape), tripped GFCI outlet, and door seal degradation letting humid outdoor air in faster than the compressor can pull it down. Walk the flowchart before calling for service.
15 minOpen - Coyote OutdoorTroubleshooting
Coyote Rotisserie Motor Troubleshooting
A rotisserie motor that won't turn, stalls, or runs sluggish has four likely causes: imbalanced load, bad outlet, worn gear, or heat damage. Three of the four are fixes in minutes; the fourth needs the motor replaced.
20 minOpen - Coyote OutdoorIgnition & Hot Rod
Coyote Igniter Replacement (Spark Module + Electrode)
A Coyote burner that clicks but won't light has one of three issues: dead battery in the ignition module, misaligned electrode gap, or a burned-through electrode wire. The module is a $20-$40 part and the swap is 15 minutes. If your clicks are silent, start with the battery.
15 minOpen - Coyote OutdoorWinterization
How to Winterize a Coyote Grill
Winterizing a Coyote grill is four jobs: clean it, shut off and disconnect the fuel, protect the burners from pests and moisture, and cover it once it is cold. Plan on about 45 minutes, plus a few extra on SL-Series models (for the RapidSear infrared) and on the C3C30 flat top (for the patina).
45 minOpen - Coyote OutdoorParts & Accessories
Coyote Replacement Parts and Accessories Guide
Coyote sells replacement parts through its authorized dealer network and the Coyote service portal — the serial plate on the drip tray or the back of the unit is the fastest route to the right part. For covers, briquettes, and conversion kits, the two things to match are the series (C, CL, SL, or C3C30 flat top) and the generation (Gen 1, Gen 2, Gen 3). Mixing generations is the single most common Coyote parts mistake.
20 minOpen - Coyote OutdoorAccessories
Coyote Rotisserie Kit Install (C-Series + CL-Series Retrofit)
SL-Series ships with the rotisserie factory-installed. C-Series and CL-Series owners who want rotisserie capability buy the kit — motor, spit, bearings, counterweight — and retrofit in about 45 minutes. The one gotcha is power: the motor needs 110V, which the C-Series cutout doesn't require.
45 minOpen - Coyote OutdoorFuel & Conversion
Coyote LP-to-NG Conversion for Gen-2 C-Series and S-Series (34-42 in)
The Gen-2 conversion kit swaps orifices and regulator to convert a propane Coyote to natural gas (or back). Install is about an hour. The gotcha isn't the parts — it's confirming your model is actually Gen-2 before you start.
60 minOpen - Coyote OutdoorWarranty
Coyote Outdoor Warranty: What's Covered and How to Register
Coyote warrants its grills and outdoor-kitchen products to the original purchaser against defects in materials and workmanship, subject to the terms of the Coyote warranty. Registration activates coverage, and proof of purchase travels with every claim. Plan on about 10 minutes to register and keep a photo of your receipt, your serial plate, and your dealer invoice.
10 minOpen - Coyote OutdoorBuying Help
Coyote C-Series vs SL-Series: Which Built-In Grill Fits Your Kitchen
The Coyote C-Series is the standard mid-tier line — heavy-gauge stainless, ceramic briquette heat control, standard tube burners, no infrared. The SL-Series adds Coyote's RapidSear rear infrared burner plus a rotisserie, and upgrades the valve and hood hardware. The real decision is how often you sear hard, how often you rotisserie, and whether the roughly 25 to 35 percent price premium matches your cooking pattern.
12 minOpen - Coyote OutdoorBuying Help
Coyote C-Series vs CL-Series vs SL-Series: Which Should You Buy?
C is the base, CL adds lift-assist + safety valve, SL adds the RapidSear infrared + factory rotisserie. Price climbs about $800 per step. The honest answer: 80% of cooks don't need more than C. The 20% who do mostly reverse-sear or rotisserie regularly. Skip the middle CL unless you specifically want the lift-assist without the IR.
5 minOpen 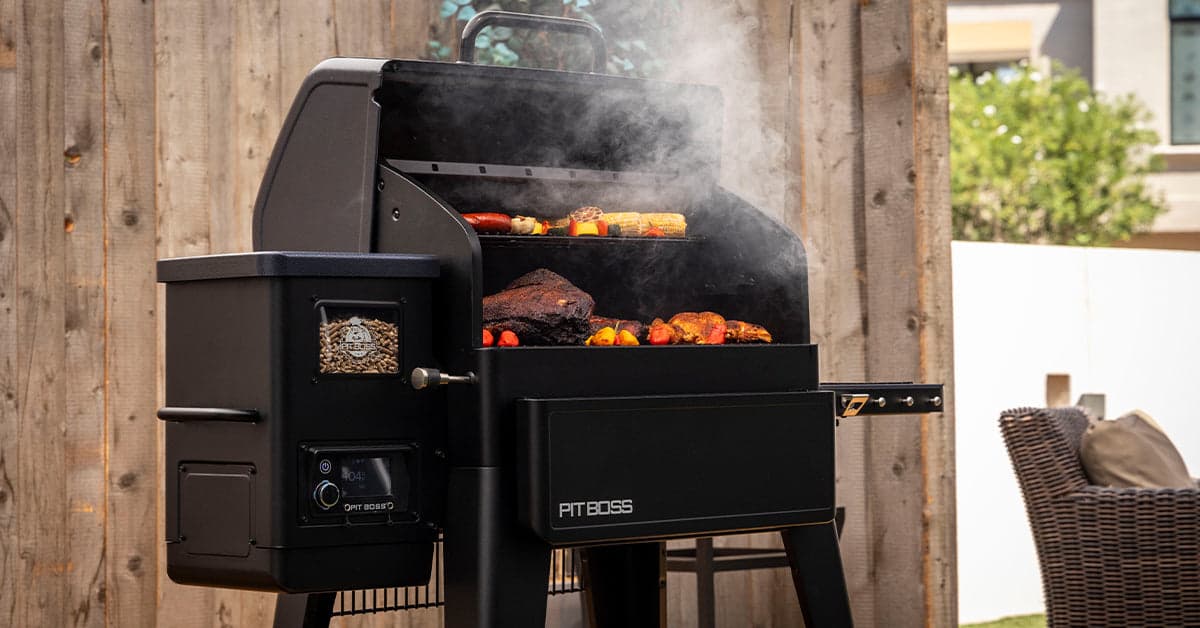
 Pit BossInstallation
How to Replace a Pit Boss Hot Rod Ignition (Full Install Guide)
The hot rod is the single most-replaced part on a Pit Boss pellet grill, and it's a 45-minute DIY with a Phillips screwdriver and a multimeter. A healthy replacement rod reads 40 to 60 ohms out of the bag — anything outside that range is defective, return it before you install. Parts run $25 to $40 through authorized channels.
45 minOpen- Pit BossInstallation
Pit Boss Navigator 850 Setup: Assembly, Wi-Fi, and First Burn
The Navigator 850 ships mostly pre-assembled, but the first-burn sequence and Wi-Fi pairing matter. Plan on 60 to 90 minutes from box to first cook: 30 minutes for the cart and side shelf, 15 minutes for electrical, 20 minutes for the priming burn, then app pairing. Dry pellets and a dedicated 15 amp circuit make the difference between a smooth startup and a Saturday afternoon of error codes.
90 minOpen - Pit BossInstallation
Pit Boss Austin XL 1000 Assembly and First Burn
The Austin XL 1000 is the mid-tier workhorse — bigger cook box than the Navigator 850, no Wi-Fi, mechanical controller. Plan 90 minutes assembly, 30 minutes first burn. The main gotcha is the chimney orientation: install it right-side-up with the cap pointing up before first power-on or the smoke will stall and trigger an Err.
120 minOpen - Pit BossInstallation
Pit Boss Pro Series II 600 Setup
The Pro Series II 600 is Pit Boss's commercial-leaning entry — heavier gauge steel, stainless burner, and a smaller footprint than the Austin XL. Expect 75 minutes assembly, 25 minutes first burn. The key setup detail: the Pro Series uses a slightly different flame deflector orientation than the Austin line — slots face the hopper, not the chimney.
100 minOpen - Pit BossInstallation
Pit Boss Pro Series 1600 Elite (PSE) Assembly
The Pro Series 1600 Elite PSE is the biggest pellet grill Pit Boss ships — 1600 sq in cook area, triple-stack racks, Wi-Fi, and a 40 lb hopper. Assembly runs 2 to 2.5 hours. The two make-or-break steps: leveling the cart on an uneven patio (uneven cook floor = uneven cook) and routing the Wi-Fi antenna away from the metal body for signal.
150 minOpen - Pit BossInstallation
Pit Boss Portable (PBV3 / Battery Pellet) Setup
The portable battery-powered Pit Boss is a 15-minute setup out of the box — no cart assembly, no electrical install. Clip in the lithium battery, load the mini hopper, click to SMOKE. The gotcha: battery runtime at high temp is 2.5 hours, not all day. Plan a second battery for tailgates or camping.
20 minOpen - Pit BossMaintenance
How to Clean and Maintain a Pit Boss Pellet Grill
A Pit Boss pellet grill lasts for years if you vacuum the firepot before every long cook, empty the hopper when you're done, scrape the grease tray at least monthly, and keep the pellets bone dry. Plan on about 45 minutes for a quarterly deep clean, five minutes for a between-cook reset.
45 minOpen - Pit BossMaintenance
Pit Boss Pro Series: Commercial-Grade Deep Clean Cadence
The Pro Series II and 1600 Elite see longer cooks and higher duty cycles than entry models — the maintenance cadence has to match. Deep clean every 15 cooks, firepot vacuum every 3 to 5, hot rod inspection every 30. The stainless burner wants different cleaner than painted components, and the flavorizer-style plates benefit from periodic high-heat burn-offs. 60 minutes every 2 weeks for daily use.
60 minOpen - Pit BossMaintenance
Pit Boss Navigator App and Firmware Maintenance
The Navigator and other connected grills push firmware OTA, but updates can stall at 50% if Wi-Fi drops mid-flash. Monthly check-in: open the app, verify firmware current, clear old recipe queues, confirm Wi-Fi signal still strong. 10 minutes a month, saves hours of mid-cook "the app disconnected" headaches.
15 minOpen - Pit BossTroubleshooting
Pit Boss Error Codes and Common Problems: A Pitmaster's Troubleshooting Guide
The two Pit Boss error codes that bring every search to a halt are Err (or ErH / ErL — temperature probe out of range) and the 'No Pellets' warning on the newer touchscreen controllers. Both have narrow, well-documented causes that resolve in under 15 minutes if you work the list in order. This guide walks the top five failures: flameout mid-cook, E3 / EX6 startup failure, auger jam, wild temperature swings, and heating-element shutdown.
25 minOpen - Pit BossTroubleshooting
Pit Boss Err Code Full Reference: Err 1, Err 2, Err 3, Erh, No Pellets
Pit Boss controllers throw five main codes: Err 1, Err 2, Err 3, Erh, and No Pellets. Each has a distinct root cause and a distinct diagnostic path — the fatal mistake is treating them as interchangeable. This is the unified matrix: what the code means, what to check first, what to check second, and when to call for a new part. Half the parts orders on the forums are for codes that didn't need parts.
30 minOpen - Pit BossTroubleshooting
How to Fix a Pit Boss Auger Jam
An auger jam is Pit Boss's most common mechanical failure. Symptoms: no pellets feeding, the auger motor humming but not turning, or an Err 1 mid-cook. Root causes are 90% pellet moisture and 10% foreign object. The repair is 20 to 30 minutes, needs no parts in most cases, and almost always comes down to emptying the hopper, clearing the auger tube, and swapping to dry pellets.
30 minOpen - Pit BossTroubleshooting
Pit Boss Firepot Ash Buildup: Cleaning Cadence and the "Hot Rod Isn't Dead" Diagnosis
Firepot ash buildup is the quiet failure mode that masquerades as every other code. When the firepot is caked, pellets fall onto cold ash instead of hot metal — the hot rod reads fine on the multimeter but the grill won't ignite. The fix is a 10-minute vacuum, not a $35 part order. Clean cadence is every 3 to 5 cooks for daily grillers, every cook for competition-length smokes.
15 minOpen - Pit BossTroubleshooting
Pit Boss App and Wi-Fi Connection Troubleshooting (Navigator Series)
The Pit Boss Grills app loses connection for three real reasons: outdoor Wi-Fi signal gaps, 2.4 GHz vs 5 GHz band mismatch, and pending firmware updates stuck at 50%. Diagnostic time runs 15 to 30 minutes. 80% of "app disconnected" cases trace to signal strength at the grill's actual patio location — router placement, not controller failure.
30 minOpen - Pit BossTroubleshooting
Pit Boss Mid-Cook Flame-Out: Causes and Recovery
A Pit Boss that dies mid-cook — temperature falling, no Err code, maybe a "No Pellets" eventually — points at four real causes in this order: damp pellets jamming the auger slowly, a chimney cap blocked by ash or spider web, an under-voltage circuit causing the hot rod to under-fire on re-ignition, or firepot ash insulating the hot rod. The fix is diagnostic sequence, not parts.
25 minOpen - Pit BossParts & Accessories
Pit Boss Replacement Parts: Hot Rods, Augers, Controllers, and Covers
The four parts you're most likely to replace on a Pit Boss pellet grill are the hot rod igniter, the auger motor, the controller board, and the cover. All four are owner-serviceable with a Phillips screwdriver, and Pit Boss routes orders through pitboss-grills.com and the authorized parts distributor network. Have your model number ready — the Classic, Lexington, Laredo, Lockhart, Pro Series II, Navigator, and Titan each use different part numbers for the same job.
20 minOpen - Pit BossAccessories
Pit Boss Cold Smoker Attachment: Install and First Cold Smoke
The cold smoker attachment generates smoke without heating the cook box above 100 to 120F, unlocking salmon, cheese, bacon, and jerky. Install runs 30 to 45 minutes, uses the side cutout on compatible models. The one install mistake to avoid: oriented the flue tube wrong, which backs smoke into the hopper instead of the cook box.
45 minOpen - Pit BossAccessories
Pit Boss Grill Cover Selection: Model-by-Model Guide
A fitted Pit Boss cover is the single highest-ROI accessory — doubles grill life in humid climates, cuts rust risk by half, and takes 20 seconds to install. The gotcha is sizing: the Austin XL cover doesn't fit the Navigator 850, the Pro Series needs a shelf-aware cut, and the portable needs a soft bag not a cover. This is the matching guide.
10 minOpen - Pit BossWarranty
Pit Boss Warranty: What's Covered and How to Register
Pit Boss warrants its pellet grills to the original purchaser against manufacturing defects. Registration on pitboss-grills.com activates coverage and routes future claims through a single portal. Plan on about 10 minutes to register and keep a photo of the receipt, serial plate, and order confirmation in one folder — Pit Boss support asks for all three on every claim.
10 minOpen - Pit BossBuying Help
The Pit Boss Model Family Guide: Classic, Lexington, Laredo, Lockhart, Pro Series II, Navigator, and Titan
Pit Boss builds a straight-line progression of pellet grills: the Classic 700 is the entry-level 700-sq-in, the Lexington and Savannah add cart storage and cast grates at 500 to 540 sq-in, the Laredo and Austin XL step up to 1000+ sq-in of cook space, the Lockhart and Charleston add a vertical smoker cabinet for cold-smoking, the Pro Series II and Navigator are the mid-tier with PID control, and the Titan sits at the top with 1830 sq-in of cook surface. This guide walks the ladder so you can pick the model that fits the cooks you actually do.
15 minOpen - Pit BossBuying Help
Pit Boss Classic vs Pro Series: Which Line Fits You?
The Classic line (Austin XL, Classic 700, Lexington) uses mechanical controllers, painted steel, and lower price points — the right call for weekly weekend grillers. The Pro Series II and Elite add stainless burners, heavier gauge steel, and Bluetooth or Wi-Fi — right for owners who smoke 2+ days a week or run 12+ hour cooks regularly. This is the honest comparison.
15 minOpen - Pit BossBuying Help
Pit Boss Navigator (Wi-Fi) vs Non-Connected: Is The App Worth It?
The Navigator and Pro Series Elite add Wi-Fi + the Pit Boss Grills app; the Austin XL, Classic, Lexington, and Pro Series II do not. The app enables remote probe alerts, recipe push, and firmware updates. Worth it when: you smoke overnight, cook 10+ hour briskets, or hand off a cook mid-way. Not worth it when: you grill 1 to 2 hour direct cooks and stay at the grill. Honest trade-off below.
10 minOpen 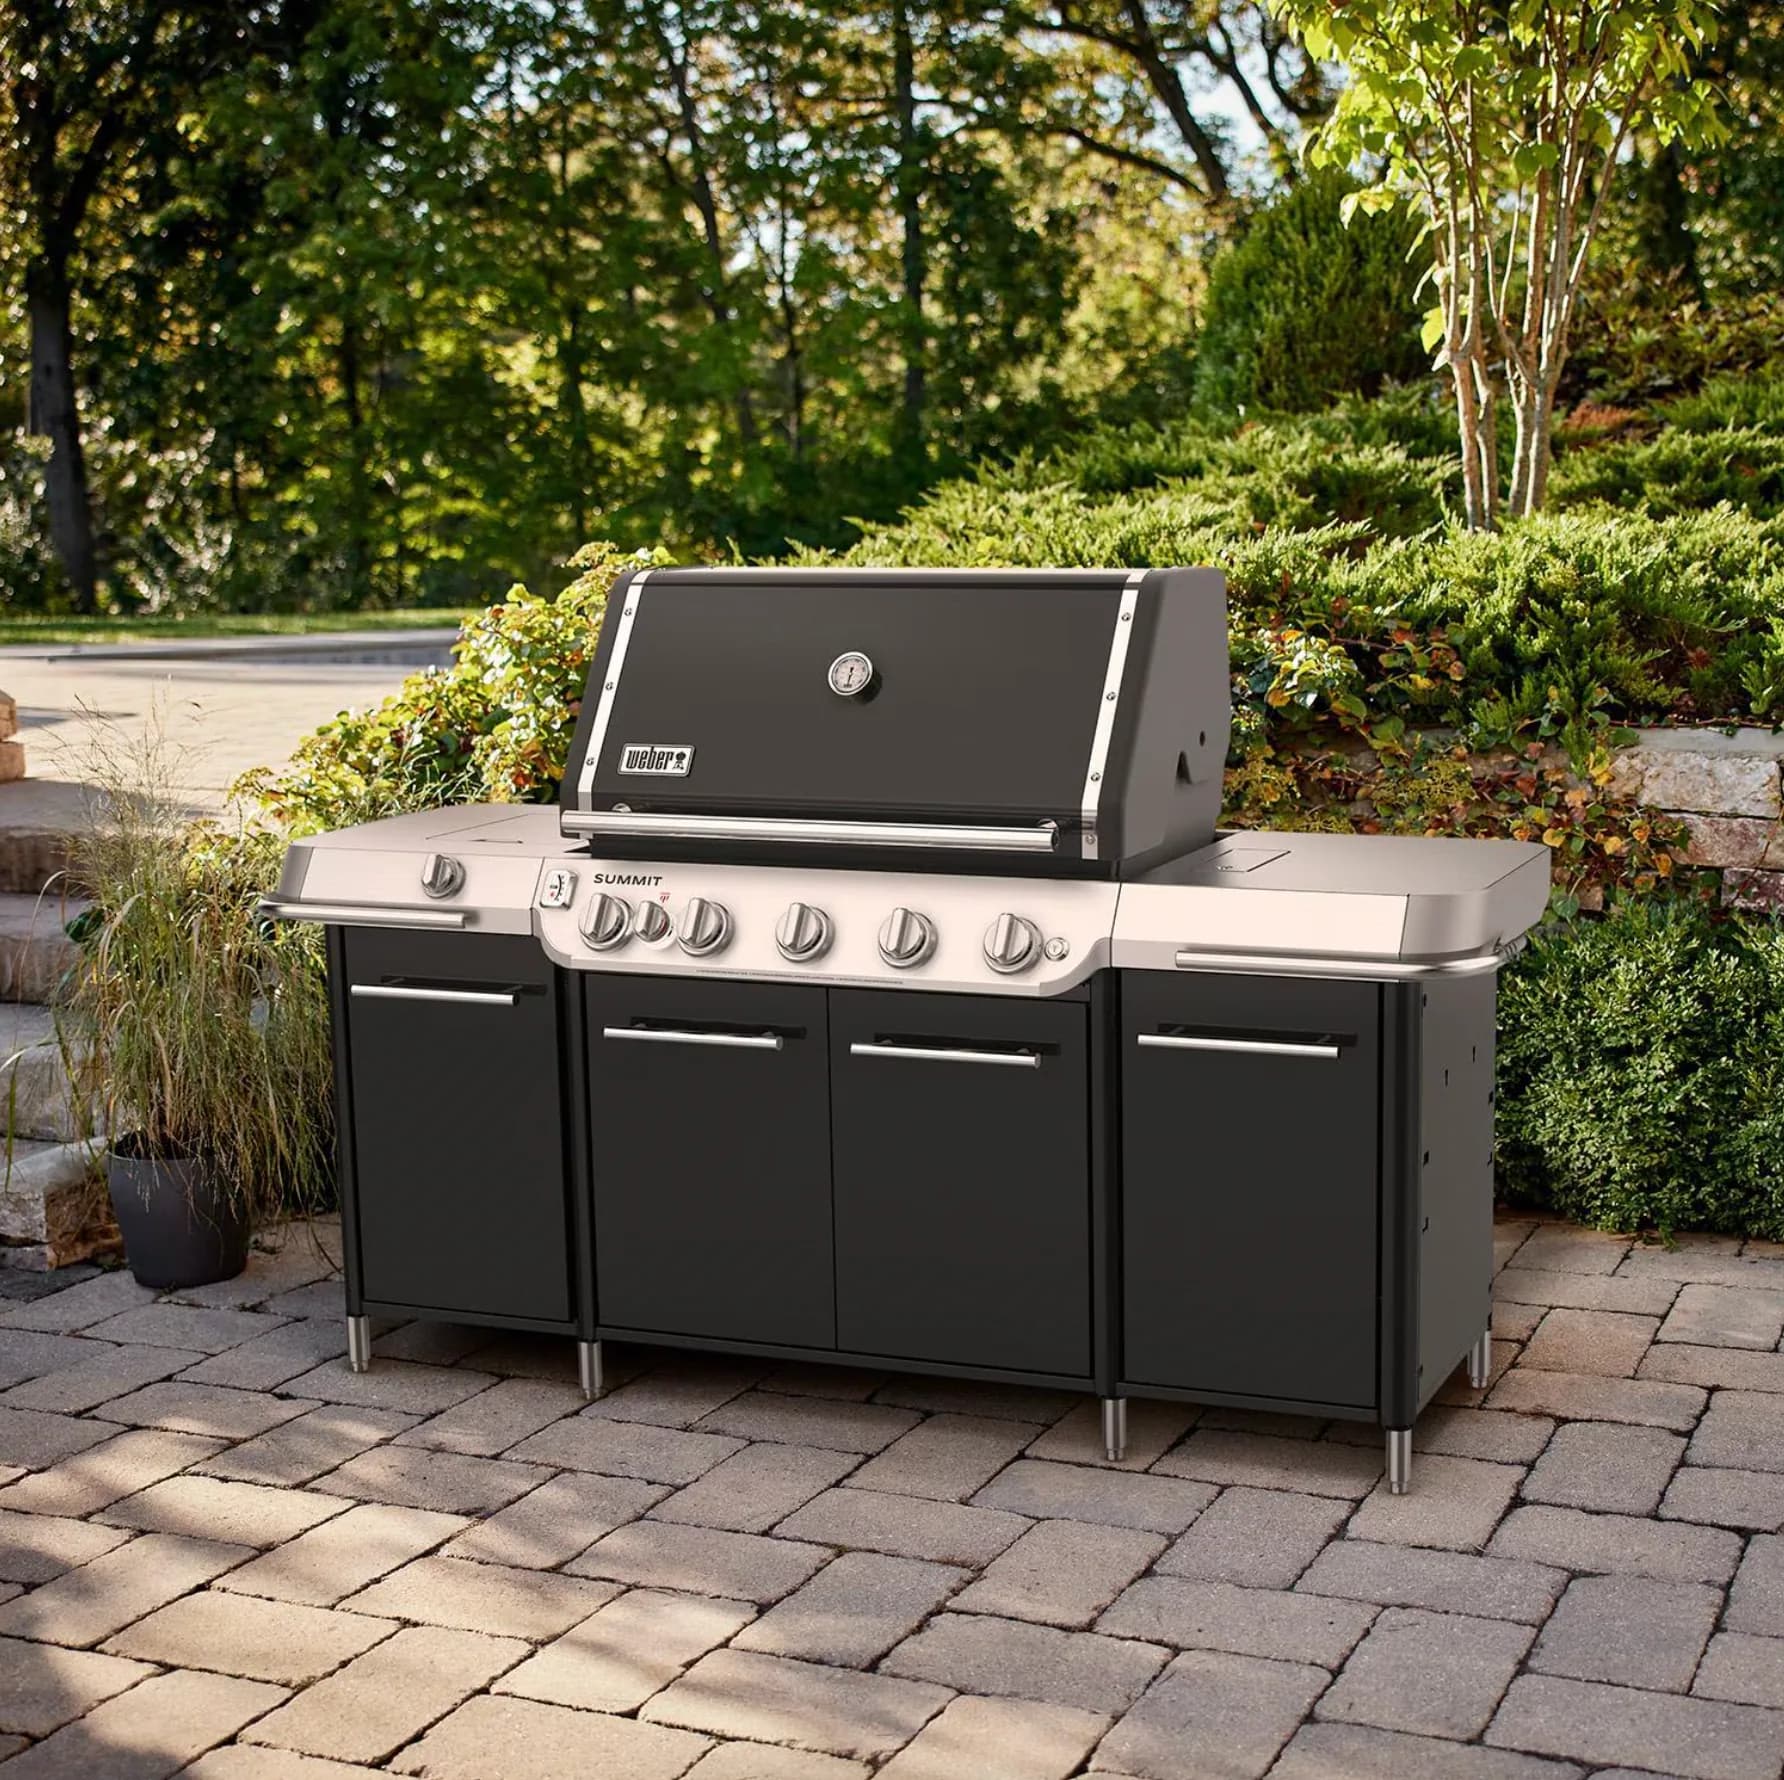
 WeberMaintenance
How to Clean and Maintain a Weber Gas Grill
A Weber gas grill lasts longer when you burn off the grates after every cook, scrape the porcelain-enameled cook box with a plastic tool (never wire), and pull the Flavorizer bars for a wash every three or four cooks. Plan on about 35 minutes for a proper quarterly clean.
35 minOpen- WeberWinterization
How to Winterize a Weber Gas Grill
Winterizing a Weber gas grill is four jobs: clean it, shut off and burn off the fuel line, protect the burners from pests and moisture, and cover it once it is cold. Plan on about 45 minutes. Weber kettle and Searwood pellet grills need a different shutdown — see the FAQ for both.
45 minOpen - WeberParts & Accessories
Weber Replacement Parts Guide: Flavorizer Bars, Igniters, Covers, and Regulators
Weber sells replacement parts through its own parts catalog and through the authorized dealer network — the serial number on the grill is the fastest route to the right part. For covers, Flavorizer bars, and grates, series and model year are the two things you have to match.
15 minOpen - WeberWarranty
Weber Grill Warranty: What's Covered and How to Register
Weber's current Spirit and Genesis gas grills ship with a 10-year warranty on every part — Weber moved the whole gas lineup to a unified 10-year term in 2022. Older Spirit II and Genesis II grills have tiered coverage by component. Registration is strongly recommended, proof of purchase is required on every claim, and the serial number is the primary key Weber uses to pull your record.
10 minOpen - WeberBuying Help
Weber Searwood 600 vs Searwood XL 600: Which Pellet Grill Fits Your Backyard
The Weber Searwood 600 is a 24-inch pellet grill with a 600-square-inch cook surface and a $999 list price. The Searwood XL 600 is 36 inches, 1,008 square inches of cook surface, and $1,299. Both run the same WiFi controller and auger system — the real decision is cook area, how many people you feed, and whether you want a full brisket fitting side-to-side.
10 minOpen 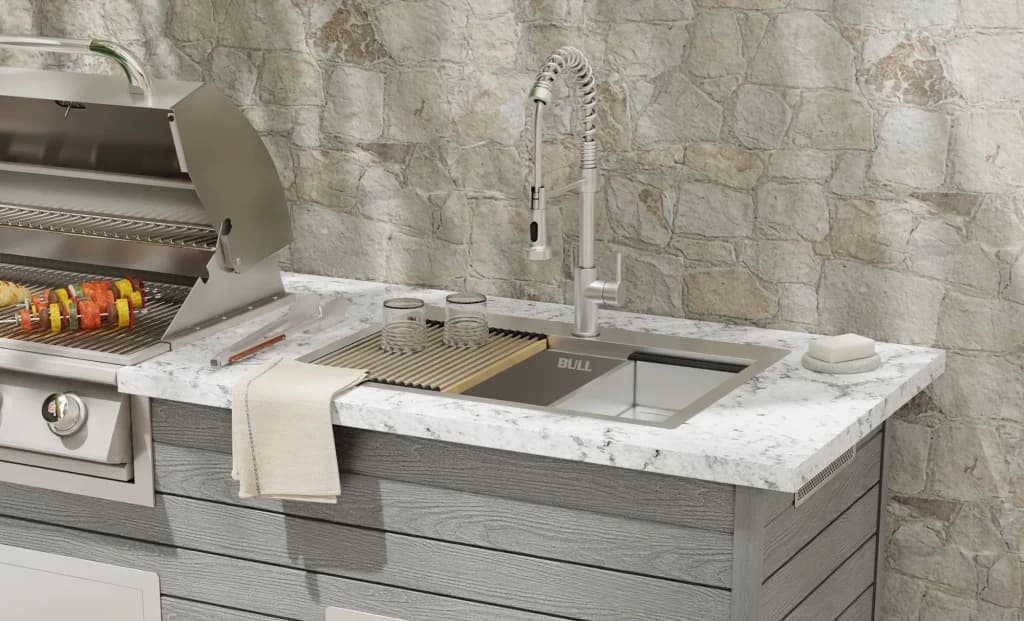
 Bull BBQInstallation
How to Install a Bull BBQ Angus 30-Inch Built-In Grill
The Bull Angus 30 drops into a 30 1/4-inch cutout with 1/8-inch side clearance and a specific gas-line sizing. First-time installers trip on venting and insulated-jacket requirements — plan on 2-3 hours with a helper and a gas-rated inspector sign-off for the final hookup.
150 minOpen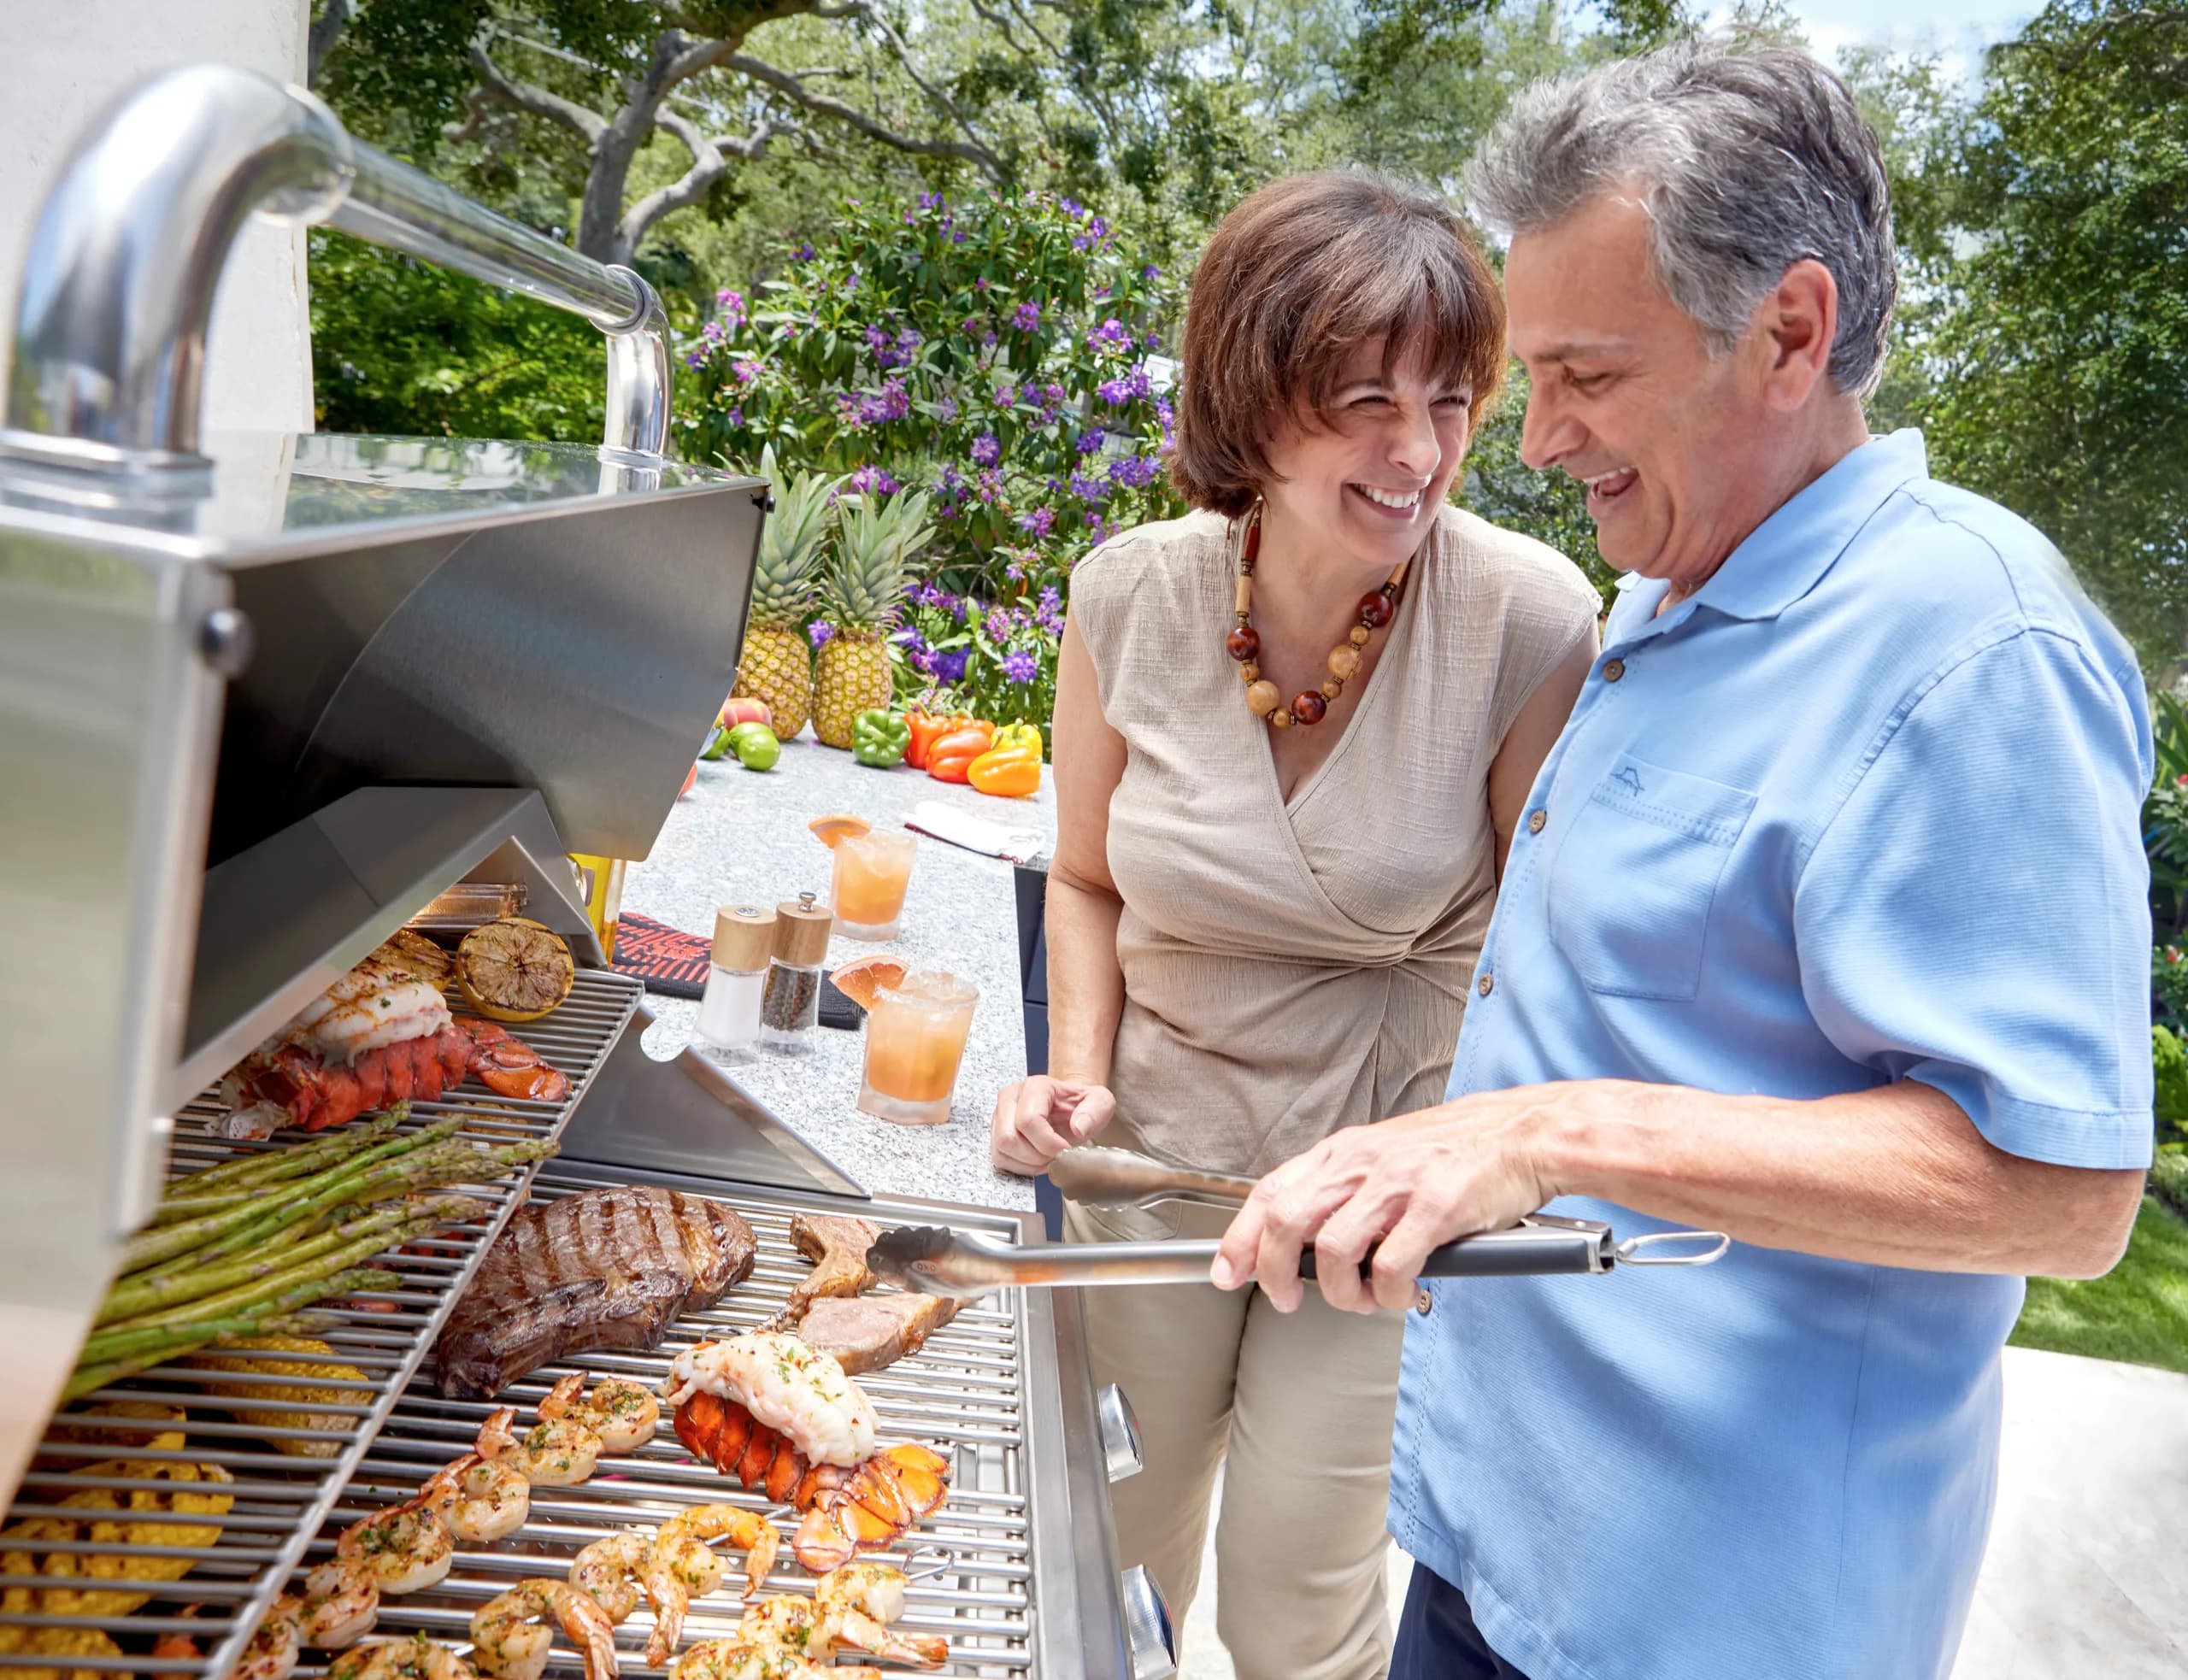 Bull BBQInstallation
How to Install a Bull BBQ Brahma 38-Inch Built-In Grill
The Bull Brahma 38 is the step up from the Angus — five main burners, 90,000 BTU, 962 sq in of cook area. Install mechanics are identical to the Angus, but the larger footprint changes cutout dimensions and gas-line sizing. Plan on 2-3 hours.
180 minOpen- Bull BBQInstallation
How to Install a Bull BBQ Outlaw 30-Inch Built-In Grill
The Outlaw 30 is Bull's value-tier built-in — same 30-inch footprint and cutout as the Angus, four main burners, no rear IR. Install is simpler than the Angus because there's no IR gas leg. Plan on 90 minutes.
90 minOpen - Bull BBQInstallation
How to Install a Bull BBQ Lonestar Select 30-Inch Built-In Grill
The Lonestar Select slots between the Outlaw and the Angus — four burners, 60,000 BTU main, upgraded trim and knobs, same 30-inch footprint. Install mechanics match the Outlaw. Plan on 90 minutes.
90 minOpen - Bull BBQInstallation
How to Install a Bull BBQ Steer Premium 24-Inch Built-In Grill
The Steer Premium is Bull's compact built-in — 24-inch footprint, 3 burners, perfect for balconies, small yards, and secondary kitchens. Smaller cutout means different install specs than the 30-inch siblings. Plan on 90 minutes.
90 minOpen - Bull BBQMaintenance
How to Clean and Maintain a Bull BBQ Grill
A Bull gas grill lasts decades if you brush the grates after every cook, clean the burners and flame tamers quarterly, and keep water away from the electronics. Plan on about 40 minutes for a deep clean, ten minutes for a quick post-cook wipe.
40 minOpen 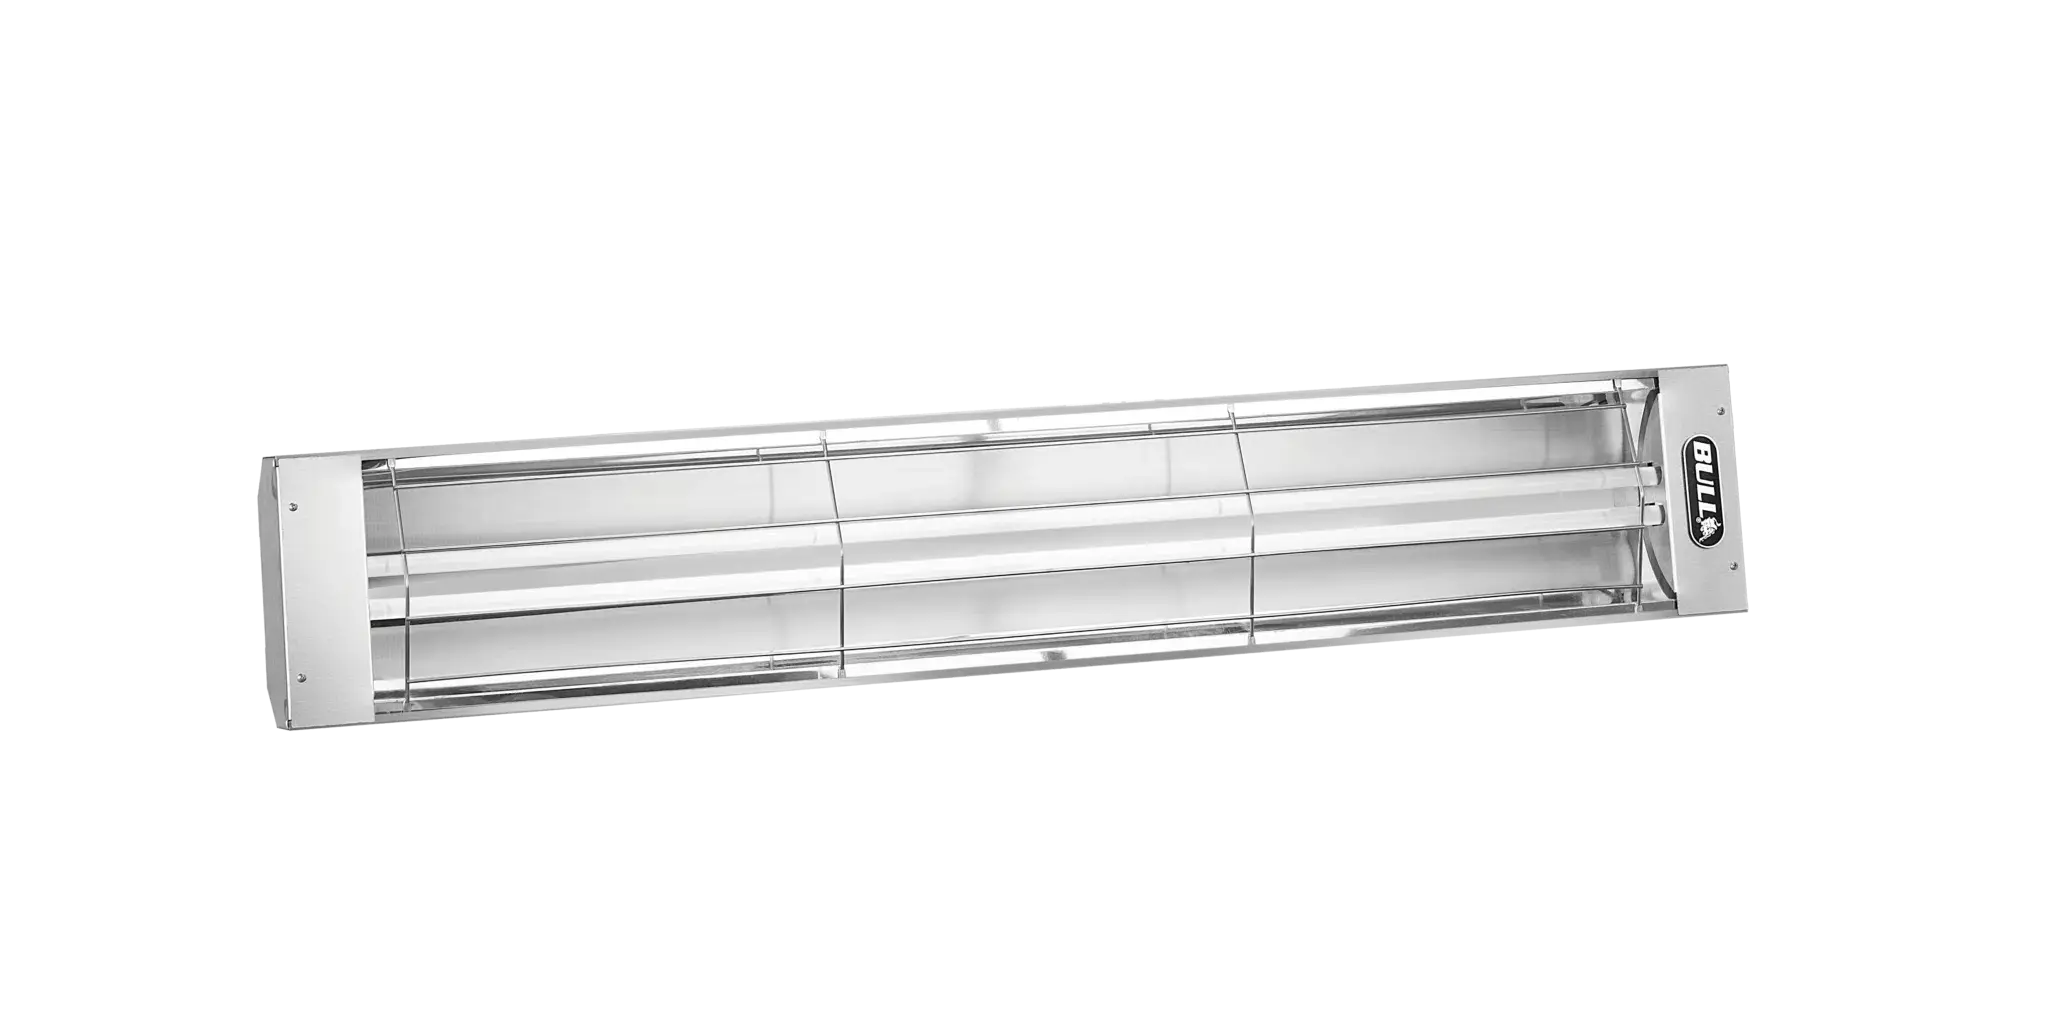 Bull BBQMaintenance
How to Maintain the Rear Infrared Burner on a Bull BBQ
The rear IR burner on Angus, Brahma, and some Outlaw models uses a ceramic matrix — not a stainless tube. Cleaning is different: no water, no brass brush. Use dry heat + a soft-bristle brush. 10 minutes quarterly keeps it lighting evenly for years.
15 minOpen- Bull BBQTroubleshooting
Troubleshooting Uneven Heat on a Bull BBQ Grill
Uneven heat on a Bull almost always traces to one of three things: dirty burner tubes, undersized gas line, or carbon-crusted flame tamers. Fifteen minutes with a flashlight + a pipe cleaner solves most cases.
25 minOpen - Bull BBQTroubleshooting
Troubleshooting Bull BBQ Ignition Failure
Bull uses either a push-button piezo or an electronic battery-powered ignition depending on model. A no-spark complaint is usually a dead AA battery, a corroded electrode, or a loose igniter wire. Most are a 10-minute fix.
20 minOpen - Bull BBQIgnition & Hot Rod
How to Replace a Bull BBQ Igniter
A failed Bull ignition module replaces in 15 minutes with a Phillips driver. The hard part is identifying the correct service part for your specific model — Bull uses different modules for push-button piezo vs electronic battery-powered systems.
25 minOpen - Bull BBQWinterization
How to Winterize a Bull BBQ Gas Grill
Winterizing a Bull gas grill is four jobs: clean it, shut off and disconnect the fuel, protect the burners from pests and moisture, and cover it once it is cold. Plan on about 45 minutes, plus a few extra for Angus and Brahma models because of the infrared burner.
45 minOpen - Bull BBQParts & Accessories
Bull BBQ Replacement Parts and Accessories Guide
Bull sells replacement parts through its dealer portal and authorized service centers — the serial number on the drip tray is the fastest route to the right part. For covers, insulated jackets, and griddle plates, size and series are the two things you have to match.
20 minOpen - Bull BBQAccessories
How to Install a Bull BBQ Rotisserie Kit
Bull's rotisserie kit fits the Angus, Brahma, Outlaw, and Lonestar built-ins (model-specific spit rod lengths). Install takes 20 minutes with a Phillips driver and two D-cell batteries. The motor bracket mounts to the hood's left side.
20 minOpen - Bull BBQFuel & Conversion
How to Convert a Bull BBQ Grill from LP to NG
Bull sells a model-specific conversion kit (new orifices + NG regulator) for the Angus, Brahma, Outlaw, Lonestar, and Steer. The swap takes 45-60 minutes with a crescent wrench. A licensed gas fitter should finalize the NG line connection.
60 minOpen - Bull BBQWarranty
Bull BBQ Warranty: What's Covered and How to Register
Bull warrants its gas grills to the original purchaser against defects in materials and workmanship, subject to the terms of the Bull warranty. Registration is required to activate coverage, and proof of purchase travels with every claim. Plan on about 10 minutes to register and keep a photo of your receipt.
10 minOpen - Bull BBQBuying Help
Bull Angus vs Bull Brahma: Which Built-In Grill Fits Your Kitchen
The Bull Angus is a 30-inch 4-burner grill built around a 760-square-inch cook surface and a rear infrared burner. The Brahma is 38 inches, 5 burners, and a 962-square-inch cook surface with the same rear infrared setup. The real decision is counter space, how many people you cook for, and whether you want the fifth burner's range.
12 minOpen  Firegear OutdoorsInstallation
Firegear Pro Series Brass Burner Installation Guide
Firegear's Pro Series brass burners are the most-installed component in the catalog — 21-inch brass rings mounted on 26, 29, or 34 inch round discs and 25, 30, or 34 inch square discs. Plan on 2 to 3 hours with a licensed gas installer; the mechanical drop-in is simple, but the gas line, ventilation, and ignition wiring have to be right.
180 minOpen- Firegear OutdoorsInstallation
Firegear Sanctuary Series Fire Feature Installation
The Sanctuary Series ships as a finished fire feature — enclosure, burner, ignition, and electronics in one SKU. Model range runs Sanctuary 1 through 5, with 4 ignition options and 7 enclosure colors. Plan on 1 to 2 hours for the mechanical set + a licensed gas installer for the gas connection and commissioning.
90 minOpen - Firegear OutdoorsInstallation
Firegear Kalea Bay LED Outdoor Fireplace Installation
The Kalea Bay is a factory-sealed LED-illuminated outdoor fireplace — 36, 48, 60, or 72 inches wide, open-front, with integrated LED accent lighting and a choice of standard or battery-backed electronics. Plan on 3 to 4 hours for the structural set and a licensed installer for the gas and electrical.
210 minOpen - Firegear OutdoorsMaintenance
How to Maintain a Firegear Gas Fire Pit Burner
A Firegear burner — Pro brass or SS stainless — will run for a decade with minimal upkeep. The maintenance routine is 20 minutes once a season: clear spider debris from the burner ports, pull and inspect the ignition components, check the media level, and verify the shutoff valve operates smoothly.
20 minOpen - Firegear OutdoorsMaintenance
Firegear Fire Media Loading Guide
Firegear publishes a 'How Much Media' guide that spells out exact weights by disc size. The pattern is the same across the line: lava rock as a base layer to cover the burner ports, then decorative fire glass or fire rocks on top. Over-loading sooting, under-loading hot spots.
30 minOpen - Firegear OutdoorsTroubleshooting
Firegear AWS Ignition Not Firing: Troubleshooting
When an AWS system won't fire, there's a short diagnostic ladder: power, spark, gas, flame sense. Walk it in order and 90% of the time the issue is a tripped GFCI or a corroded flame sensor — both are 10-minute fixes.
30 minOpen - Firegear OutdoorsTroubleshooting
Firegear Yellow Flame + Sooting: Troubleshooting
A yellow or orange flame means the burner is getting too much fuel for the available air — rich combustion. The three usual causes: too much decorative media on top of the burner, a propane burner running on natural gas (wrong orifice), or a regulator that's failing to supply enough pressure. Sooting on the media or enclosure follows yellow flame.
20 minOpen - Firegear OutdoorsIgnition & Hot Rod
Firegear AWS All-Weather Electronic Ignition Installation
AWS is Firegear's top-tier electronic ignition system — a weatherproof control box that wires to a 120V transformer and fires the burner on a switch, timer, or smart-home signal. Plan on 1 to 2 hours for wiring on top of the burner install, and an electrician for the dedicated 120V circuit.
90 minOpen - Firegear OutdoorsIgnition & Hot Rod
Firegear TPSI High-Capacity Safety Pilot Ignition Setup
TPSI is Firegear's high-capacity safety-pilot ignition — a mechanical pilot flame with a thermocouple that holds the main gas valve open as long as the pilot stays lit. Best for windy sites and high-altitude installs where the standard TMSI pilot would blow out. No electricity required, so TPSI works where AWS won't.
60 minOpen - Firegear OutdoorsIgnition & Hot Rod
Firegear Match Throw (MT) Manual Ignition Setup
Match Throw is Firegear's simplest ignition — a manual valve with a match port. No electronics, no pilot, no thermocouple. Light directly with a long match or long-neck lighter. Lowest cost, simplest service, and the right choice when the fire feature will be used infrequently or in truly off-grid sites.
30 minOpen - Firegear OutdoorsParts & Accessories
Firegear Replacement Parts: Burners, Rings, Ignition Modules
Order Firegear parts through an authorized Firegear dealer with your model number (on the data plate) and serial. Common wear items — spark electrode, flame sensor, thermocouple, pilot assembly — ship from a Firegear distributor within a few days. Burners rarely need replacement; ignition components are the normal service items.
10 minOpen - Firegear OutdoorsAccessories
Firegear Kalea Bay See-Through Conversion Kit Installation
The See-Through Conversion Kit opens the back of a Kalea Bay LED fireplace so flame is visible from both sides — turning the fireplace into a divider between two outdoor rooms. Available for LED and Battery models. Install at the time of fireplace install; retrofitting later means pulling the fireplace.
60 minOpen - Firegear OutdoorsAccessories
Firegear Kalea Bay Cover Fitting + Use
The Kalea Bay Cover protects the open front during off-season storage. Sized to each Kalea Bay model. Install only when the fireplace is cold and gas is shut off.
10 minOpen - Firegear OutdoorsAccessories
Firegear Kalea Bay Battery Pack Installation
The Battery Pack adds rechargeable backup to the Kalea Bay LED electronics — keeps the LEDs lit during power outages. Still needs the 120V GFCI for routine operation; battery kicks in only when mains drop.
30 minOpen - Firegear OutdoorsFuel & Conversion
Firegear LP↔NG Fuel Conversion
Firegear sells conversion kits for most models in the Pro Series, SS Series, and Kalea Bay lineups. Conversion requires swapping the orifice, adjusting the regulator (propane side), and re-pressure-testing. Must be performed by a qualified installer — DIY voids the warranty.
60 minOpen - Firegear OutdoorsWarranty
Firegear Warranty: What's Covered, What Isn't
Firegear's warranty varies by series — Pro burners, SS burners, Sanctuary fire features, and Kalea Bay fireplaces each have specific terms. The common thread: warranty is contingent on installation by a qualified installer, proper 18-sq-in cross ventilation, matched Firegear components, and use for the appliance's intended purpose.
10 minOpen - Firegear OutdoorsBuying Help
Firegear MT vs TMSI vs TPSI vs AWS: Which Ignition for Your Build?
Firegear sells four ignition systems — Match Throw (MT), Standard Safety Pilot (TMSI), High-Capacity Safety Pilot (TPSI), and All-Weather Electronic (AWS). The right choice is a function of use frequency, site exposure, electrical availability, and budget. Here's the honest tradeoff.
10 minOpen - Firegear OutdoorsBuying Help
Firegear Pro Brass vs SS Stainless Burner: Which to Choose
Firegear sells two burner material grades: Pro Series brass (premium, longest-lived, best for freshwater and inland sites) and SS Series stainless (coastal, salt-air, or corrosion-concern sites). Both come in the same shapes — H, T, Spur, round, square, snowflake. The choice is mostly about site exposure.
10 minOpen 
 NapoleonWinterization
How to Winterize a Napoleon Gas Grill
Winterizing a gas grill comes down to four jobs: clean it, shut off and disconnect the fuel, protect the burners from pests and moisture, and cover it once it is cold. Plan on about 45 minutes.
45 minOpen
 SummersetInstallation
Summerset TRL Pro Built-In Installation (32 and 40)
Installing a TRL Pro 32 or 40 built-in grill is a three-stage job: frame the cutout to the correct dimensions, run the gas line to the specified fitting, and perform a soapy-water leak test before the first fire. Plan on about 90 minutes once the island cutout is already done and gas is stubbed in. A finished install needs ventilation on three sides and a grounded 120V outlet for the backlit LED knob rail.
90 minOpen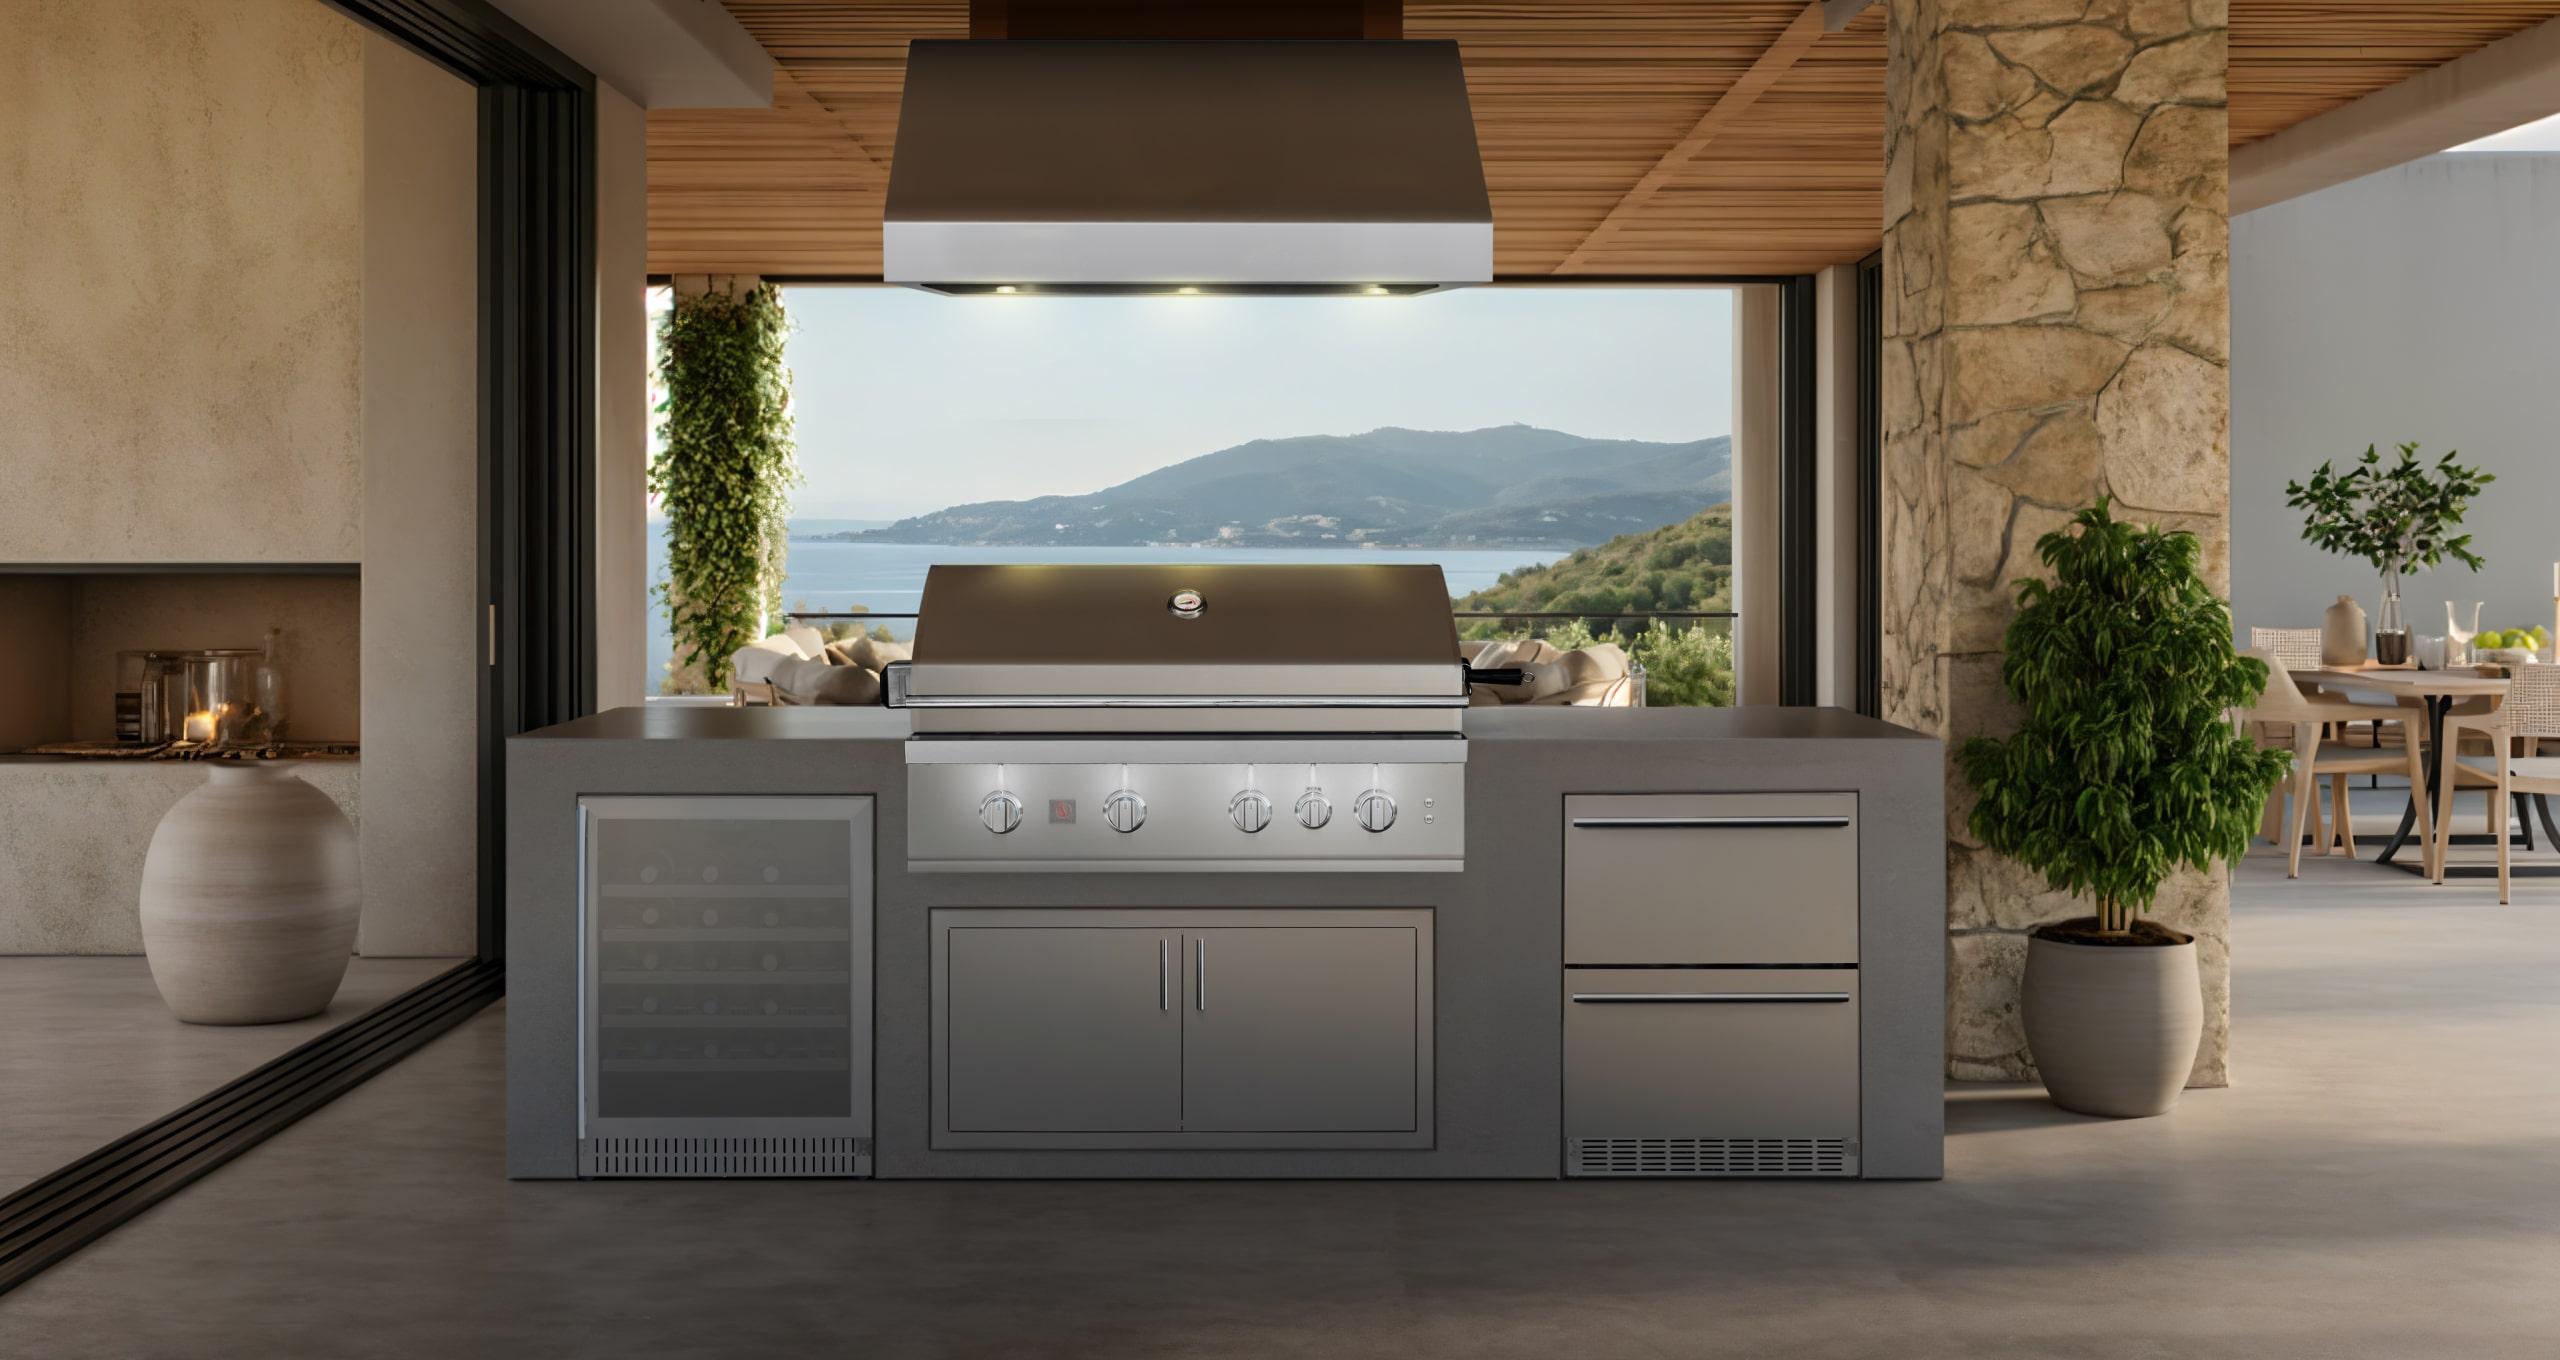 SummersetInstallation
Summerset Sizzler Pro Built-In Installation (32 and 40)
Sizzler Pro 32 and 40 share the TRL Pro's cutout envelope but drop the sear burner, which simplifies the install. Expect about 75 minutes once the island cutout is done and gas is stubbed. The LED knob rail still needs 120V, and ventilation and leak-test rules are identical to TRL Pro.
75 minOpen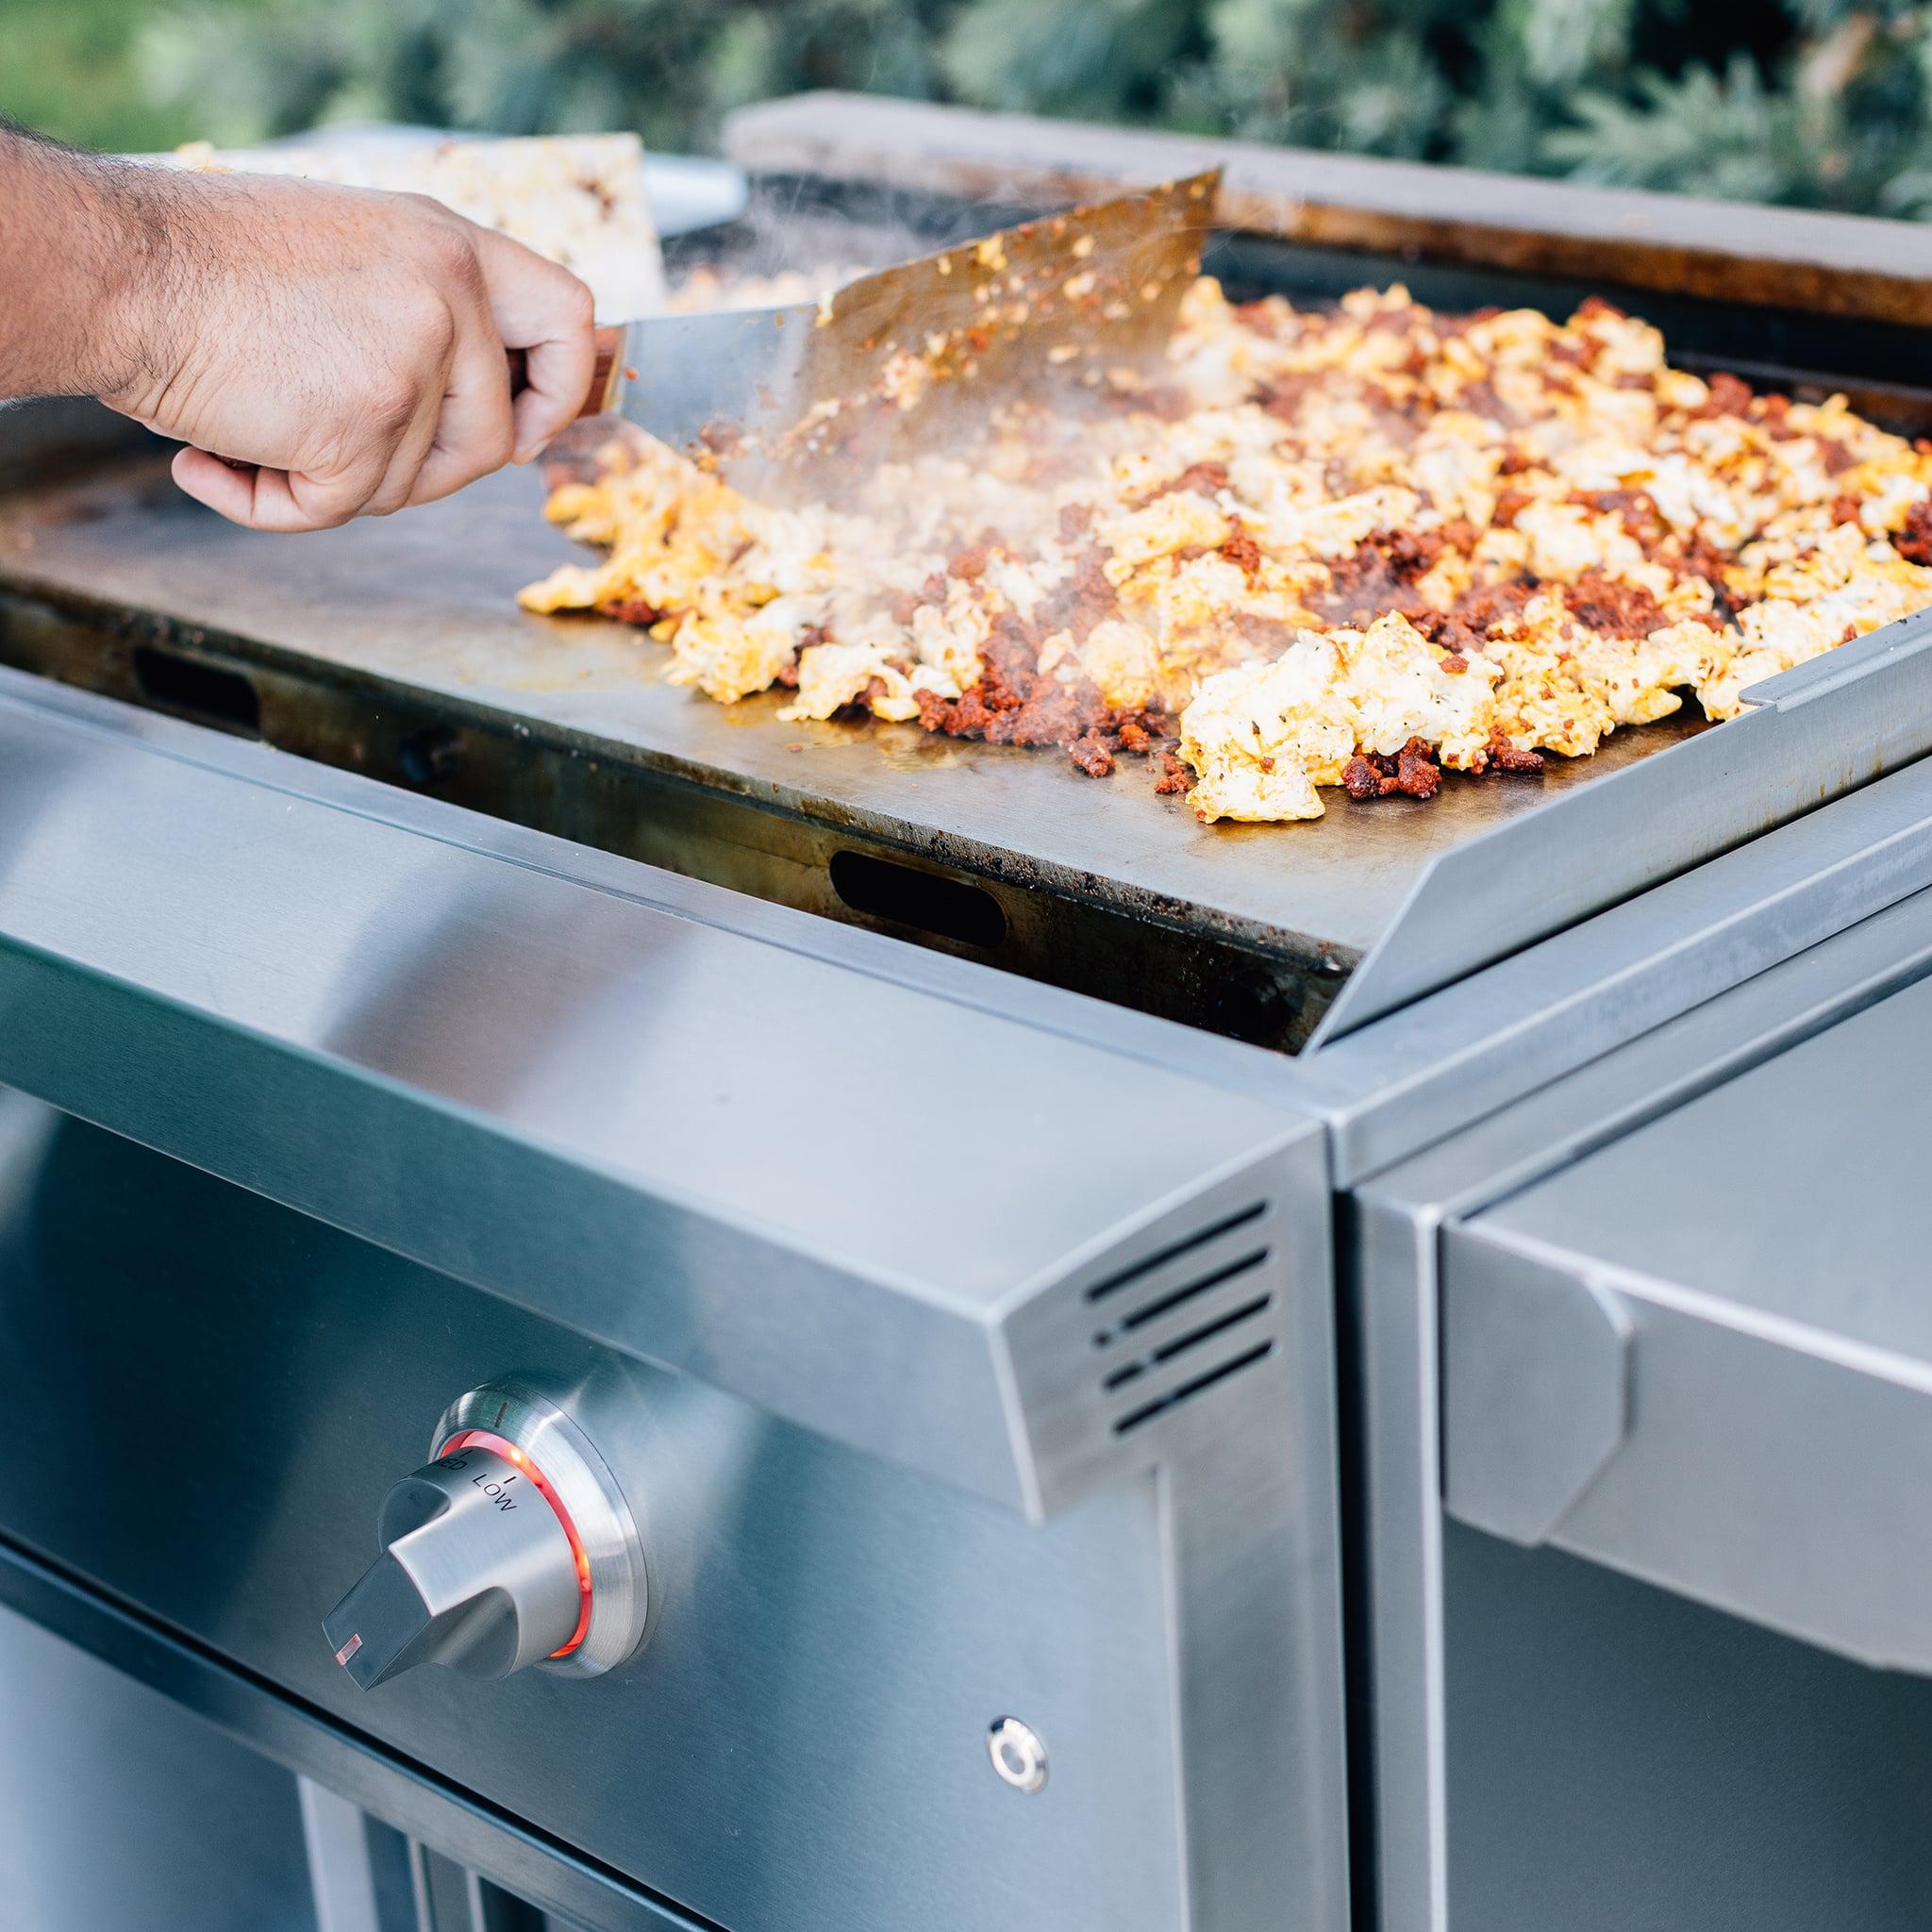 SummersetInstallation
Summerset Sizzler Built-In Installation
The base Sizzler (SZR) is the easiest built-in install in the Summerset lineup — no LED harness means no 120V run, no sear-burner backing plate to worry about. Plan on about 60 minutes once the cutout is framed and gas is stubbed.
60 minOpen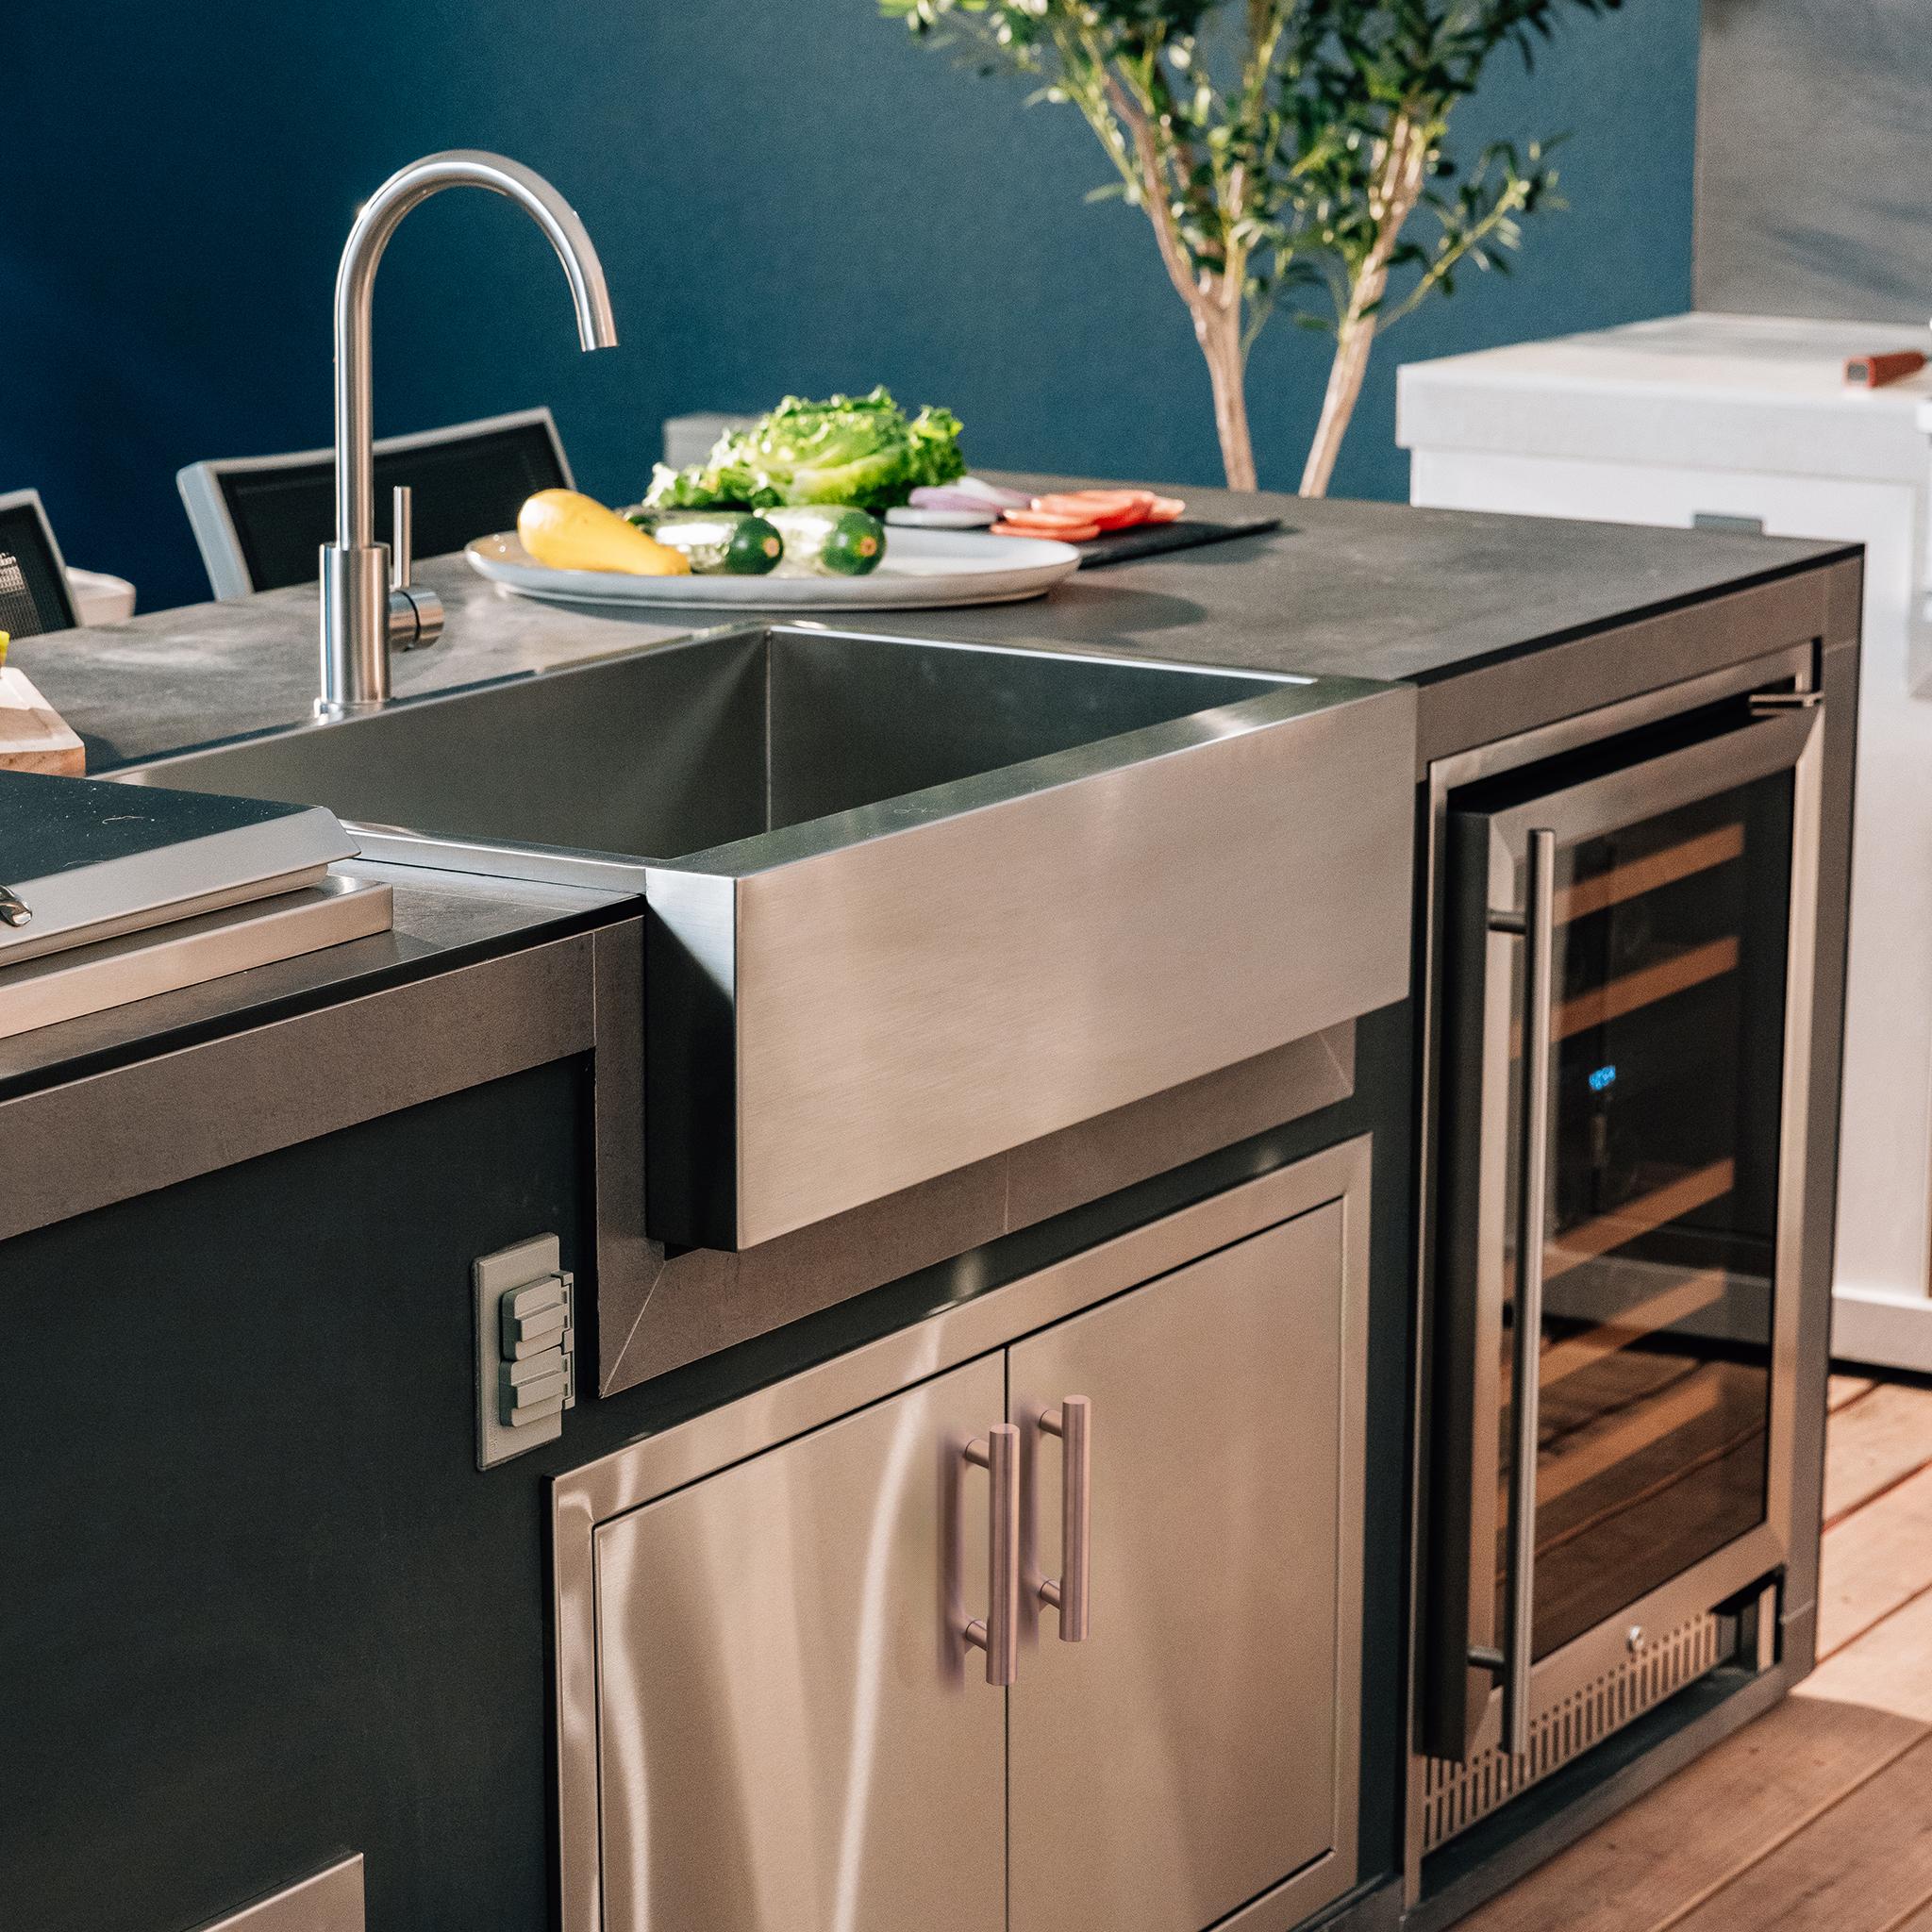 SummersetInstallation
Summerset Quest Installation (Built-In or Cart)
Quest is the entry-tier Summerset and is designed cart-first with a built-in option. Cart install is about 30 minutes — mostly cart assembly from the box. A built-in Quest install is about 60 minutes once the cutout is framed.
45 minOpen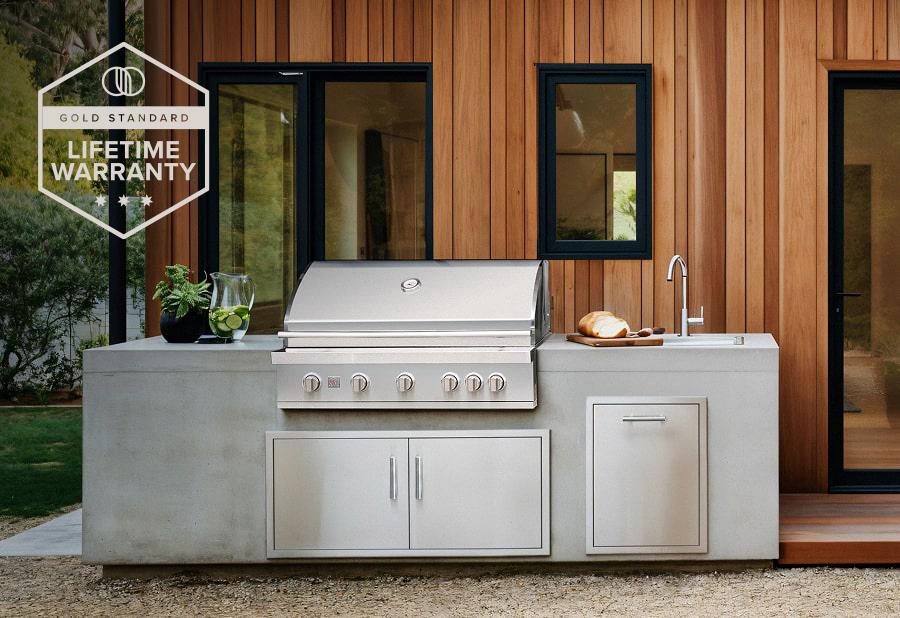 SummersetInstallation
Summerset Resort Setup (Mobile Freestanding)
The Resort is Summerset's mobile grill, built for cart use with commercial-rated serviceability and the Gold Standard Warranty. Setup from the shipping carton is about 40 minutes of cart assembly plus a 10-minute leak check and first fire. No cutout, no gas-line rough-in.
50 minOpen SummersetInstallation
Summerset Griddle Pro Setup and First Season
The Griddle Pro is a cold-rolled steel flat-top griddle on a knock-down cart. Setup is cart assembly plus a required three-pass seasoning on the plate before the first cook. Plan on about 90 minutes total — 45 minutes for the cart, 45 minutes for the seasoning cycles.
90 minOpen SummersetInstallation
Summerset Hybrid Gas Oven Installation
The Hybrid Gas Oven is a built-in pizza-and-bake oven that runs on gas with convection circulation. Install is similar to a built-in grill but with specific ventilation top-louver clearances and a dedicated 120V run for the convection fan. Plan on about 80 minutes once the cutout is framed.
80 minOpen SummersetMaintenance
How to Clean and Maintain a Summerset Grill
A Summerset grill is built in Huntington Beach, California to a stainless-steel standard that rewards a steady cleaning cadence more than any harsh chemical. Brush the grates after every cook, pull the heat distribution plates every three or four cooks, and keep the LED knob housings dry. Plan on about 40 minutes for a quarterly deep clean.
40 minOpen- SummersetMaintenance
Summerset Griddle Plate Care, Seasoning, and Rust Recovery
A Summerset griddle plate is cold-rolled steel, not stainless — it depends on a layer of polymerized oil (seasoning) for its non-stick behavior and rust resistance. Daily care is scrape-wipe-oil while warm. Rust recovery from a neglected plate is a three-pass seasoning cycle, same as a brand-new plate.
20 minOpen - SummersetTroubleshooting
Summerset Troubleshooting: Uneven Heat and Flame Problems
Uneven heat on a Summerset grill almost never means the regulator is bad. The top three causes, in order of frequency: a heat distribution plate caked in grease, a venturi blocked by a spider web or wasp nest, and a burner port blocked by carbon buildup. All three fix in under 20 minutes without replacement parts.
25 minOpen - SummersetIgnition & Hot Rod
Summerset Igniter Not Clicking or Not Lighting
Igniter failure on a Summerset is almost always one of three things in this order: dead AA battery, wet igniter electrode, or disconnected wire at the module. All three fix in under 10 minutes with a $2 battery or a quick visual check. Replacement igniter modules exist but are the last-resort diagnosis, not the first.
15 minOpen 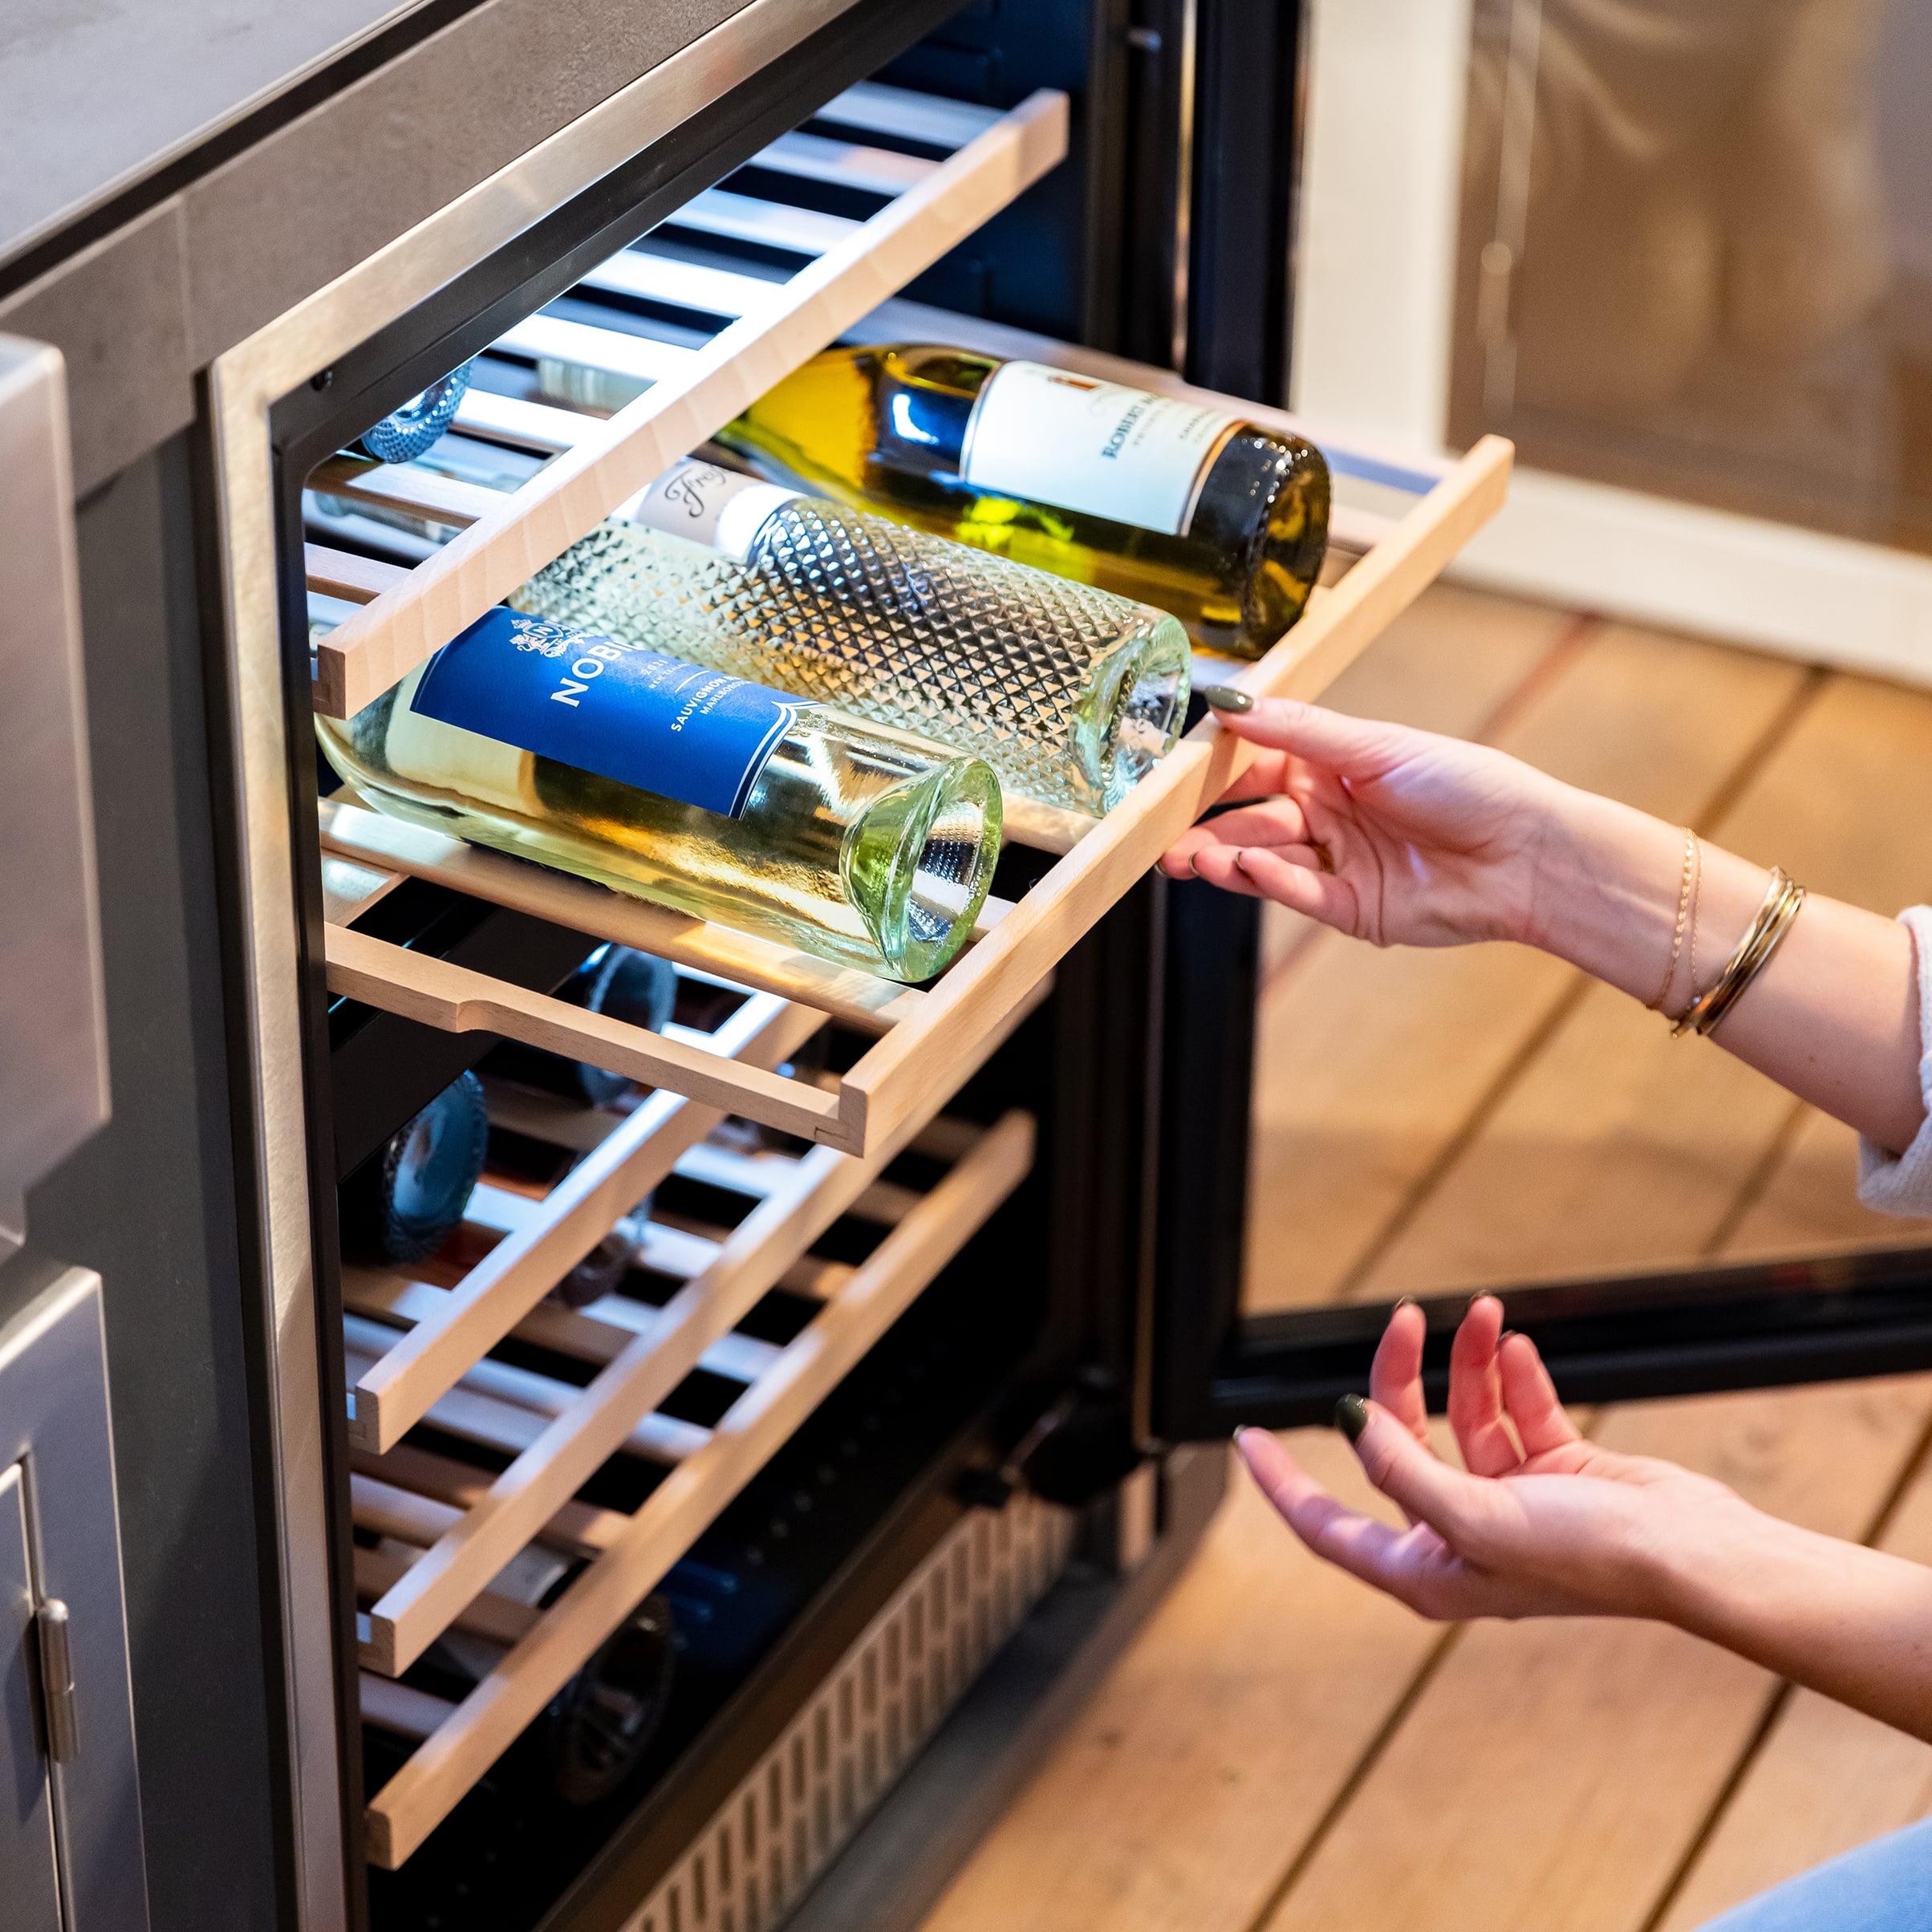 SummersetWinterization
How to Winterize a Summerset Grill
Winterizing a Summerset is five jobs: deep clean, shut down and burn off the fuel line, protect the burners from pests and moisture, dry and store the LED and electrical components, and cover it once the cook box is cold. Plan on about 45 minutes. Minimum ambient operating temperature is 0°F per the TRL Pro manual — below that, any grill is a cold-start risk.
45 minOpen SummersetParts & Accessories
Summerset Replacement Parts and Accessories Guide
Summerset's Gold Standard Lifetime Warranty covers main burners, grates, and burner covers on the TRL Pro, Sizzler Pro, Sizzler, Quest, and Resort lines when the warranty is registered and the serial plate is documented. Everything else (hoses, regulators, ignition batteries, grease cups, LED harnesses) is a straightforward wear part sold through summersetgrills.com or authorized dealers.
20 minOpen SummersetAccessories
Summerset Side Burner Installation (Single and Double)
Summerset single and double side burners are built-in accessories that drop into a dedicated cutout beside the main grill. Install is about 40 minutes once the cutout is framed and gas is stubbed. Both the Single Side Burner and Double Side Burners manuals use the same install envelope — the double just has two cutout widths.
40 minOpen SummersetAccessories
Summerset Power Burner Installation
The Power Burner is Summerset's high-output open-flame burner for boiling, frying, and stock-pot cooking. It drops into a dedicated built-in cutout next to the main grill. Install is about 45 minutes once the cutout is framed and gas is stubbed. Draws about 60,000 BTU — plan line sizing accordingly.
45 minOpen SummersetAccessories
Summerset Vent Hood Installation (Covered Outdoor Kitchens)
A Summerset vent hood is required for any covered outdoor kitchen where the grill is installed under a roof, pergola with solid panels, or in any enclosed cavity. Install requires a ducted run to outside air plus an electrical run for the fan. Plan on about 2-3 hours including the duct routing. Hire a licensed electrician for the hardwired fan connection.
150 minOpen SummersetAccessories
Summerset Outdoor Refrigerator Built-In Installation (15, 22, 24-inch)
Summerset outdoor refrigerators ship in three widths — 15", 22", and 24" — plus a double-door 24" variant. Install is a built-in cutout with a 120V outlet and a drain line. Plan on about 60 minutes once the cutout is framed and electrical is roughed in.
60 minOpen SummersetAccessories
How to Reverse the Door Swing on a Summerset Refrigerator
Most Summerset outdoor refrigerators ship right-hand-open and support conversion to left-hand-open. The procedure is about 30 minutes with the refrigerator unplugged and a Phillips screwdriver. Done before install if you know the swing you want, or after install if you realize the swing is wrong.
30 minOpen SummersetWarranty
Summerset Gold Standard Warranty: What's Covered
Summerset's Gold Standard Warranty is a lifetime, non-prorated promise on main burners, grates, and burner covers across the current grill lineup. It is valid for the original purchaser at the original delivery site, requires photo documentation and proof of purchase at claim time, and is void upon transfer of ownership. Registration within 30 days keeps everything clean.
15 minOpen SummersetBuying Help
Summerset TRL Pro vs Sizzler Pro vs Sizzler vs Quest: Which Fits Your Build?
Summerset's four-grill lineup has real daylight between the tiers, and 'buy the flagship' is rarely the right answer. TRL Pro earns its premium on commercial-rated serviceability and backlit controls, Sizzler Pro is the volume best-value in the lineup, Sizzler covers entry-level built-in installs, and Quest is the budget pick for less-frequent cooks. Which one fits depends on how often you cook, what you cook, and how the grill will be installed.
15 minOpen
Browse guides by brand
Can’t find what you need?
Search every guide, or ask our team. We answer product questions every day.