
Summerset · Installation
Summerset TRL Pro Built-In Installation (32 and 40)
Installing a TRL Pro 32 or 40 built-in grill is a three-stage job: frame the cutout to the correct dimensions, run the gas line to the specified fitting, and perform a soapy-water leak test before the first fire. Plan on about 90 minutes once the island cutout is already done and gas is stubbed in. A finished install needs ventilation on three sides and a grounded 120V outlet for the backlit LED knob rail.
By Reed · Updated November 8, 2026
What you need
- Tape measure and square
- Pipe wrench + two 1/2" and 3/4" adjustable wrenches
- Pipe thread sealant rated for gas (Rectorseal T Plus 2 or equivalent)
- Soapy water in a spray bottle for leak testing
- Manometer (optional but recommended for pressure verify)
- Phillips and flat-head screwdrivers
- Grounded 120V outlet within reach for the LED harness
- Help from a second person to lower the grill into the cutout
TRL Pro install reference
- TRL Pro 32 cutout
- 29 15/16" W x 21 1/2" D x 10 1/4" H
- TRL Pro 40 cutout
- 37 15/16" W x 21 1/2" D x 10 1/4" H
- Side clearance (each)
- 1" minimum
- Bottom clearance
- Vented panel or open cavity
- Gas inlet (LP)
- 3/8" flare, right-rear
- Gas inlet (NG)
- 1/2" NPT, right-rear
- Electrical (LED knobs)
- Grounded 120V outlet, 1.5 amp draw
- Grill weight (32)
- 130 lb
- Grill weight (40)
- 165 lb
- Minimum operating temp
- 0°F
TRL Pro model identifiers
- TRL Pro 32 (LP)
TRLPRO32 - TRL Pro 32 (NG)
TRLPRO32L - TRL Pro 40 (LP)
TRLPRO40 - TRL Pro 40 (NG)
TRLPRO40L
Step by step
Verify cutout dimensions against your model
TRL Pro 32 needs a 29 15/16" wide x 21 1/2" deep cutout. TRL Pro 40 needs a 37 15/16" wide x 21 1/2" deep cutout. The vertical cutout height is 10 1/4" on both. These dimensions are published in the TRL Pro manual on summersetgrills.com — confirm with the current PDF before the mason cuts, because tolerances are ±1/8" and a too-small cutout means the grill will not drop in.
Confirm ventilation on three sides of the cutout
The TRL Pro install envelope needs a minimum 1" ventilation gap on both sides and below the grill. The Summerset manual calls for a vented bottom panel or an unobstructed cavity so combustion air can enter and heat can escape. Sealing the grill into an airtight cavity causes the stainless to discolor over time and voids the warranty on burner corrosion.
Set the gas fitting location
The TRL Pro's gas inlet is on the right-rear underside, 3/8" flare on LP models and 1/2" NPT on NG models. Stub your gas line into the cavity so the final connection has at least 6" of serviceable slack. A rigid line with no slack cannot be disconnected later for repair without cutting pipe.
Drop the grill into the cutout with help
TRL Pro 32 is 130 pounds and TRL Pro 40 is 165 pounds — not one-person lifts. Position two people on each side, lift by the hood handle and the rear corner only (never the valve rail), and lower straight down into the cutout so the rolled edge seats flush on the island top. Verify the grill sits level front-to-back and side-to-side with a torpedo level.
Make the final gas connection and leak-test
Connect the gas line with pipe thread sealant on NPT threads (never Teflon tape on LP flare fittings — it extrudes and the fitting leaks). Open the gas valve halfway and spray every union fitting with soapy water. Any bubble that grows is a leak — tighten and retest. Do NOT light the grill until every fitting is bubble-free.
Plug in the LED harness and run the first-fire check
On LP installs, attach the regulator to a filled 20-lb tank. On NG, confirm the house shutoff is open. Plug the TRL Pro's 120V cord into a grounded outlet so the backlit red LED knob rail illuminates. Open the lid, click the first burner to ignition — the LED under that knob should light within 2 seconds. Repeat for each burner, then do the sear burner last.
Register the warranty on the same day
The Gold Standard Lifetime Warranty is strongest when registration is same-day. Snap a photo of the data plate inside the left cabinet door, save your receipt PDF, and register at summersetgrills.com. Late registration has survived a claim but it is an unnecessary conversation years later.
Common mistakes
- Cutting the island before pulling the current manual PDF. Summerset refreshes cutout dimensions as manufacturing tolerances evolve. A manual from three years ago may call out slightly different dimensions than the one shipping today. Download the current PDF from summersetgrills.com/manuals-specs/ the week you cut.
- Sealing the grill into an airtight cavity. A clean-look full-seal cutout traps heat and combustion products in the cavity. Discoloration, premature stainless rust, and burner-tube corrosion follow — all excluded from warranty coverage. Vent the sides and bottom.
- Using Teflon tape on LP flare fittings. Teflon tape on flare fittings extrudes under pressure and leaks. Flare connections are metal-to-metal seals — use them clean and dry. Only use pipe thread sealant on NPT threads, never on flares.
Hands-on tips
- If you are converting from a different brand, the old gas line location rarely matches the TRL Pro's right-rear inlet. Plan for a small gas-line reroute during the mason/plumber scheduling, not at install day.
- Keep the cardboard box and foam the grill shipped in for the first week. If any defect shows up during the first few cooks, Summerset ships a replacement faster when you have the original packaging ready for reverse shipping.
- Do not install TRL Pro directly beside a trash pullout or unvented appliance cavity. The heat path from the sear burner is directional and adjacent cavities get hotter than people expect.
- If the install is on a wood deck, use a non-combustible base panel below the grill cavity. The TRL Pro's manual specifies a minimum 1" non-combustible underlayment and the warranty excludes damage from direct wood contact.
Questions people ask
Can I install a TRL Pro myself?
The frame-up, drop-in, and electrical steps are DIY-friendly. The final gas connection is regulated work in most US states and Canadian provinces and should be done by a licensed gas technician. Doing the rough-in yourself and hiring out the gas join is the common path.
What is the minimum clearance to an overhead structure?
Summerset's manual specifies a minimum 24" of vertical clearance between the top of the hood and any non-combustible overhead structure (36" if the overhead structure is combustible). This is a fire-code question, not a performance one — check your local codes.
Does the TRL Pro need its own dedicated gas line?
Not necessarily, but the line needs to be sized for the TRL Pro's BTU load (72,000 for the 32 and 92,000 for the 40). If you are sharing a line with a pool heater or another appliance, a licensed plumber should verify the line can deliver full pressure under simultaneous load.
What happens if I skip the 120V connection?
The TRL Pro will still cook — the LED knob rail just will not illuminate. The LEDs are a status indicator, not a safety system. Many owners live with an unplugged harness for years with no functional consequence.
Can I install TRL Pro in a cart instead of built-in?
Yes — Summerset sells a Deluxe Cart that fits TRL Pro and Sizzler Pro. The cart install is simpler than built-in because the cart handles the ventilation, gas routing, and clearance questions for you. Cart install drops the whole process to about 45 minutes.
Gear for your Summerset
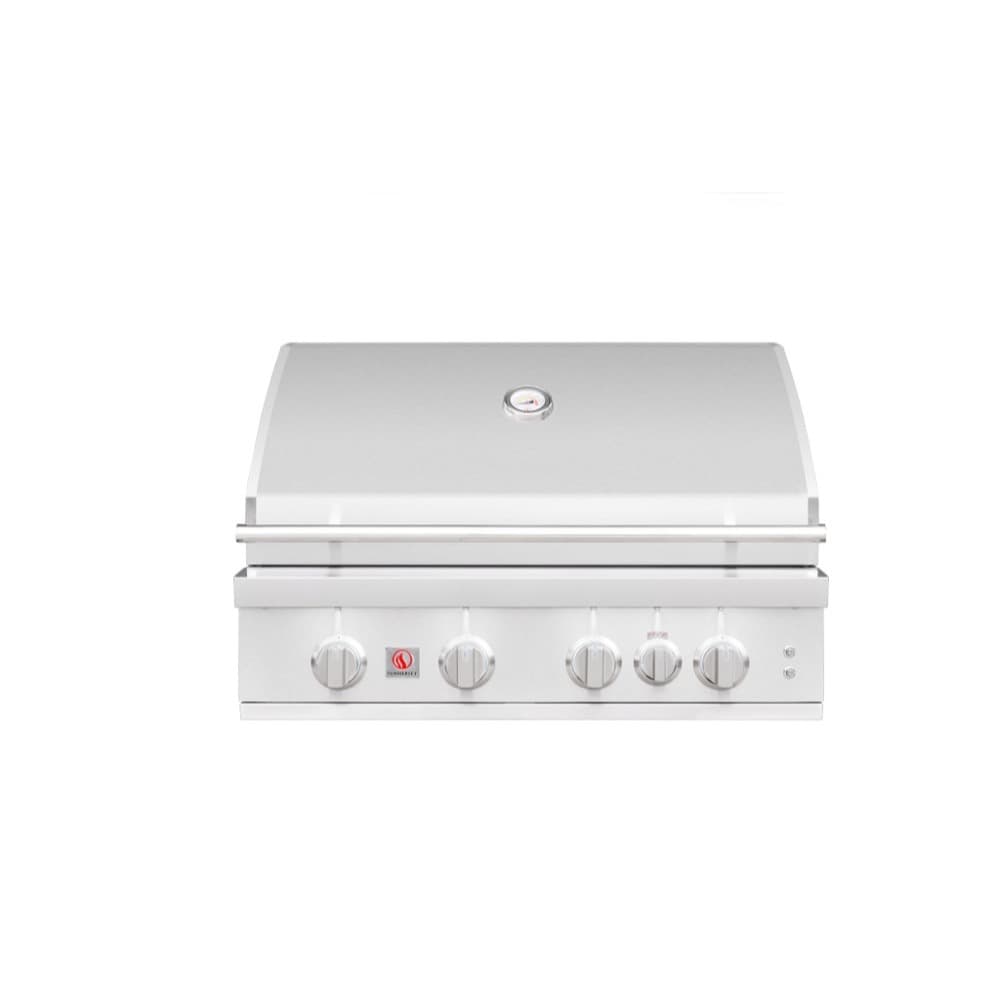
Summerset Grills Sizzler Pro 32-Inch 4-Burner Built-In Gas Grill with Rear Infrared Burner
Built-In Grills
From $2,799
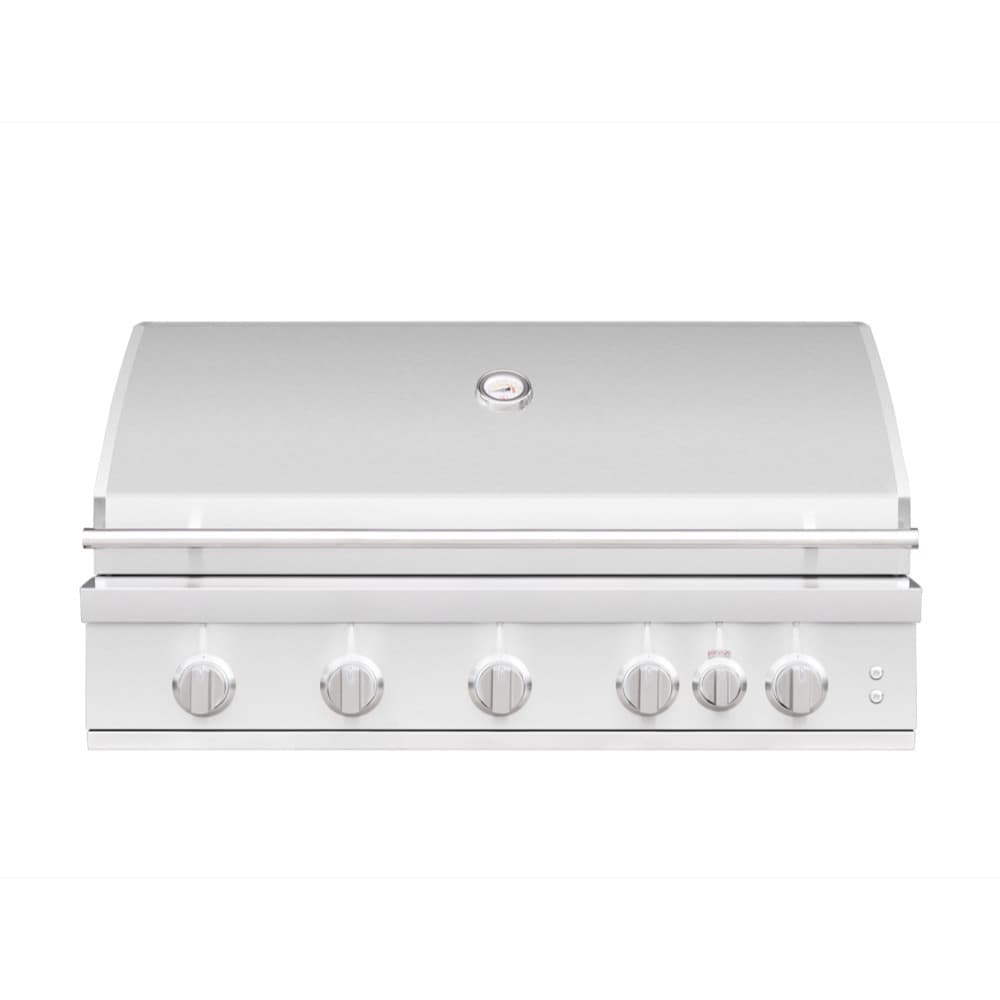
Summerset Grills Sizzler Pro 40-Inch 5-Burner Built-In Gas Grill with Rear Infrared Burner
Built-In Grills
From $3,199

Summerset Grills Pro Series 30-Inch 2-Burner Freestanding Gas Commercial Style Flat Top Griddle
Flat Top Griddles
From $3,548
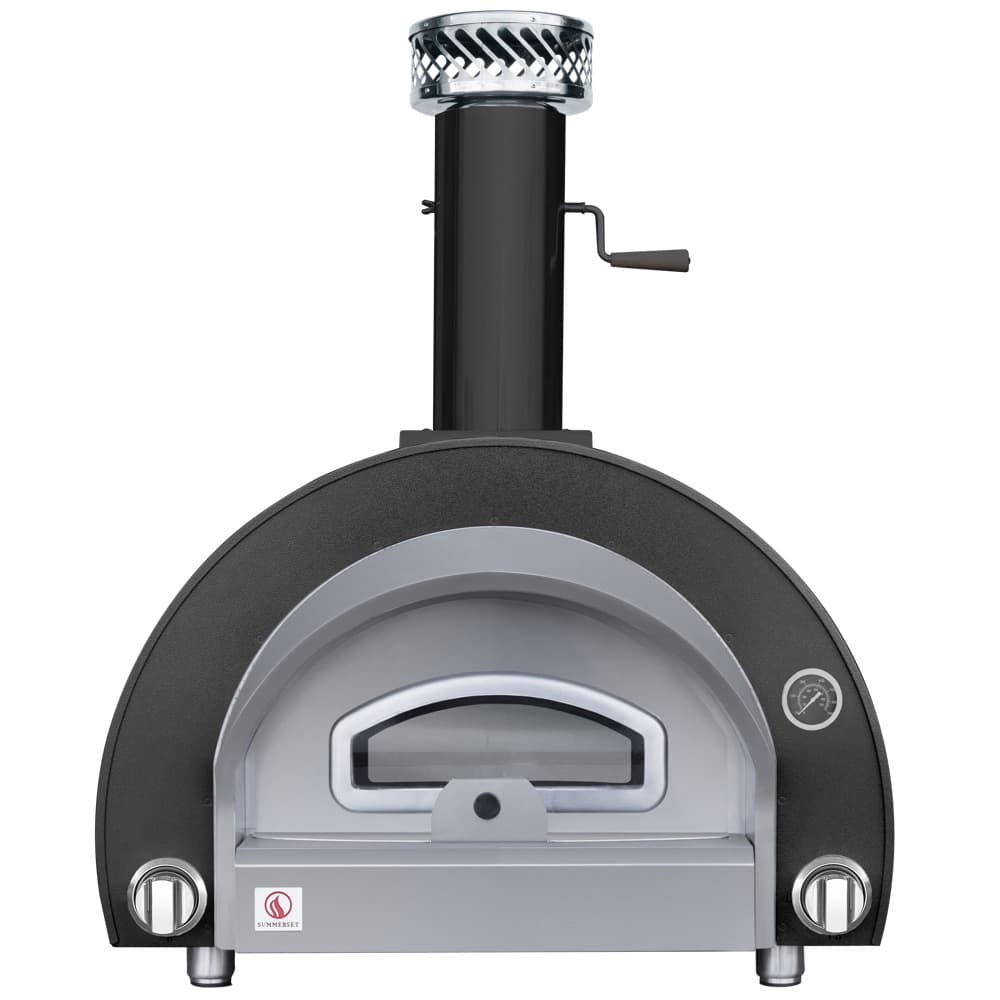
Summerset Grills Countertop Hybrid Gas & Wood-Fired Outdoor Pizza Oven
Outdoor Pizza Ovens
From $3,999
Was this guide helpful?
Shopping for Summerset?
See Summerset products