Summerset guides
Summerset owner guides
Maintenance, winterization, and how-to guides for Summerset owners, written by the team that sells and services it.
Installation
Setup, clearances, and gas hookup basics.

Summerset TRL Pro Built-In Installation (32 and 40)
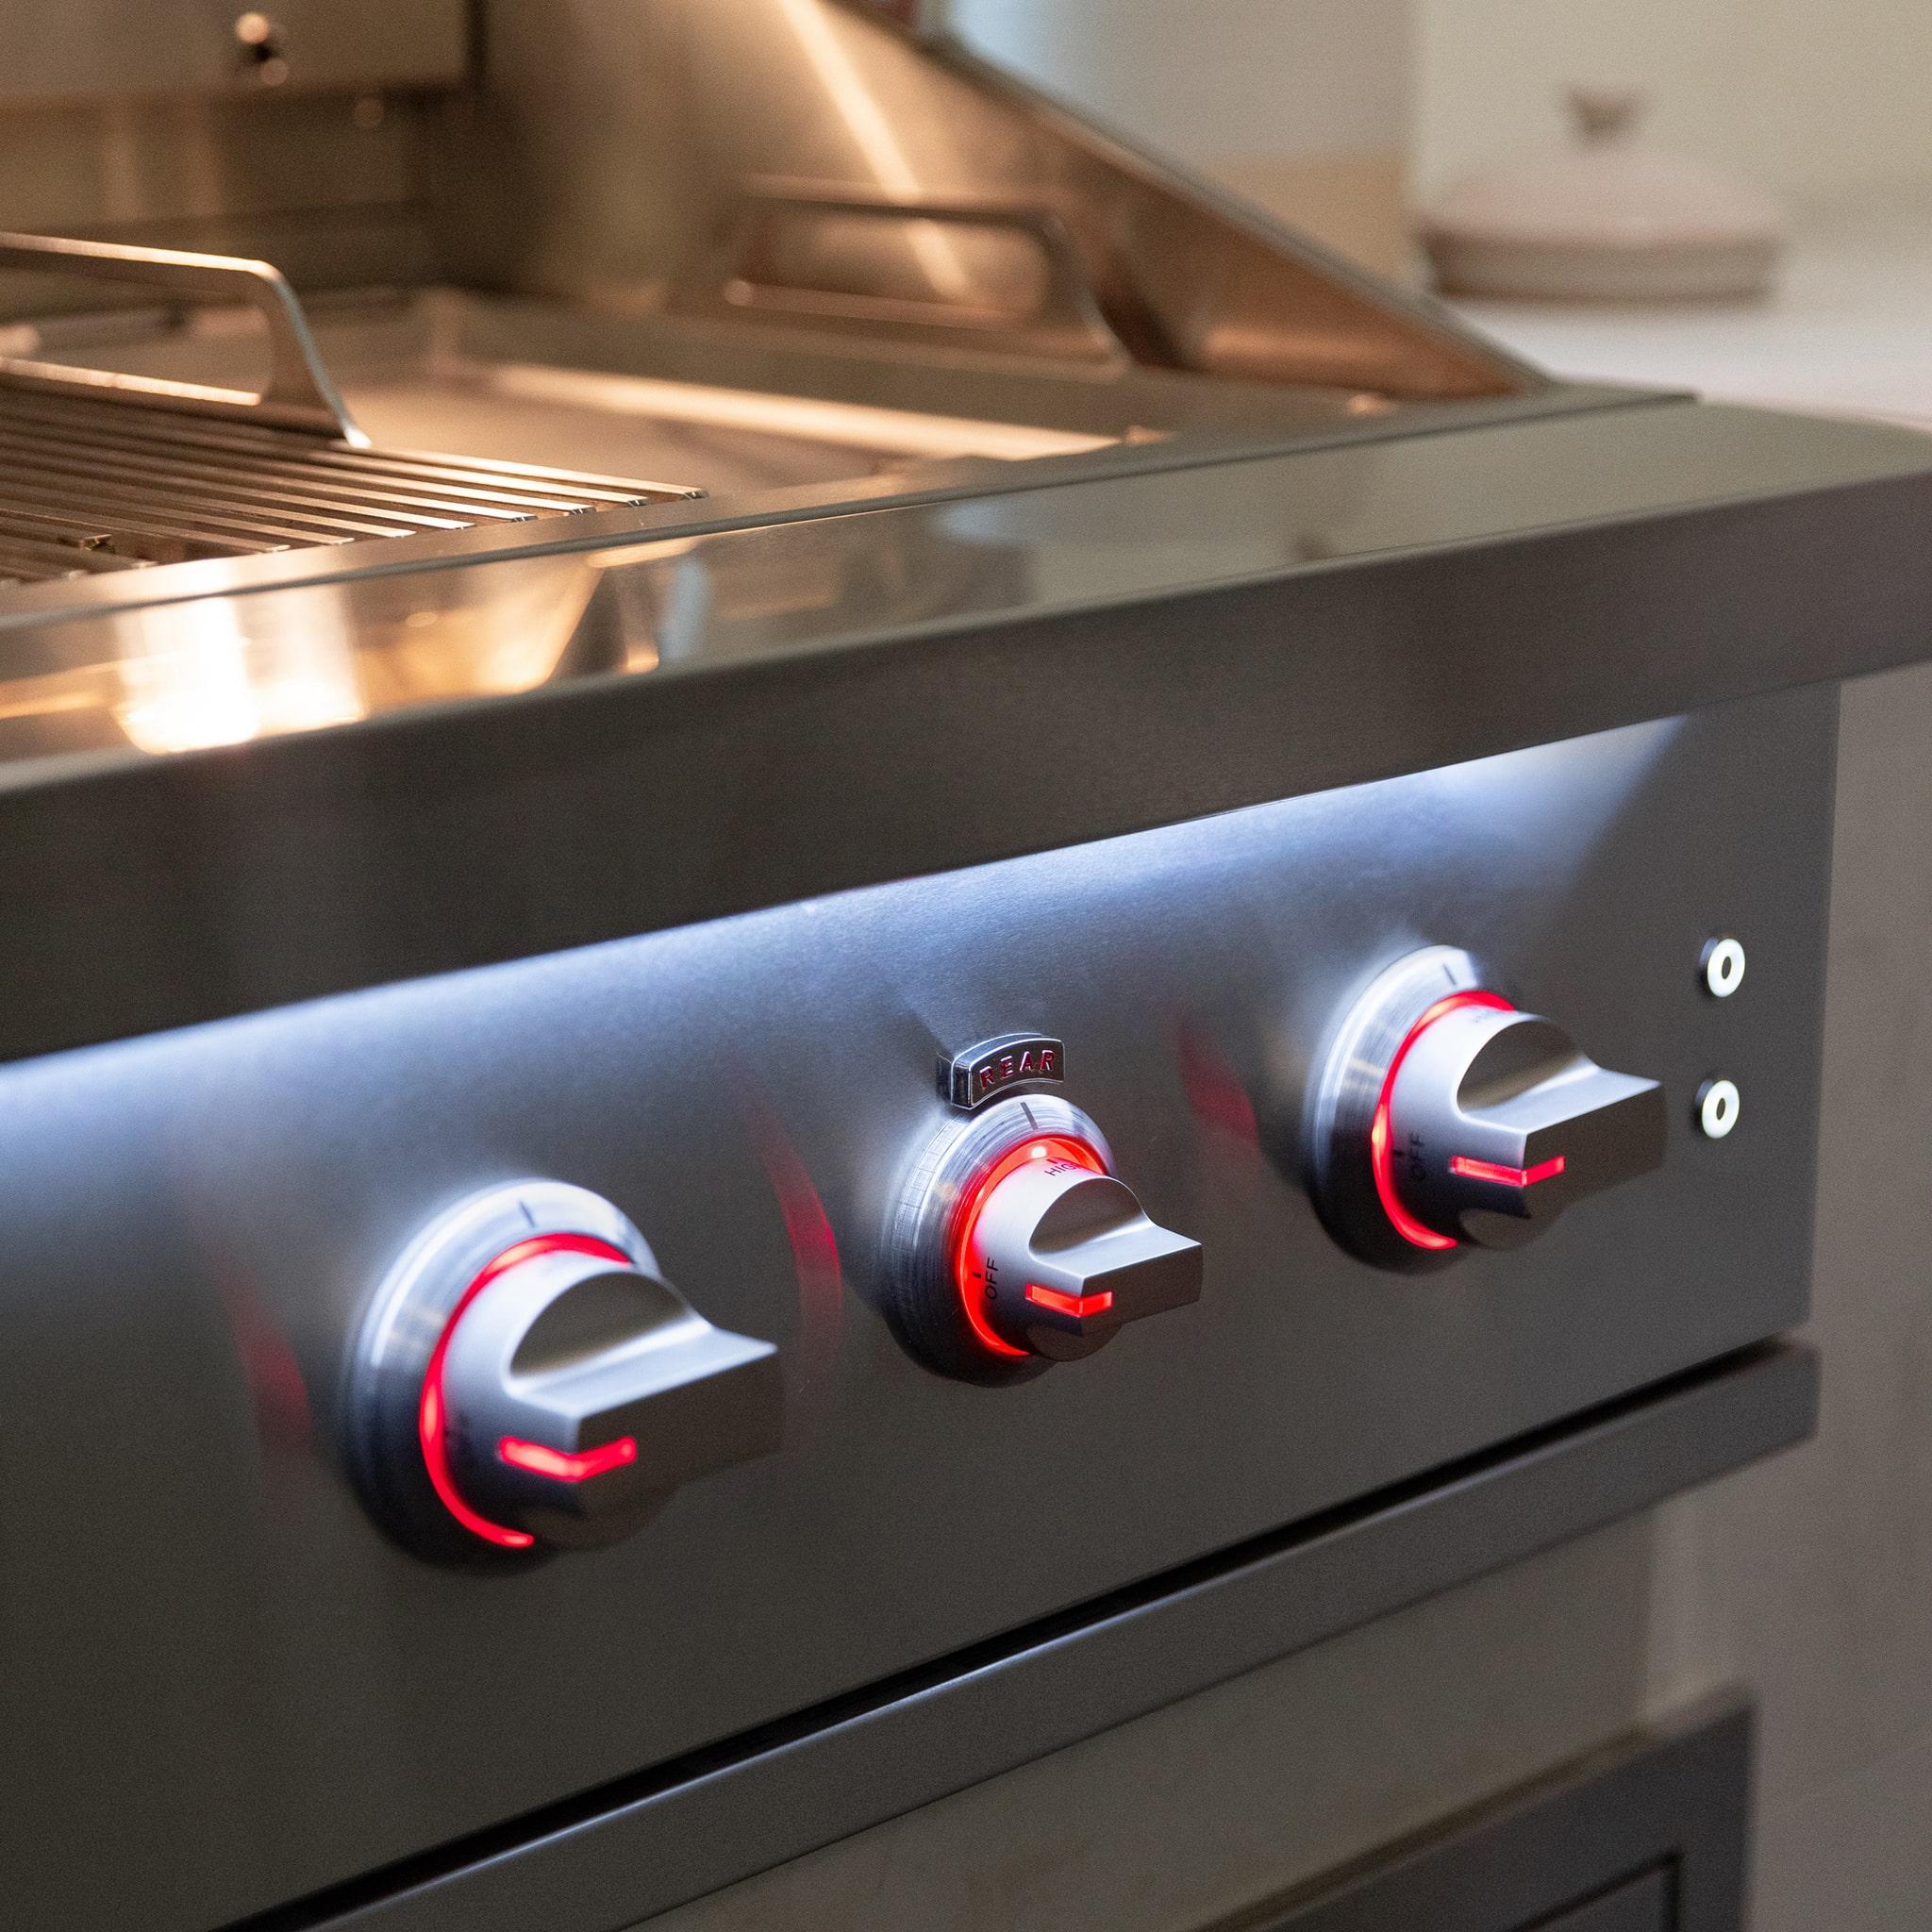
Installing a TRL Pro 32 or 40 built-in grill is a three-stage job: frame the cutout to the correct dimensions, run the gas line to the specified fitting, and perform a soapy-water leak test before the first fire. Plan on about 90 minutes once the island cutout is already done and gas is stubbed in. A finished install needs ventilation on three sides and a grounded 120V outlet for the backlit LED knob rail.
90 minUpdated Nov 8, 2026Open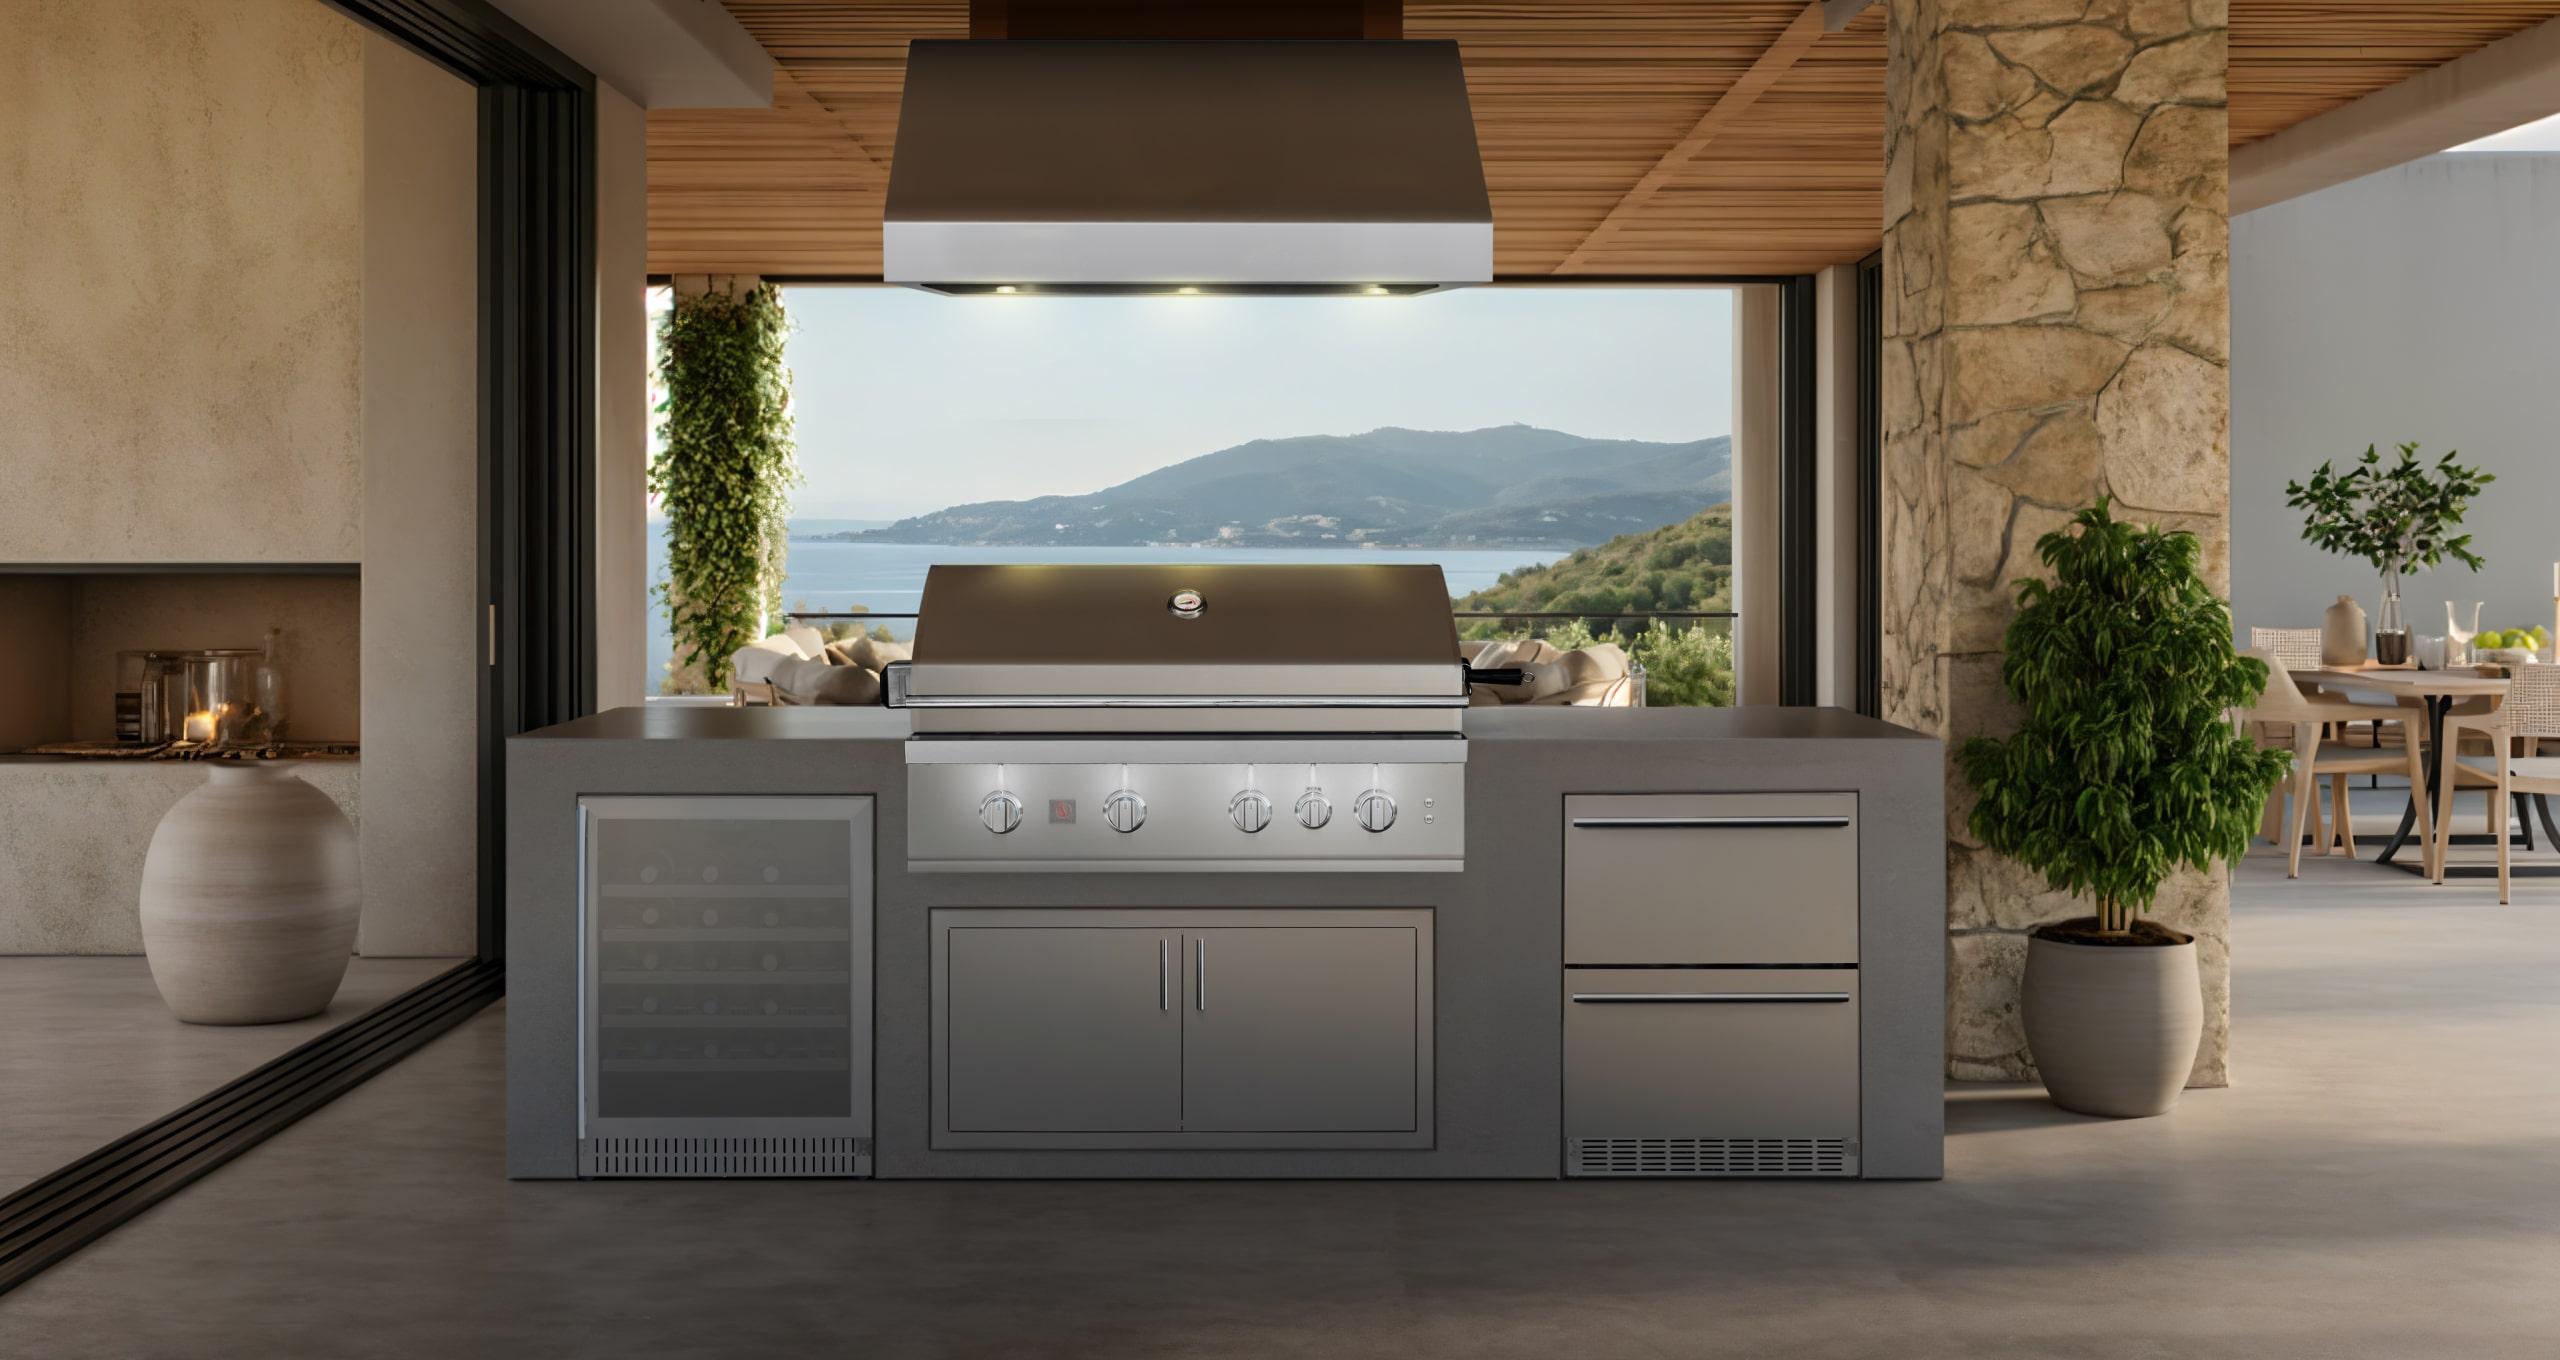
Summerset Sizzler Pro Built-In Installation (32 and 40)
Sizzler Pro 32 and 40 share the TRL Pro's cutout envelope but drop the sear burner, which simplifies the install. Expect about 75 minutes once the island cutout is done and gas is stubbed. The LED knob rail still needs 120V, and ventilation and leak-test rules are identical to TRL Pro.
75 minUpdated Nov 8, 2026Open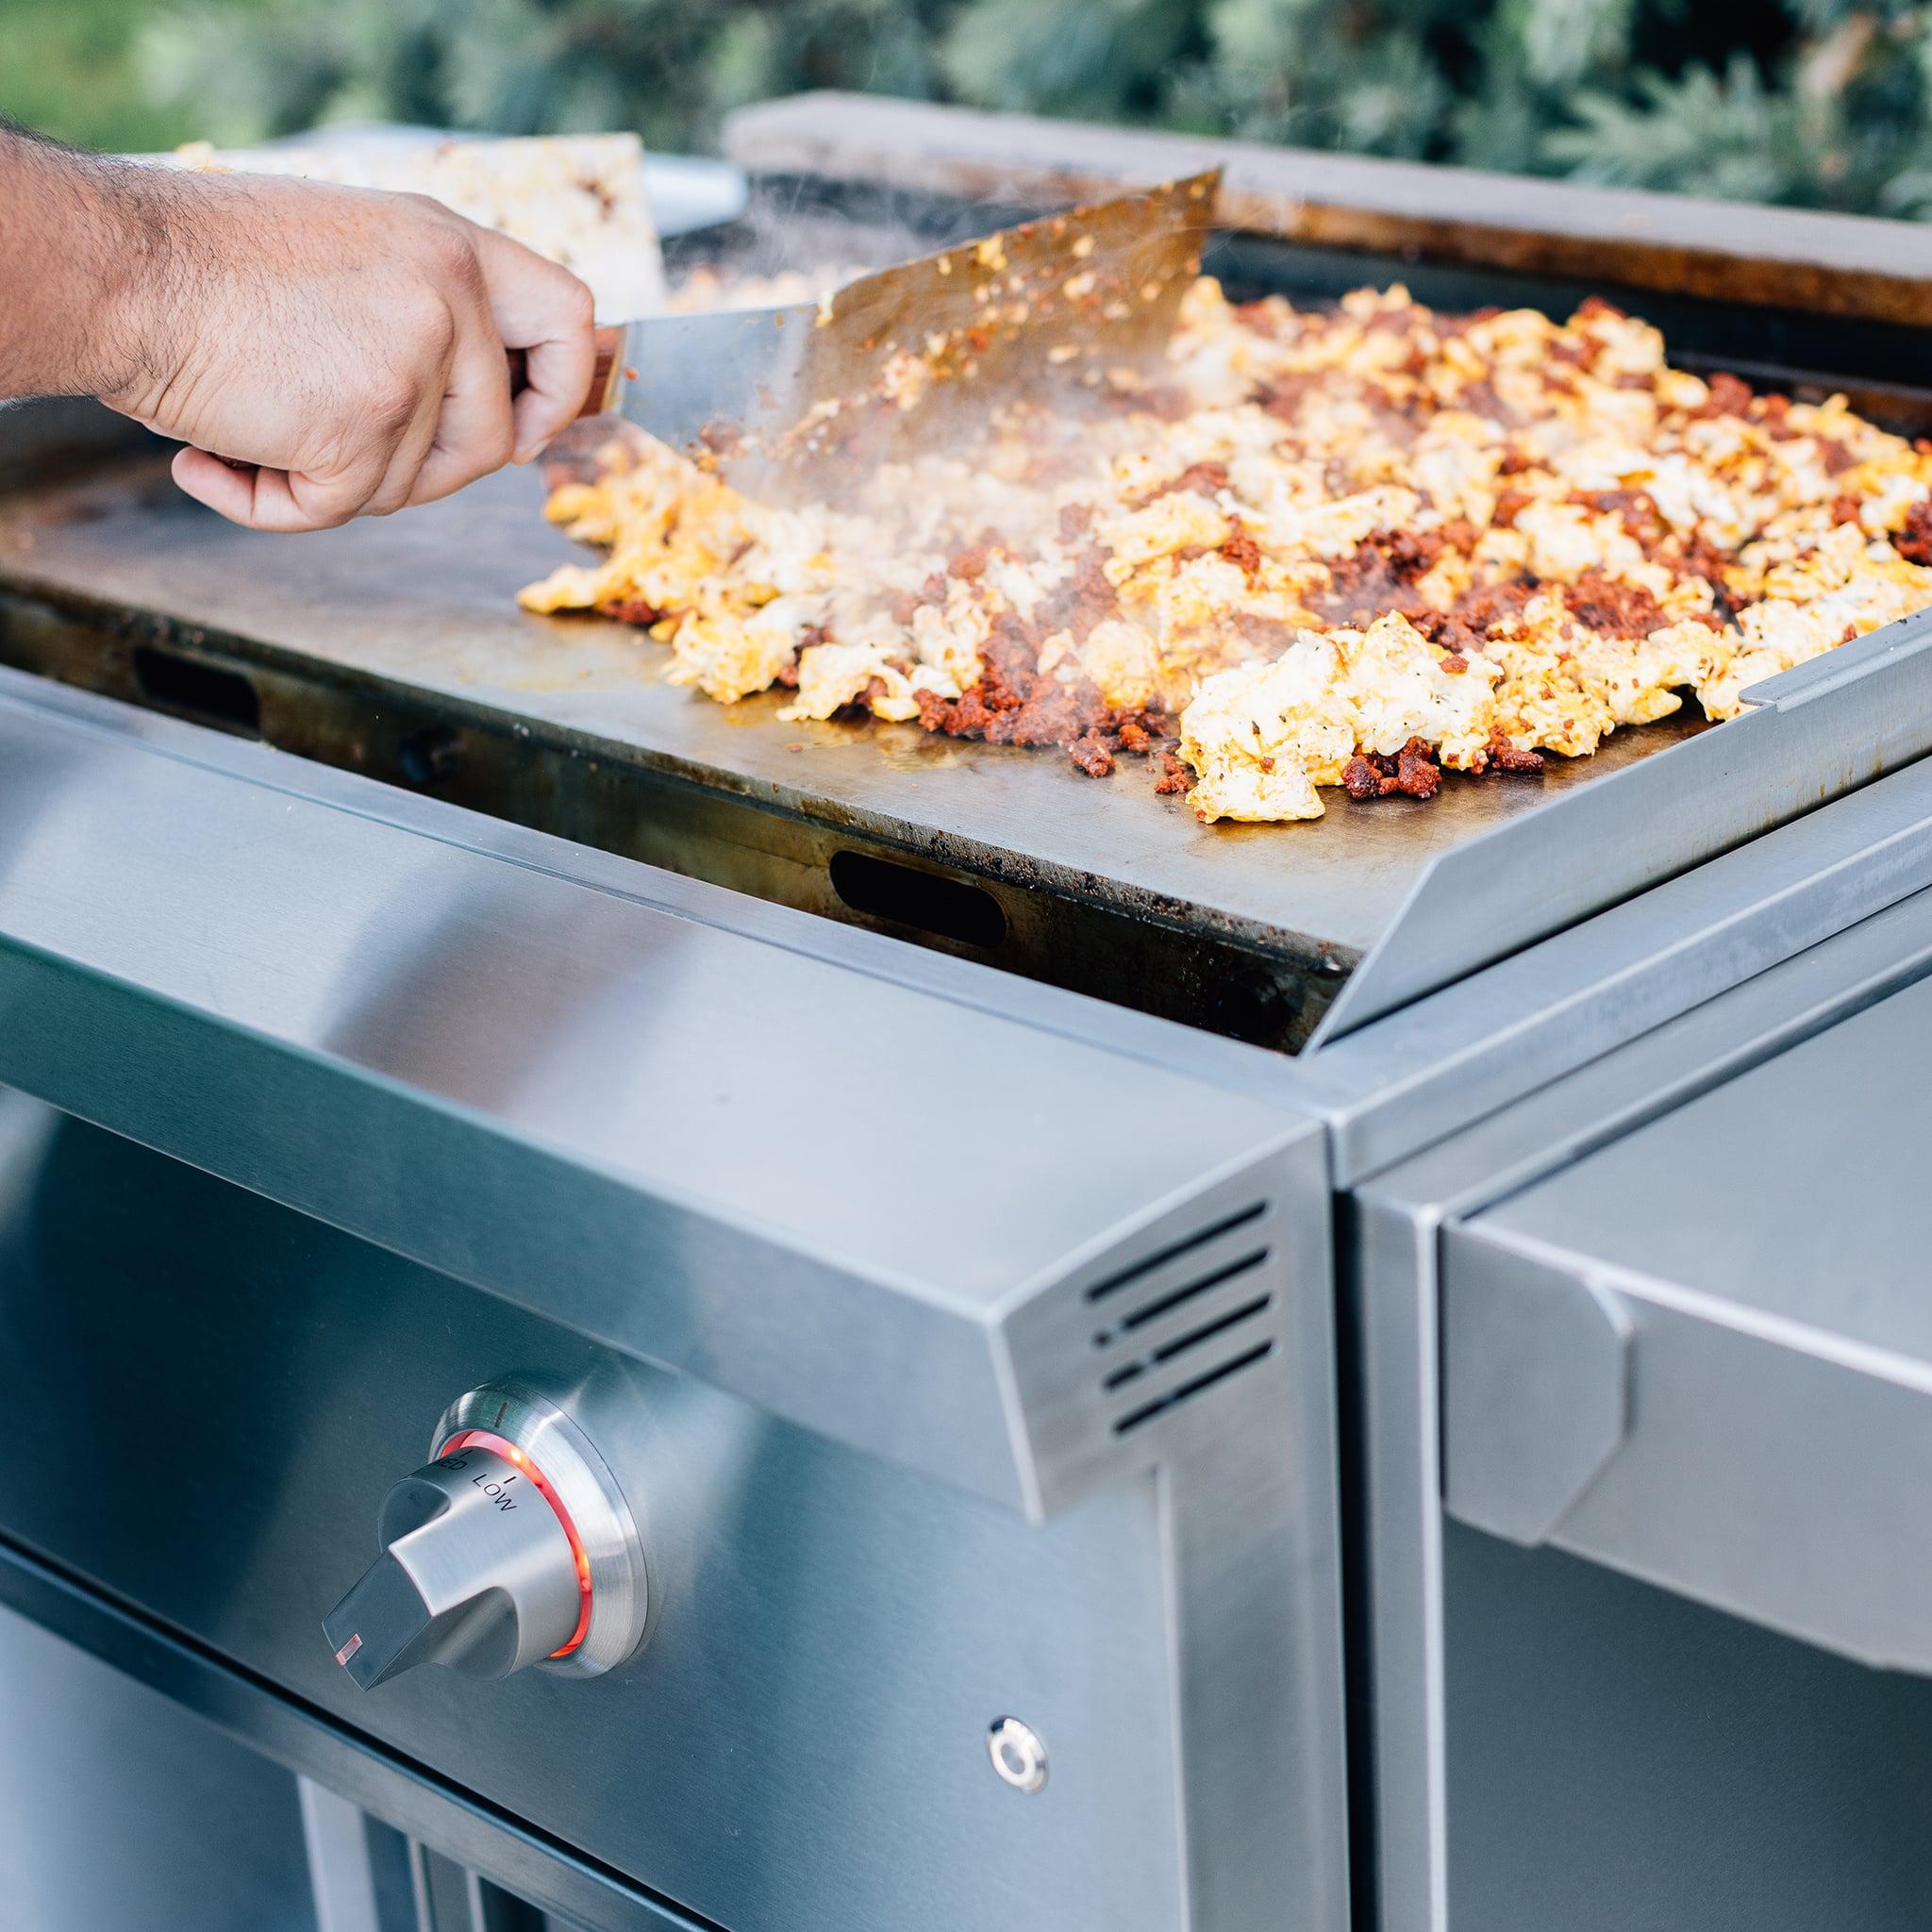
Summerset Sizzler Built-In Installation
The base Sizzler (SZR) is the easiest built-in install in the Summerset lineup — no LED harness means no 120V run, no sear-burner backing plate to worry about. Plan on about 60 minutes once the cutout is framed and gas is stubbed.
60 minUpdated Nov 8, 2026Open
Summerset Quest Installation (Built-In or Cart)
Quest is the entry-tier Summerset and is designed cart-first with a built-in option. Cart install is about 30 minutes — mostly cart assembly from the box. A built-in Quest install is about 60 minutes once the cutout is framed.
45 minUpdated Nov 8, 2026Open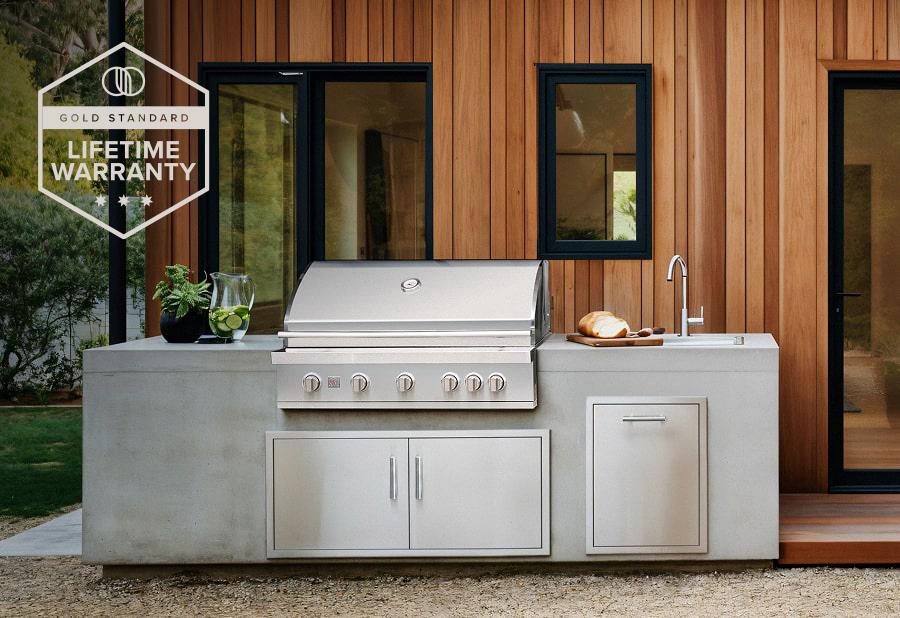
Summerset Resort Setup (Mobile Freestanding)
The Resort is Summerset's mobile grill, built for cart use with commercial-rated serviceability and the Gold Standard Warranty. Setup from the shipping carton is about 40 minutes of cart assembly plus a 10-minute leak check and first fire. No cutout, no gas-line rough-in.
50 minUpdated Nov 8, 2026Open
Summerset Griddle Pro Setup and First Season
The Griddle Pro is a cold-rolled steel flat-top griddle on a knock-down cart. Setup is cart assembly plus a required three-pass seasoning on the plate before the first cook. Plan on about 90 minutes total — 45 minutes for the cart, 45 minutes for the seasoning cycles.
90 minUpdated Nov 8, 2026Open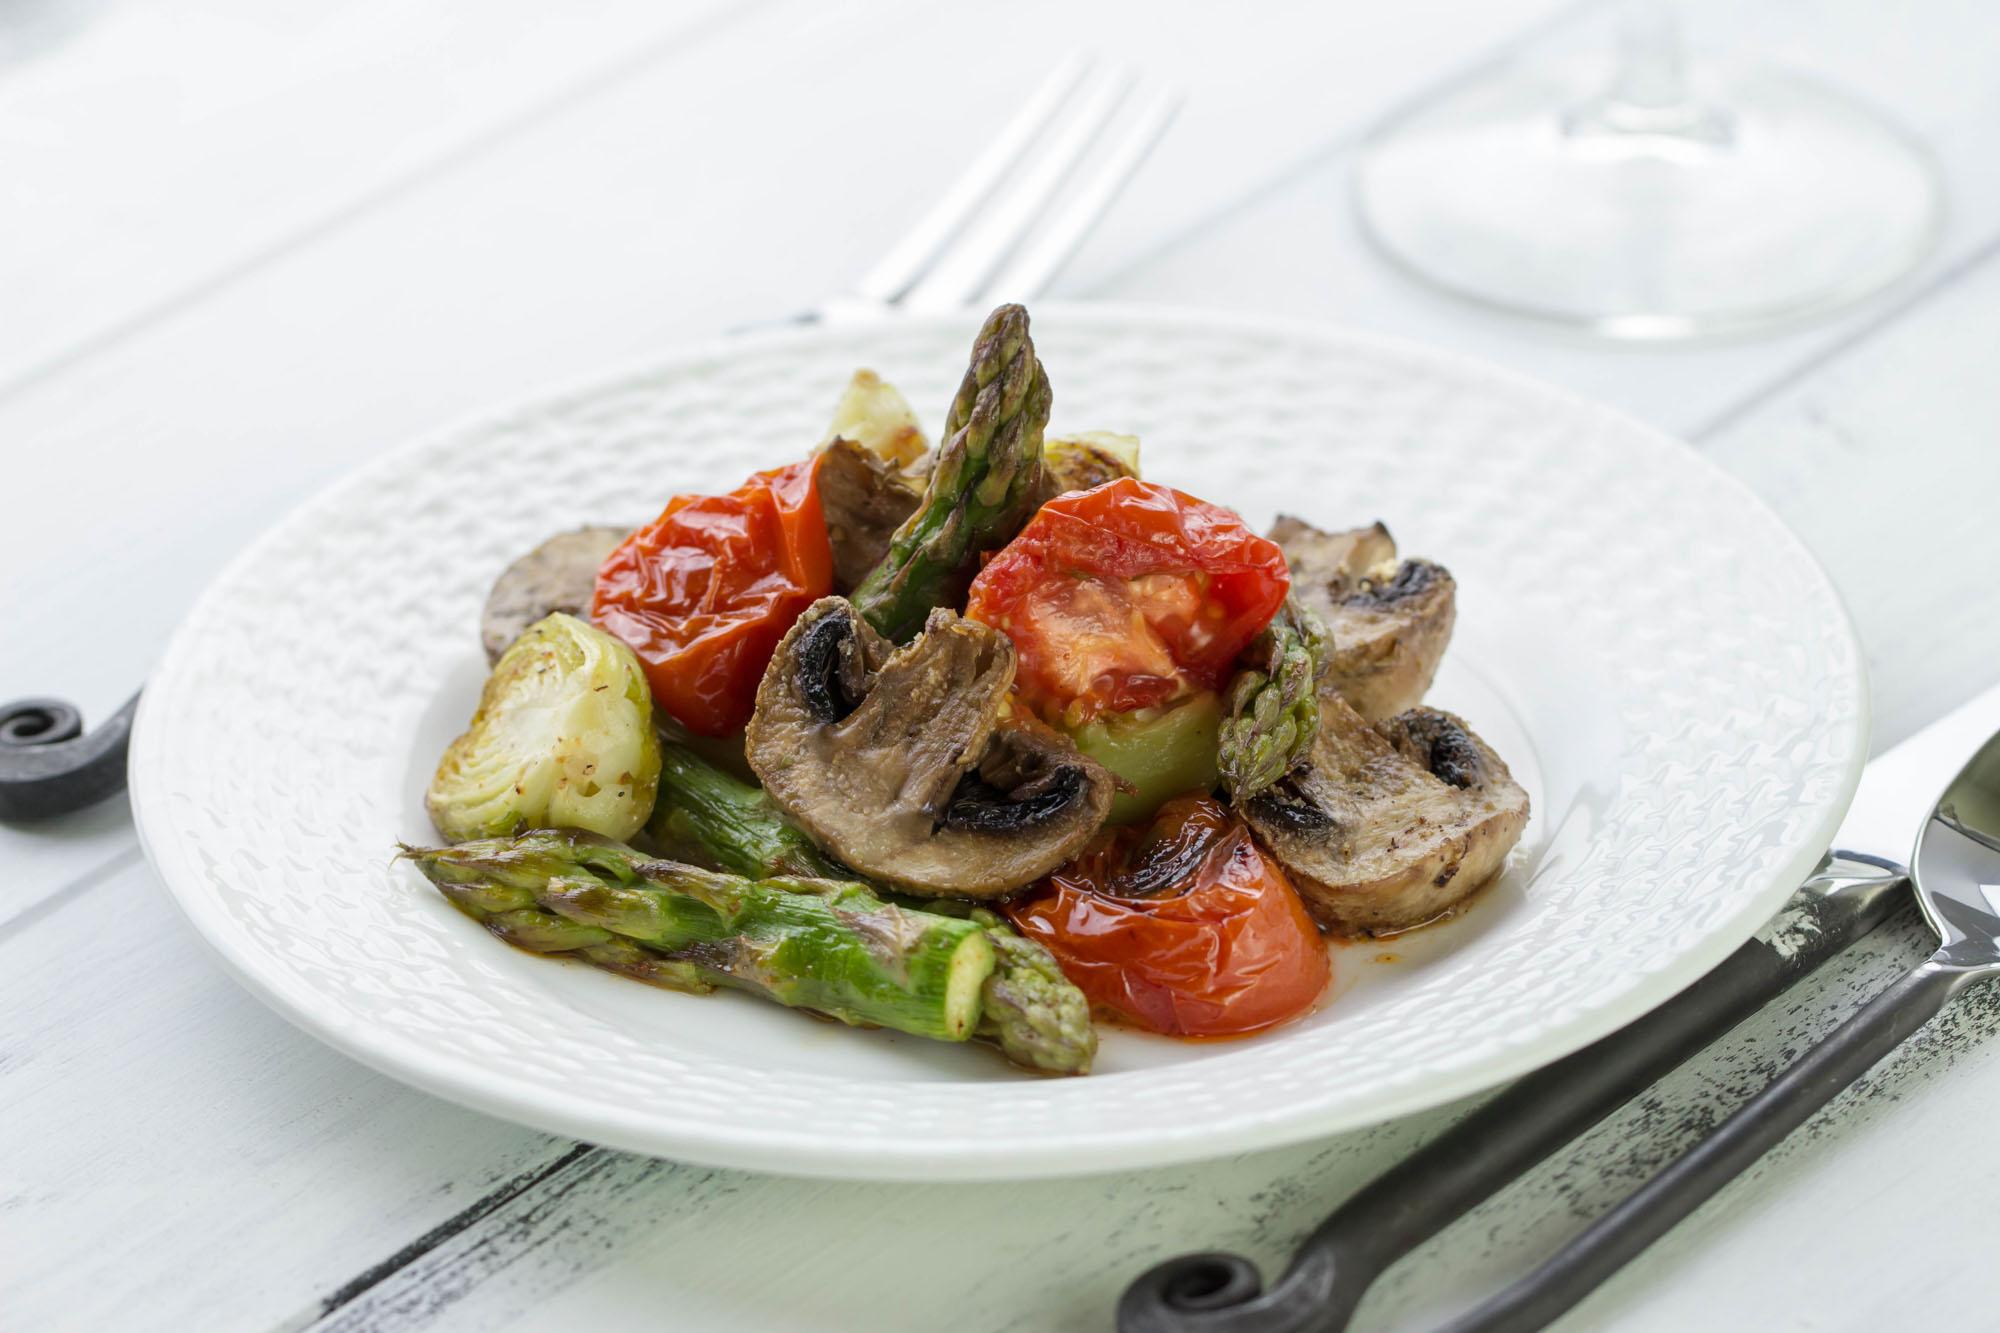
Summerset Hybrid Gas Oven Installation
The Hybrid Gas Oven is a built-in pizza-and-bake oven that runs on gas with convection circulation. Install is similar to a built-in grill but with specific ventilation top-louver clearances and a dedicated 120V run for the convection fan. Plan on about 80 minutes once the cutout is framed.
80 minUpdated Nov 8, 2026Open
Maintenance
Cleaning and upkeep that keeps it running.
How to Clean and Maintain a Summerset Grill
A Summerset grill is built in Huntington Beach, California to a stainless-steel standard that rewards a steady cleaning cadence more than any harsh chemical. Brush the grates after every cook, pull the heat distribution plates every three or four cooks, and keep the LED knob housings dry. Plan on about 40 minutes for a quarterly deep clean.
40 minUpdated Nov 8, 2026OpenSummerset Griddle Plate Care, Seasoning, and Rust Recovery
A Summerset griddle plate is cold-rolled steel, not stainless — it depends on a layer of polymerized oil (seasoning) for its non-stick behavior and rust resistance. Daily care is scrape-wipe-oil while warm. Rust recovery from a neglected plate is a three-pass seasoning cycle, same as a brand-new plate.
20 minUpdated Nov 8, 2026Open
Troubleshooting
Igniters, flames, and heat problems.
Ignition & Hot Rod
Hot rods, igniters, and startup failures.
Winterization
Shut down and store it for the off-season.
Parts & Accessories
Finding the right replacement part.
Accessories
Rotisseries, griddles, side burners, covers.
Summerset Side Burner Installation (Single and Double)
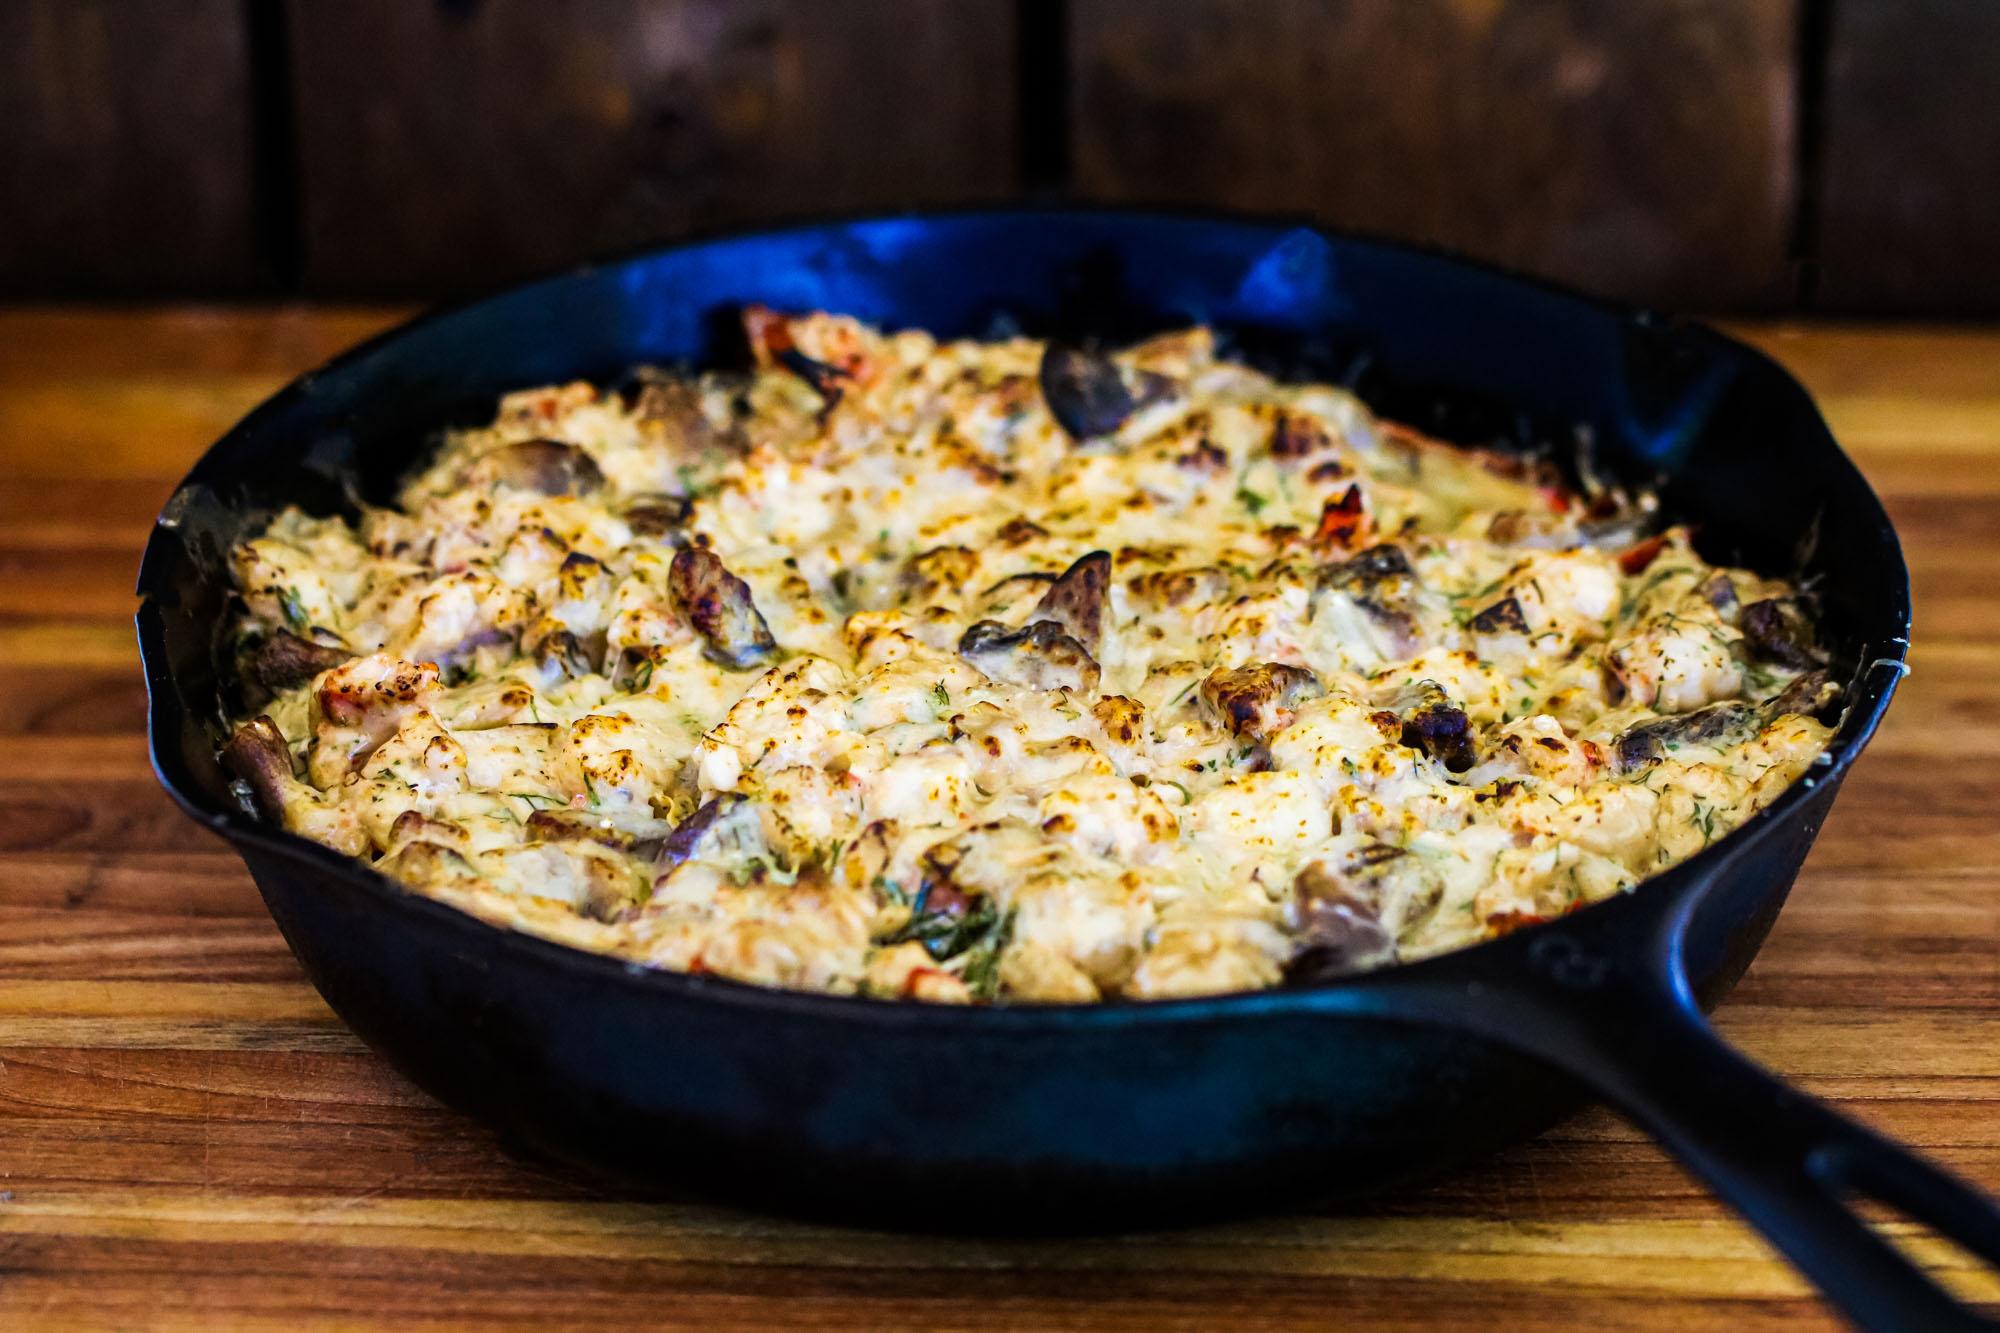
Summerset single and double side burners are built-in accessories that drop into a dedicated cutout beside the main grill. Install is about 40 minutes once the cutout is framed and gas is stubbed. Both the Single Side Burner and Double Side Burners manuals use the same install envelope — the double just has two cutout widths.
40 minUpdated Nov 8, 2026Open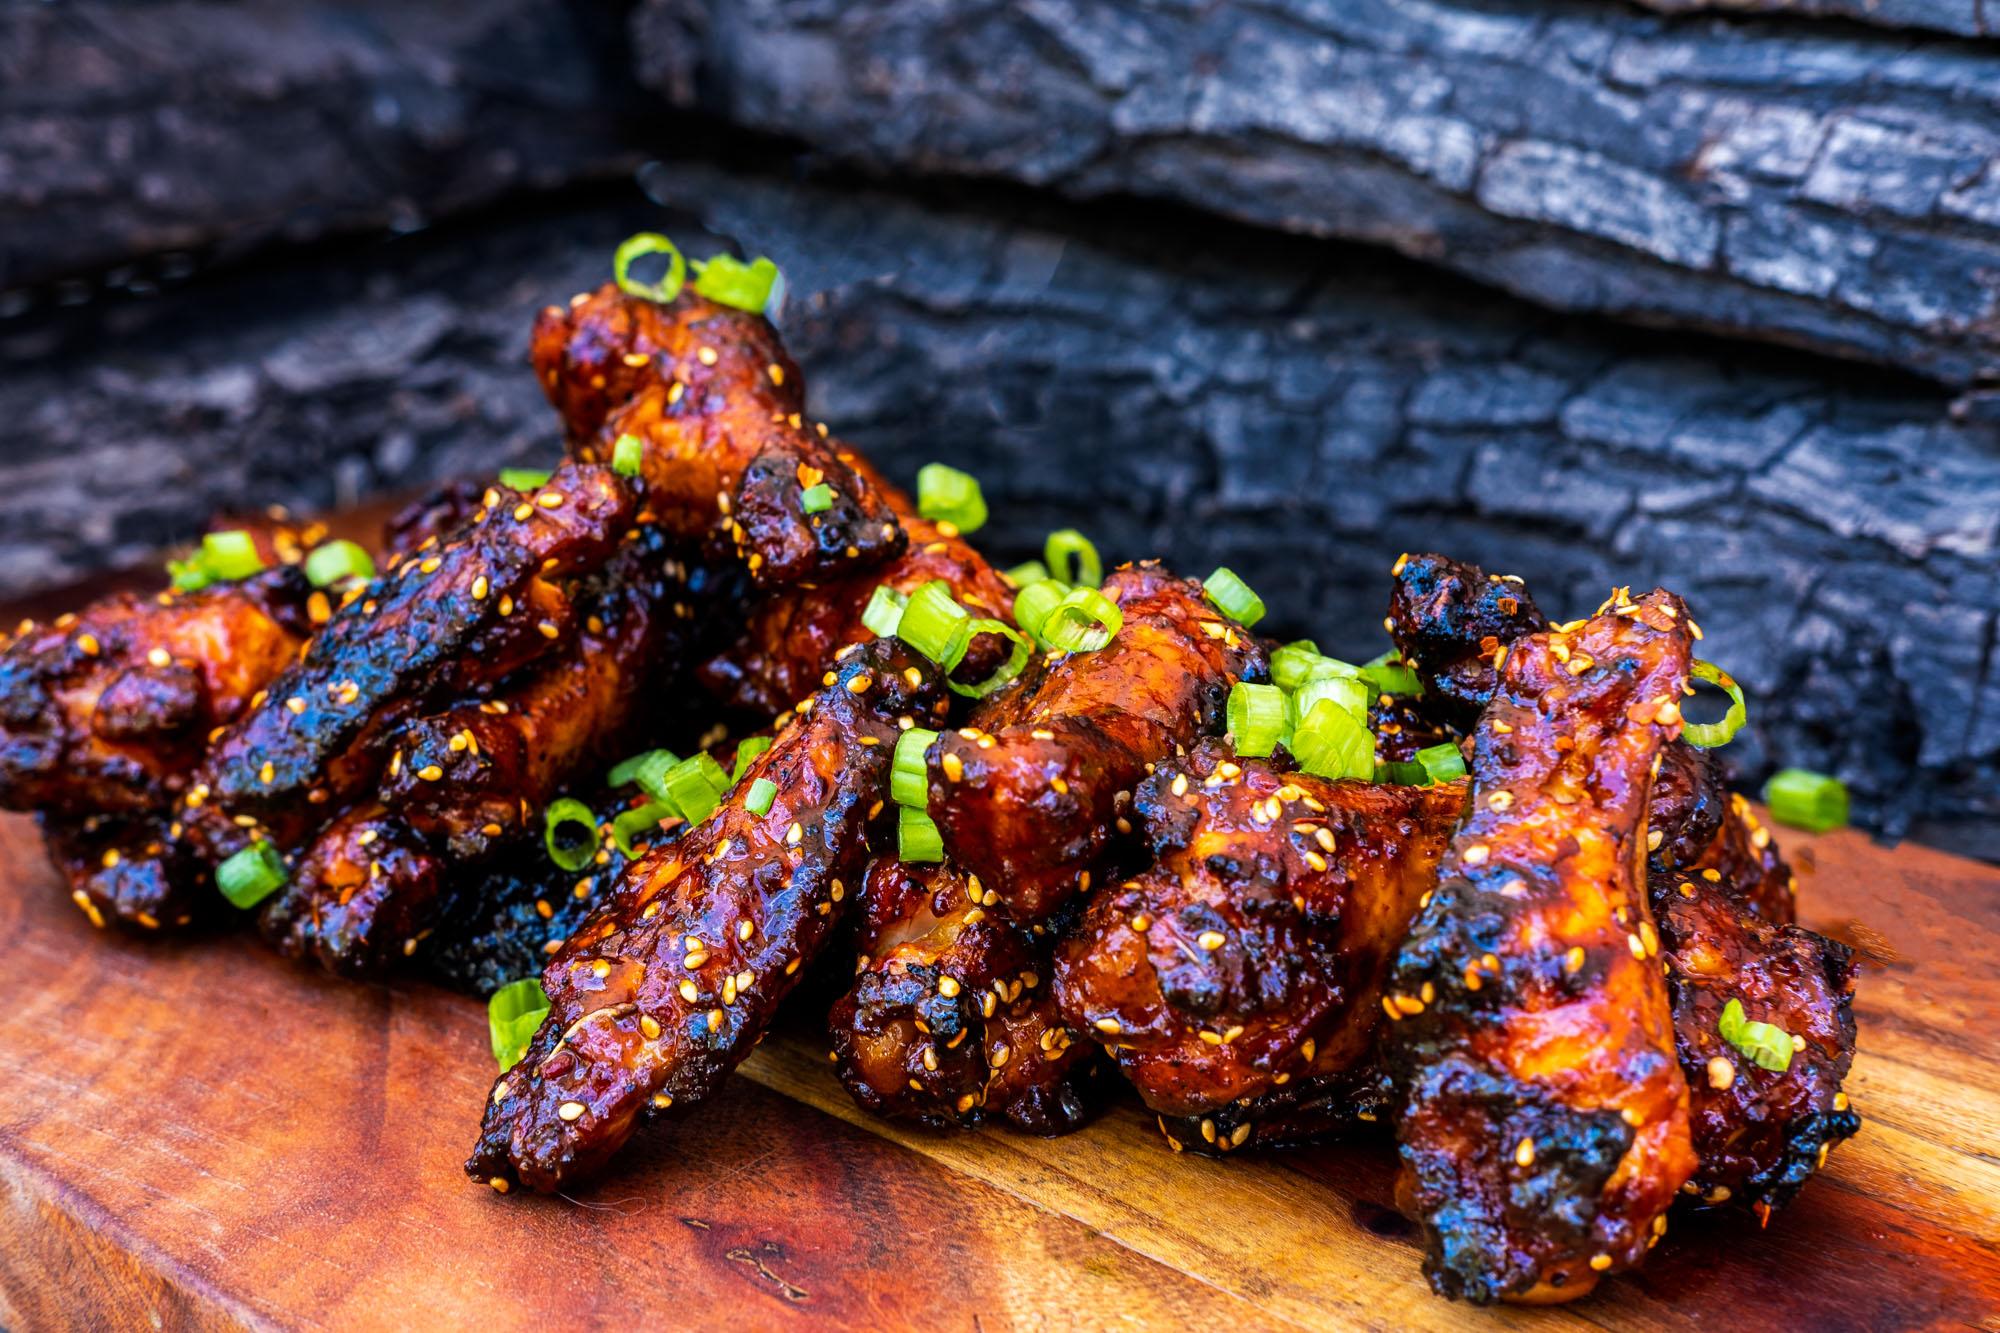
Summerset Power Burner Installation
The Power Burner is Summerset's high-output open-flame burner for boiling, frying, and stock-pot cooking. It drops into a dedicated built-in cutout next to the main grill. Install is about 45 minutes once the cutout is framed and gas is stubbed. Draws about 60,000 BTU — plan line sizing accordingly.
45 minUpdated Nov 8, 2026Open
Summerset Vent Hood Installation (Covered Outdoor Kitchens)
A Summerset vent hood is required for any covered outdoor kitchen where the grill is installed under a roof, pergola with solid panels, or in any enclosed cavity. Install requires a ducted run to outside air plus an electrical run for the fan. Plan on about 2-3 hours including the duct routing. Hire a licensed electrician for the hardwired fan connection.
150 minUpdated Nov 8, 2026Open
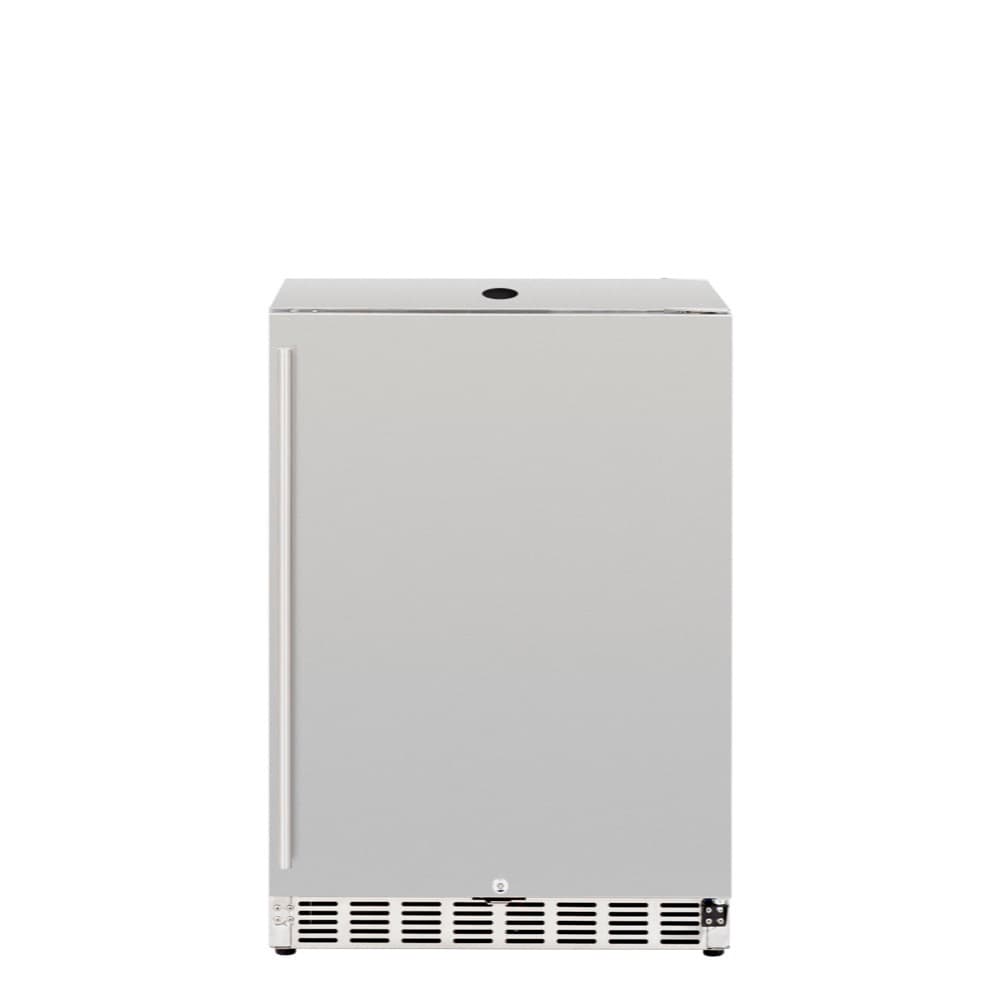
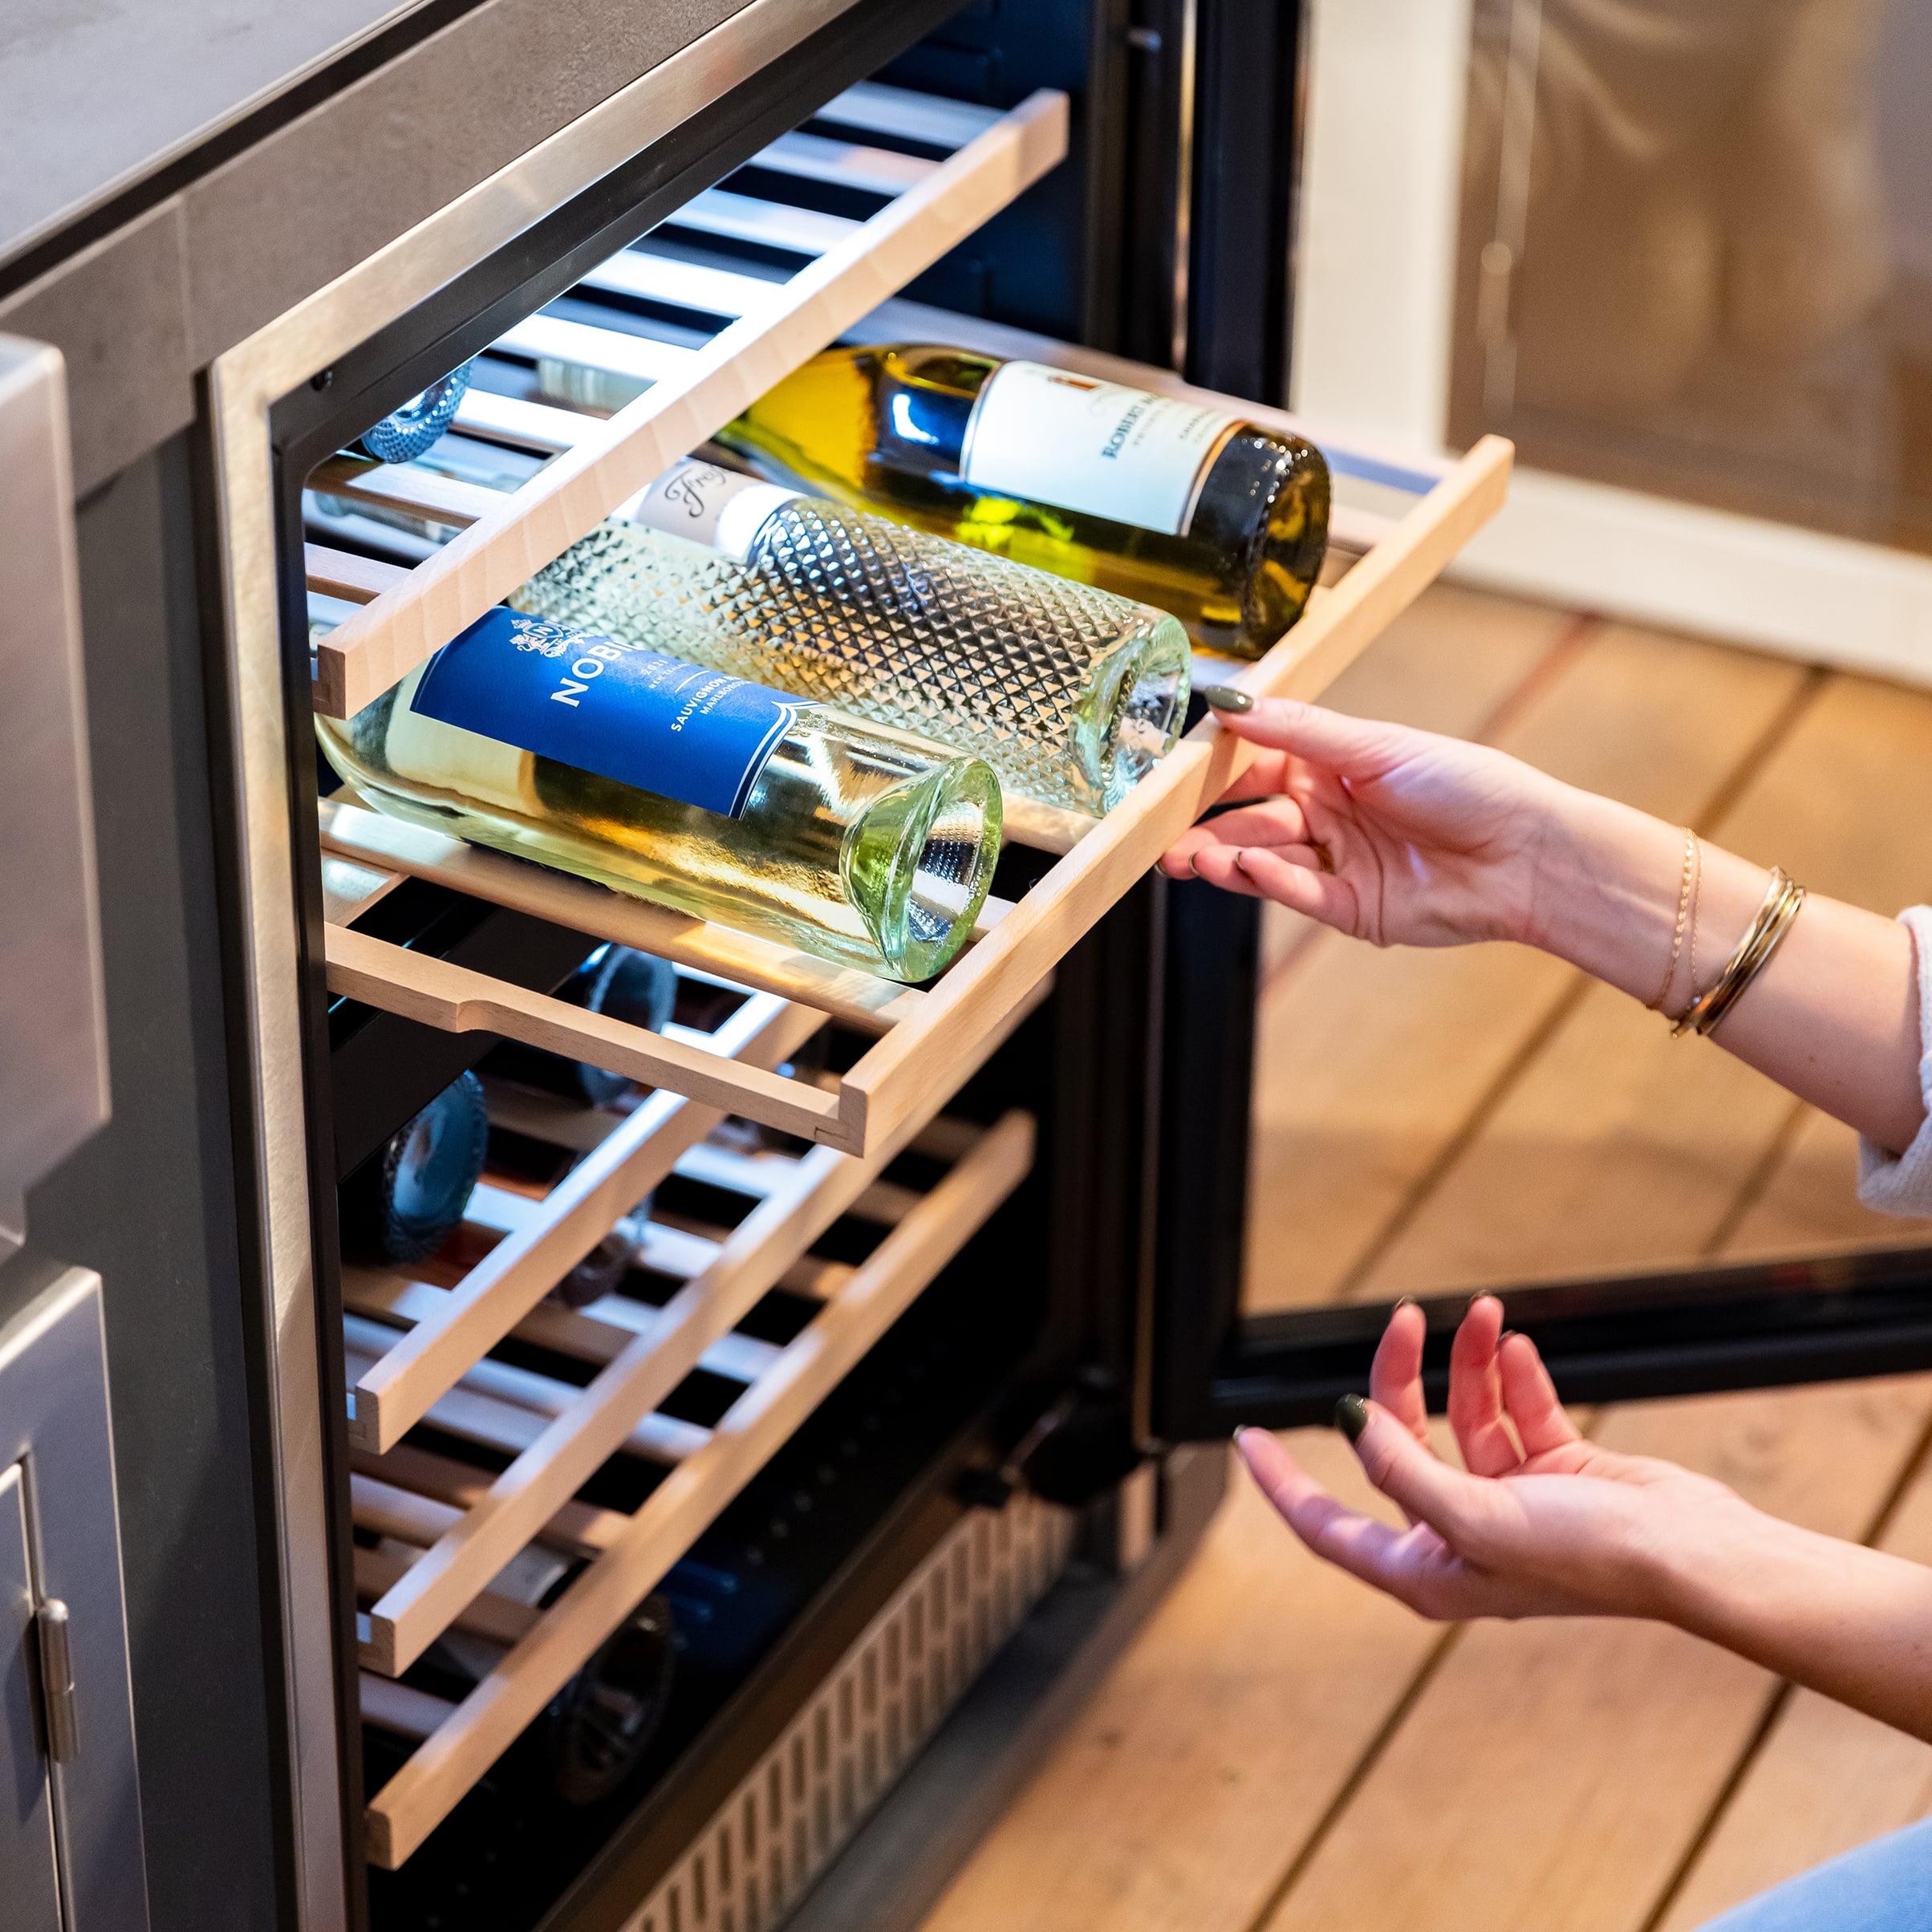
Summerset Outdoor Refrigerator Built-In Installation (15, 22, 24-inch)
Summerset outdoor refrigerators ship in three widths — 15", 22", and 24" — plus a double-door 24" variant. Install is a built-in cutout with a 120V outlet and a drain line. Plan on about 60 minutes once the cutout is framed and electrical is roughed in.
60 minUpdated Nov 8, 2026Open
How to Reverse the Door Swing on a Summerset Refrigerator
Most Summerset outdoor refrigerators ship right-hand-open and support conversion to left-hand-open. The procedure is about 30 minutes with the refrigerator unplugged and a Phillips screwdriver. Done before install if you know the swing you want, or after install if you realize the swing is wrong.
30 minUpdated Nov 8, 2026Open
Warranty
What is covered and how to claim.
Buying Help
Which model fits your space and budget.
Coming soon
- Fuel & Conversion