Summerset · Installation
Summerset Quest Installation (Built-In or Cart)
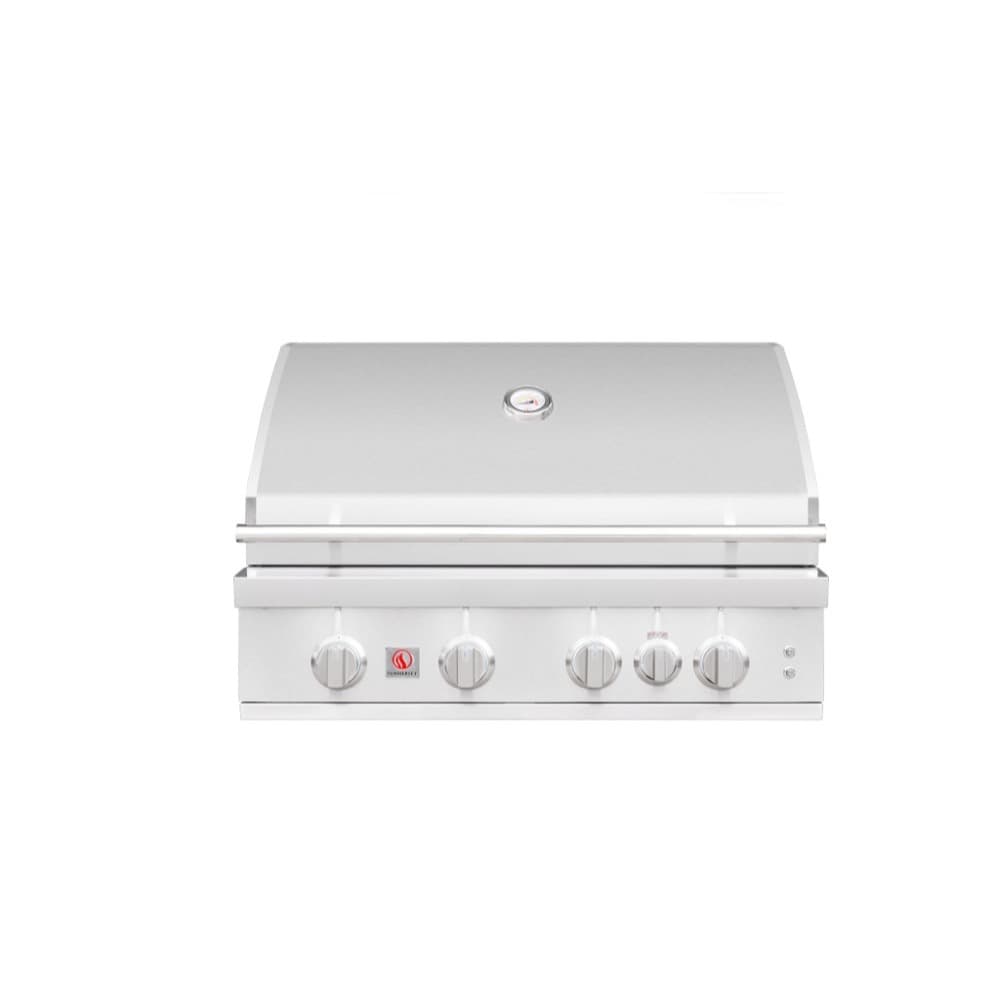
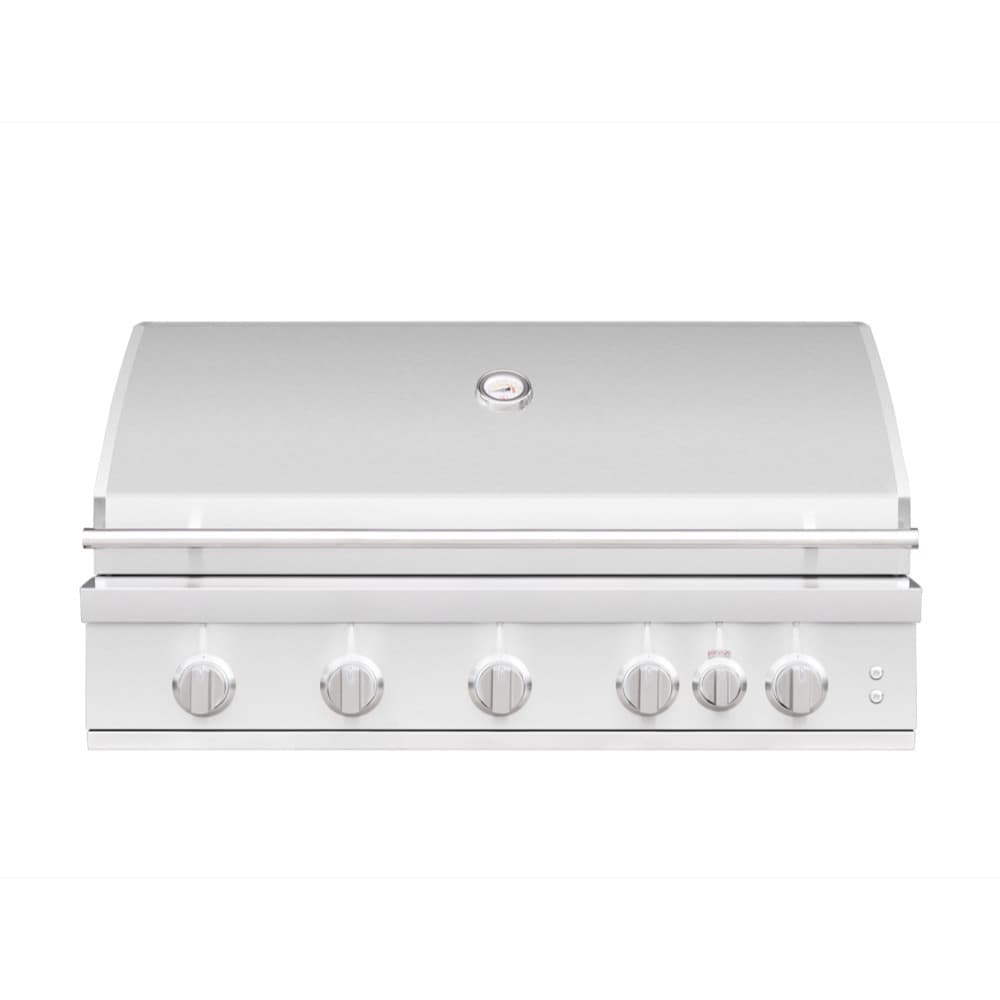
Quest is the entry-tier Summerset and is designed cart-first with a built-in option. Cart install is about 30 minutes — mostly cart assembly from the box. A built-in Quest install is about 60 minutes once the cutout is framed.
By Reed · Updated November 8, 2026
What you need
- Phillips and flat-head screwdrivers
- Adjustable wrench
- Rubber mallet (for cart leg alignment)
- Tape measure (built-in only)
- Pipe thread sealant and leak-test spray (built-in only)
Quest install reference
- Built-in cutout
- 29 15/16" W x 21" D x 10 1/4" H
- Cart size (assembled)
- Approx. 56" W x 24" D x 44" H
- Gas
- LP ships standard; NG conversion kit optional
- Electrical
- None required
- Grill head weight
- 80 lb
Step by step
Decide cart or built-in
Quest is cart-first. The cart kit ships in a knock-down carton and takes about 20 minutes to assemble with the manual's hardware bag and torque sequence. Built-in Quest is a secondary install path and uses a smaller cutout envelope than the Pro models.
For cart install: follow the Knock-Down assembly manual
Lay out the cart hardware bag on a clean surface. The assembly sequence is leg frame > cross brace > side panels > caster plate > grill head mount. Hand-tighten every bolt first, then torque in sequence per the manual to avoid frame racking. Skipping the torque sequence is the number-one cause of a cart that wobbles after a season.
For built-in install: verify cutout
Quest built-in needs a 29 15/16" W x 21" D x 10 1/4" H cutout. Ventilation requirements match Sizzler. Gas inlet is right-rear underside, 3/8" flare on LP only (Quest ships LP; NG conversion is a separate kit).
Connect gas and leak-test
On cart: attach the regulator to a filled 20-lb LP tank in the cart's tank bay. On built-in: connect to the LP stub. Spray every union with soapy water and watch for bubbles. Do not light until clean.
First-fire and burner check
Open the lid, click each burner one at a time. Watch for even flame along the full length of each burner tube. Weak or yellow flame on first fire usually means an orifice obstruction from shipping — kill the gas and clear with a thin wire before re-lighting.
Common mistakes
- Rushing the cart hardware torque sequence. Cart frames rack if you tighten one corner all the way before starting the opposite corner. Hand-tighten every bolt first, then torque in the sequence the manual specifies.
- Installing Quest as a replacement for a bigger grill. Quest cooks great for its cadence but it is not a TRL Pro at a lower price. If your cook rotation is sear-centric or weekly big-group grilling, Quest will underwhelm — that is a product-fit decision, not an install problem.
Hands-on tips
- If this is your first grill assembly, set aside an hour instead of 30 minutes. Reading the hardware bag by section and laying out each sub-assembly before torqueing anything prevents backtracking.
- Save every bolt and bag number from the cart assembly for 30 days. Summerset occasionally ships replacement hardware if a cart part was undersized at the factory — the bag numbers speed that conversation.
Questions people ask
Does Quest come with a cover?
Covers are sold separately and sized per model. Order a Summerset-branded fitted cover rather than a universal cover — fit matters for keeping moisture off the stainless.
Can I use Quest with natural gas?
Yes with the NG conversion kit sold through summersetgrills.com or authorized dealers. The conversion is a licensed-tech job — DIY NG conversions void the warranty.
Was this guide helpful?
Shopping for Summerset?
See Summerset products