Coyote Outdoor · Installation
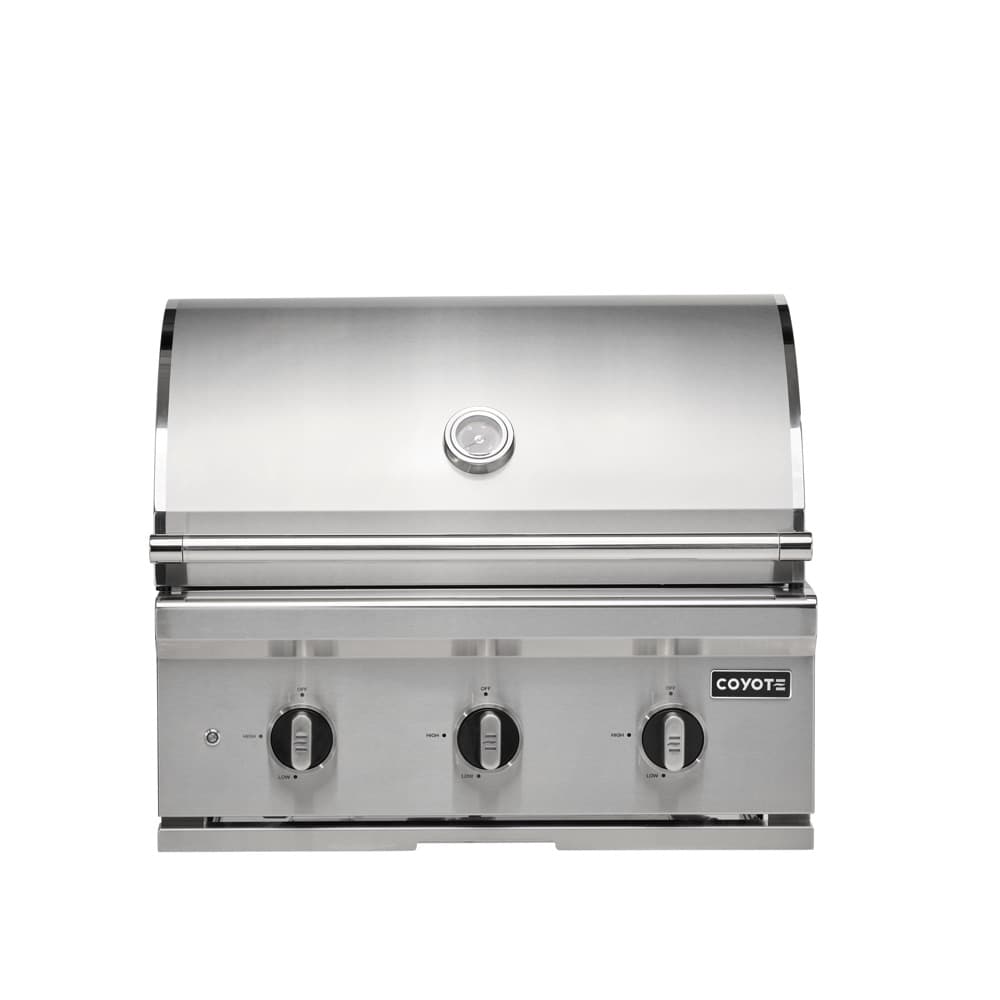
Coyote C-Series Built-In Installation Guide (C3C30, C3C34, C3C36)
The C-Series is Coyote's base built-in line with a stainless cook box, ceramic briquette tray, and either three or four tube burners. Cut the opening to the Coyote cutout spec exactly — oversized is worse than undersized because the mounting lip sits on the counter — run a dedicated gas line sized to the BTU load, and give the grill 24 to 48 hours of cure time after the first burn-off before cooking on it.
By Reed · Updated November 9, 2026
What you need
- Stud finder + level (dry-fit stage)
- Jigsaw or circular saw for the cutout
- Non-permanent marker for the cut lines
- Soap-and-water leak check (mandatory after gas hookup)
- Adjustable wrench for the LP/NG union
- Flexible stainless gas connector sized for your BTU rating
- Torque wrench (for the LP regulator POL fitting)
- Multimeter for the igniter battery check
C-Series Cutout Reference (confirm against your model manual)
- C3C30 cutout width
- 30 1/4 in (~768 mm)
- C3C34 cutout width
- 34 1/4 in (~870 mm)
- Cutout depth
- 22 1/2 in (~572 mm) typical
- Required rear clearance to combustible
- 0 in with insulated jacket; see manual for exposed combustible
- NG inlet pressure
- 7-11 in. WC
- LP inlet pressure
- 11-14 in. WC
- Total BTU draw (3-burner)
- ~75,000 BTU/hr
Step by step
Confirm the right manual for your exact model
C3C30 is the 30-inch 3-burner, C3C34 is the 34-inch, and 36-inch variants are also in play. The cutout dimensions, mounting-tab locations, and BTU draw change per model. Pull the specific install guide PDF for your SKU from coyoteoutdoor.com (or your authorized dealer paperwork) before you mark a single cut.
Dry-fit the grill head in the surround
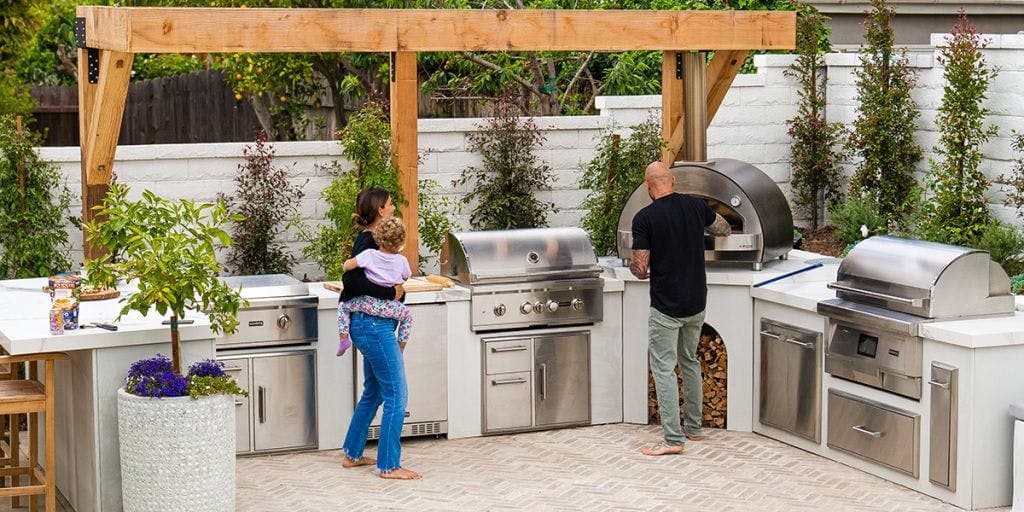
With two people, lower the grill head into the rough opening and confirm the mounting lip sits flat on the counter all the way around. The grill should not teeter, and the control-panel face should be flush with the front stone or stucco veneer. If a corner is high, grind the counter down a hair rather than shimming the grill up.
Run the gas line to a shutoff inside the enclosure
A dedicated ball-valve shutoff inside the surround, within arm's reach of the grill, is required by most local codes and is a very good idea regardless. Size the line so the measured gas pressure at the grill inlet meets the 11 inches water column spec for NG or 11 inches for LP (both in the manual). Longer runs want the next pipe size up.
Connect the regulator and burners to the gas line
LP models arrive with the POL fitting ready to thread onto a tank; NG models arrive with a pre-installed NG regulator. Thread, tighten to spec (hand-tight plus one wrench turn is close; follow the torque chart in the manual), then open the valve 10% and spray every joint with soap-and-water.
Install the drip tray, briquettes, and grates in order
Drip tray goes in first (under the burners), then the ceramic briquette tray on the heat-control rails above the burners, then the cooking grates on top. Confirm the briquette tray is seated flat — a canted tray channels grease to one side and causes uneven heat the first cook.
Run a 30-minute burn-off on high before the first meal
Open the lid, light all burners, run on high for 30 minutes to burn off manufacturing residue on the stainless. Expect smoke and possibly a chemical smell — that's normal. After cooldown, brush the grates and wipe the interior with a damp rag. The grill is ready.
Common mistakes
- Skipping the cutout spec in favor of eyeballing. The mounting lip tolerance is tight. An undersize cut forces the lip to ride uneven; an oversize cut drops the grill through. Measure, mark, and cut per the specific-model PDF — don't freehand.
- Using a yellow-brass gas fitting with an LP line. LP corrodes brass connectors over time. Use rated stainless or coated fittings specified in the Coyote manual; a cheap big-box fitting is a leak waiting to happen.
- Putting the briquette tray in upside down. The ceramic briquettes have a correct orientation — raised facets up. Upside-down concentrates heat and pits the tray within a season.
Hands-on tips
- Snap a photo of the stud layout behind the surround before you close the veneer — future service calls will thank you.
- Leave a slip ring on the gas line at the shutoff. Future tank swaps or NG service don't require pulling the whole grill.
- Pre-wire an outlet inside the enclosure for an optional rotisserie motor, even if you aren't buying the kit today. Retrofit power runs are a nightmare.
- If you cut into a stone veneer, mist the cut with water and go slow with a diamond blade. Dry-cutting granite chips the face and kicks silica dust.
Questions people ask
Do I need a licensed installer for a Coyote built-in?
For the gas hookup, yes, in most jurisdictions. For the physical drop-in of the grill head and the briquette/grate install, a competent DIY is fine. The gas side is where codes and insurance care.
What is the minimum rear clearance to combustibles?
The built-in cutout assumes a non-combustible surround (stucco, stone, metal-clad). If your frame is wood, you need the Coyote insulated jacket to maintain zero-clearance rating. Exposed-wood installations without the jacket are not code-approved.
Can I convert LP to NG after install?
Yes, with the Gen-2 LP-to-NG conversion kit (see the LP/NG conversion guide). The burners, orifices, and regulator all swap, and the process takes an hour.
Why is my new grill smoking on the first burn?
That's factory residue — mineral oil on the stainless, trace manufacturing lubricants, and bag-off dust on the briquettes. The 30-minute burn-off clears it. After that, any smoke on empty is a sign to look at drip-tray buildup.
Was this guide helpful?
Shopping for Coyote Outdoor?
See Coyote Outdoor products