Bull BBQ · Fuel & Conversion
How to Convert a Bull BBQ Grill from LP to NG
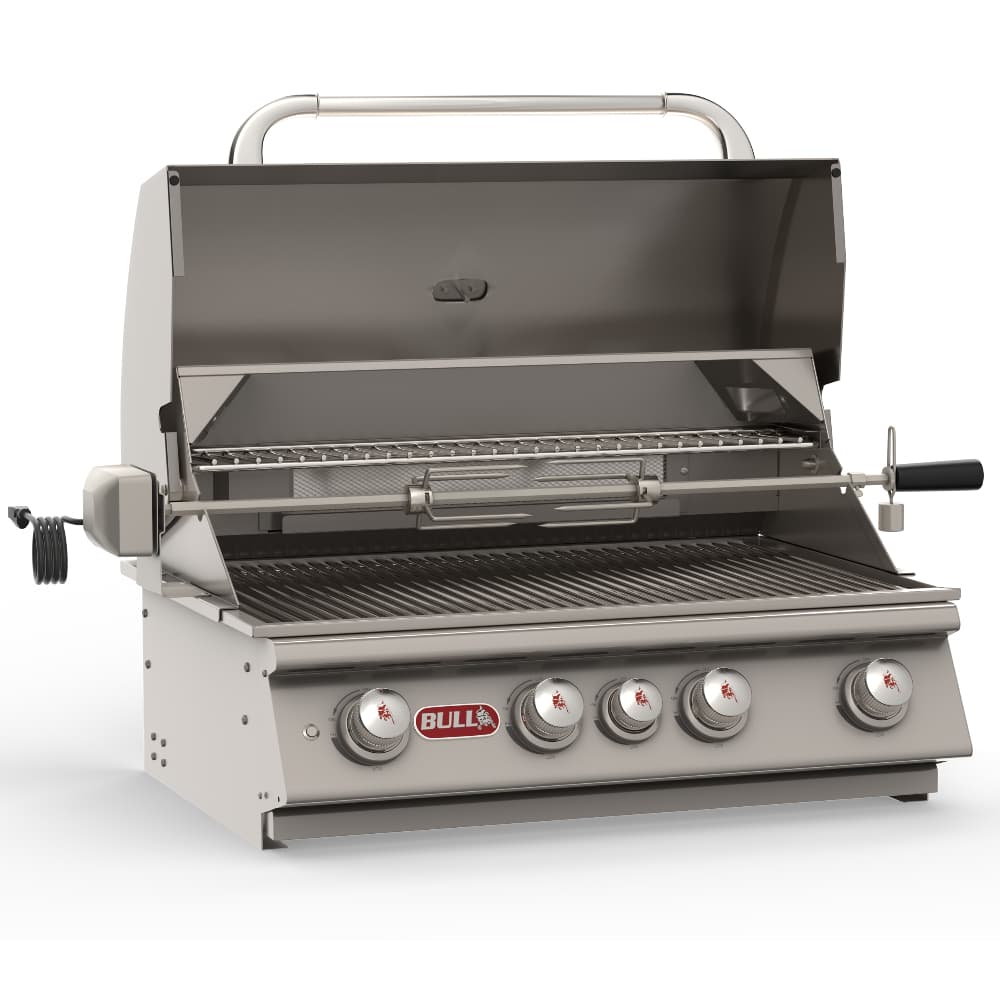
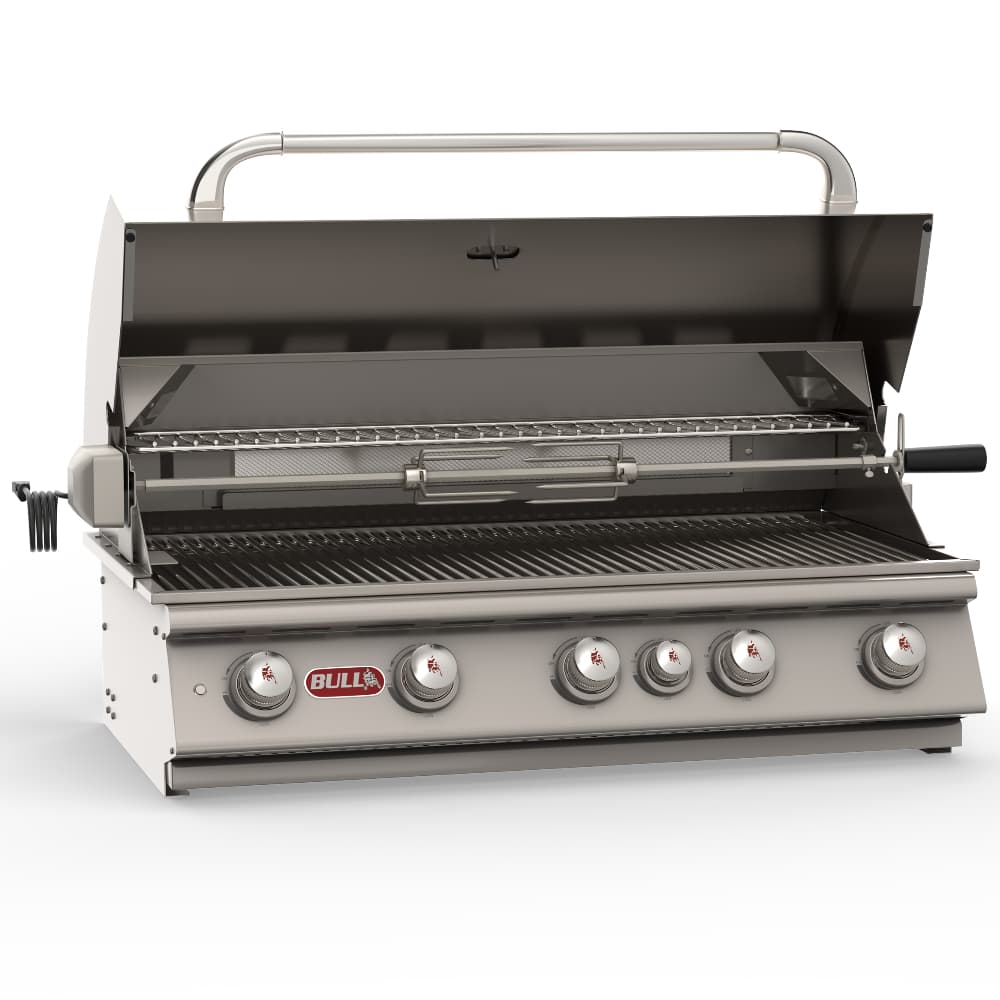
Bull sells a model-specific conversion kit (new orifices + NG regulator) for the Angus, Brahma, Outlaw, Lonestar, and Steer. The swap takes 45-60 minutes with a crescent wrench. A licensed gas fitter should finalize the NG line connection.
By Reed · Updated November 8, 2026
What you need
- Bull LP-to-NG conversion kit (model-matched)
- Crescent wrench
- Phillips driver
- Teflon tape (yellow, gas-rated)
- Soapy water for leak test
- Safety glasses
LP to NG Conversion Facts
- NG pressure (US residential)
- ~4" water column
- LP pressure (US residential)
- ~11" water column
- NG orifice size (vs LP)
- Larger (more flow for lower pressure)
- Conversion warranty impact
- Covered if Bull kit used; voided if aftermarket
Step by step
Order the correct conversion kit for your model
Bull's kits are MODEL-SPECIFIC — Angus and Brahma kits are different because the burner BTU is different. Ordering the wrong kit = wrong orifices = dangerous over- or under-flow. Confirm your model number before ordering.
Disconnect gas + remove the regulator
Close the LP tank valve. Disconnect the regulator from the tank + from the grill's gas manifold. Set aside — you'll install the new NG regulator in step 7.
Remove grates, flame tamers, and burner tubes
Full access to the valve-end orifices requires clearing the cook box. Keep track of which tube goes to which valve for reassembly.
Swap each orifice
At the end of each burner tube (facing the valve), there's a brass orifice screwed into the manifold. Remove each with a crescent wrench + replace with the new NG orifice from the kit. NG orifices are LARGER than LP orifices because NG has lower pressure.
Install the new NG regulator
The NG regulator from the kit screws onto the gas manifold where the LP regulator was. Use yellow gas-rated Teflon tape on the threaded joint.
Reinstall burner tubes + flame tamers + grates
Reverse the removal sequence. Each burner tube goes back on its original valve.
Connect to NG supply + leak-test
The final NG line connection — from the house NG supply to the grill's regulator — should be done by a licensed gas fitter. Many municipalities require a permit for NG-line work. Once connected, spray every joint with soapy water + verify no bubbles.
First fire-up and flame check
Light each burner on high. Flames should be blue with minor yellow tips — same as LP, because the orifice swap kept the burner-tube flow correct. If flames are yellow + sooty, the orifices are wrong (double-check the kit matches your model).
Common mistakes
- Skipping the regulator swap. LP and NG regulators are NOT interchangeable. The pressure differential is 3x. Using LP regulator on NG = flame will not light. Using NG regulator on LP = dangerous over-flow.
- DIY'ing the final NG line hookup. Many US municipalities require a licensed gas fitter + permit for NG-line work. Skipping this voids homeowner insurance in the event of a gas incident.
- Not photographing the before-state. If the conversion goes wrong, you need to know what the original orifices looked like to reverse. Photos save time.
Hands-on tips
- Save the LP orifices + regulator in a labeled bag — if you ever move the grill to a property without NG, the conversion back is identical in reverse.
- Call your gas utility BEFORE buying the kit — some require a dedicated outdoor gas stub for grills. Installing the kit without that stub means you're doing the conversion twice.
Questions people ask
Can I convert NG back to LP?
Yes — Bull sells NG-to-LP kits too. Same procedure in reverse. Keep the original hardware if you think you'll need to convert back.
Does conversion void my warranty?
Using Bull's OEM kit, no — conversion is a supported use case. Using aftermarket kits voids the burner + cook box warranty.
Can I do this with just the orifices and keep the LP regulator?
No. The regulator pressure differs — you MUST swap both. Running NG through an LP regulator won't produce a stable flame.
Was this guide helpful?
Shopping for Bull BBQ?
See Bull BBQ products