Coyote Outdoor · Installation
Coyote SL-Series Built-In Installation Guide (C3SL30, C3SL36, C3SL42)
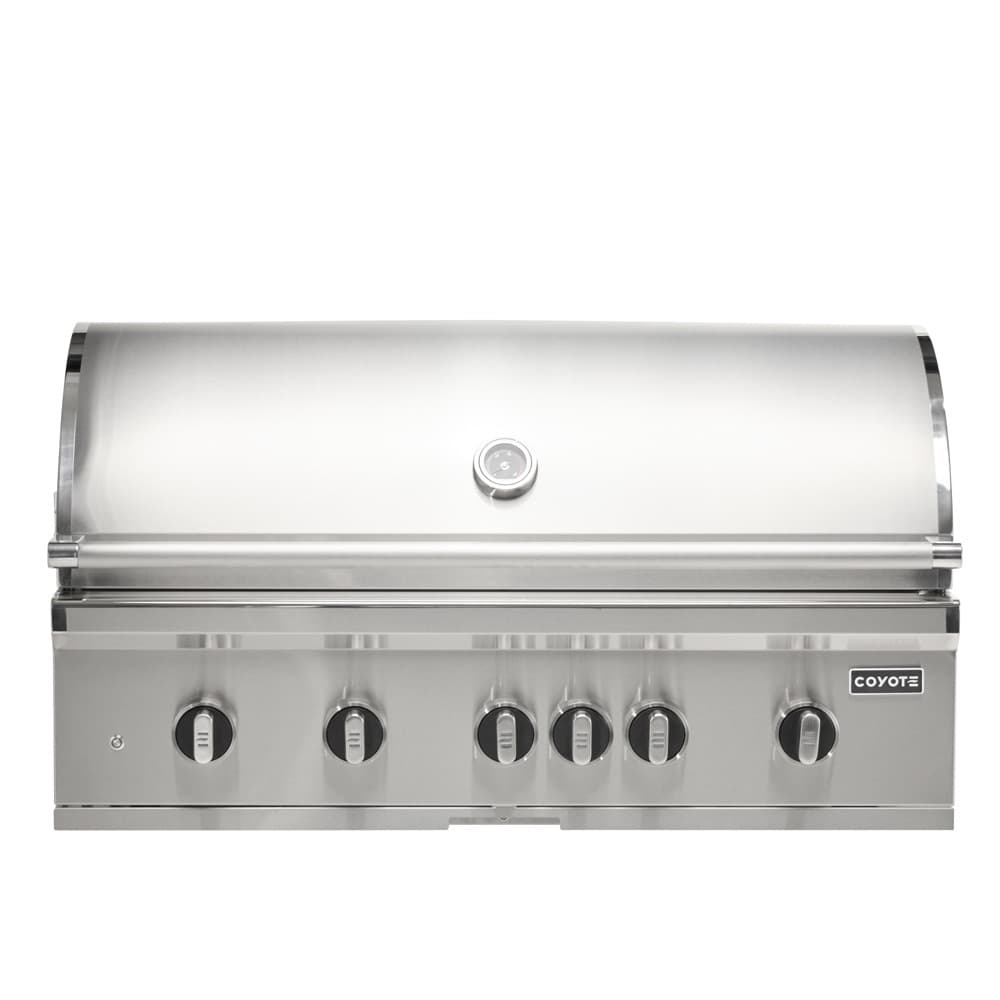
The SL-Series adds Coyote's RapidSear rear infrared burner and a factory rotisserie motor + spit on top of the CL-Series hardware. Install follows the same drop-in path with two extras: the RapidSear ceramic emitter needs 30 minutes of cure cycle before first use, and the rotisserie motor mount brings its own 110V power requirement in the enclosure.
By Reed · Updated November 9, 2026
What you need
- Standard CL-Series install tools
- GFCI-protected 110V outlet inside the enclosure (for rotisserie motor)
- Cable clips to dress the motor cord
Step by step
Pre-wire a 110V outlet inside the enclosure
The rotisserie motor plugs into a standard 110V. A GFCI-protected outlet inside the surround, within 36 inches of the motor mount, keeps the cord short and tidy. Install this BEFORE you drop the grill head — reaching into the cavity later is awkward.
Follow the standard C-Series / CL-Series drop-in
Cutout, dry-fit, gas routing, leak test — same process as the CL-Series install guide. The SL hood is lift-assist too, so confirm pivot clearance.
Install the RapidSear emitter and confirm seating
The ceramic emitter slides into a rear channel and clicks into place. If it rocks, something is misaligned — pull it and reseat. A cracked emitter is a $100-ish replacement and the main reason SL-Series installs fail acceptance.
Mount the rotisserie spit and motor
The motor mounts to the right-side rail; the spit drops into the bearing cradles. Dry-run the motor with no meat attached — it should spin freely without drag. If it drags, the spit is not level — adjust the mount.
First burn with the RapidSear active
Run the main burners on high for 15 minutes, then light the RapidSear for a separate 15-minute cure. The emitter will glow red in about 60 seconds — that's expected. Smoke during the cure is factory residue burning off.
Common mistakes
- No power in the enclosure for the rotisserie. The motor needs 110V. Post-install retrofits mean pulling the grill, chasing a cord down the wall, and re-opening the counter. Pre-wire it.
- Lighting the RapidSear on the first-ever burn before the main burners. The cavity needs a pre-warm before the ceramic emitter gets hit with direct ignition. Follow the burn sequence in the manual.
Hands-on tips
- Keep a dedicated wire brush for the RapidSear's protective grate. Mixing with the main grate brush shortens both their lives.
- The SL rotisserie is heaviest at the center. Balance the spit with the counterweight that ships with it or large roasts wobble.
Questions people ask
Is the RapidSear the same as other infrared burners?
RapidSear is a ceramic-emitter design — technically a close relative of IR tube burners like Weber's SearStation or TEC's primary infrared, but tuned specifically for rear-sear duty. It reaches sear temperature in under 90 seconds and throws heat in a narrow upward cone.
Can I use the rotisserie and main burners at the same time?
Yes. Run the rotisserie on the rear infrared only, keep the main tube burners on low, and let the drip tray catch the run-off. Classic reverse-sear setup.
What about a cover for an outdoor SL-Series?
Coyote publishes a model-specific cover for each SL-Series size. Generic covers don't fit the lift-assist hood and the rotisserie spit cradle.
Was this guide helpful?
Shopping for Coyote Outdoor?
See Coyote Outdoor products