How to Winterize a Gas Fire Pit: Step-by-Step for Natural Gas and Propane
By Rob · Published October 2026
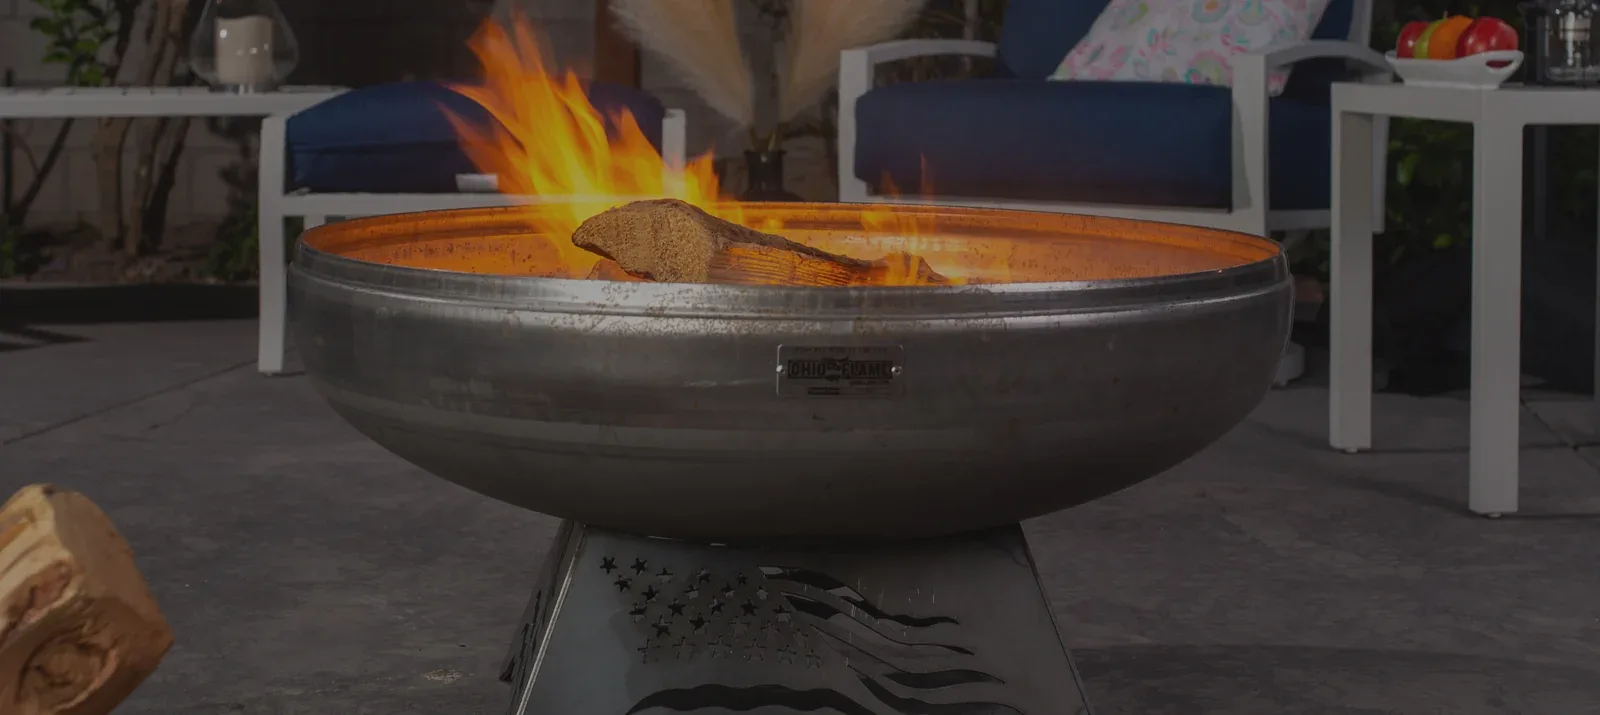
Winterizing a gas fire pit is a 30-45 minute weekend job that prevents the three failure modes we see every spring — cracked burner trays, corroded ignition modules, and shattered fire glass. Here's the full procedure, with the differences between natural gas and propane called out explicitly.
A gas fire pit is a durable piece of outdoor hardware, but it has a short list of components that fail in predictable ways when they sit through four months of freezing temperatures without preparation. The three we see most often: a burner tray cracked by water that pooled, froze, and expanded; an ignition module corroded by moisture inside its junction box; and fire glass or lava rock that absorbed water, froze, and either shattered or clumped into a mess that takes an hour to clean out of the burner pan.
All three are preventable. The full winterizing procedure takes 30-45 minutes, requires nothing more exotic than a vacuum, a dry rag, and (on propane setups) a 15/16" wrench for the tank fitting. Do it once in late October or early November — before the first hard freeze — and the pit lights reliably in spring without a service call.
Below is the step-by-step we walk customers through. It covers both natural gas and propane setups, with the key differences flagged inline. If you have a wood-burning fire pit instead of gas, this isn't the right article — wood pits need ash removal and a cover, not the full gas-system procedure.
Before You Start: Pick a Dry Day
Winterize on a dry day with the fire pit cool to the touch. Wet weather defeats the purpose of drying the burner pan, and a warm pit means recent combustion residue that hasn't fully cooled. Mid-morning on a sunny day in the 50s or 60s is ideal — cool enough that the pit is safe, warm enough that any residual moisture evaporates while you work.
Gather your tools before you start. For most pits you need: a shop vacuum or hand vacuum, a stiff nylon brush (not metal — metal brushes score the burner), several dry microfiber or shop rags, a soft paintbrush for delicate parts, and a quality fitted cover (buy ahead if you don't already have one). For propane setups add a 15/16" or adjustable wrench for the tank fitting and heavy work gloves.
Step 1: Shut Off the Gas Supply
Natural gas:locate the dedicated shutoff valve on the gas line serving the fire pit. On a properly installed natural-gas fire pit this valve lives in a weatherproof box set into the deck or patio nearby, or in a key-valve housing recessed into the pit's base. Turn the valve perpendicular to the pipe — a quarter turn — to close. Then open the fire pit's own control valve for 30 seconds to bleed any residual gas out of the line between the shutoff and the burner, then close the control valve. The burner should not ignite because the upstream supply is shut off.
Propane:close the tank's own valve first (clockwise, hand-tight — don't force it). Then open the fire pit's control valve for 30 seconds to burn off residual gas in the hose and regulator, then close it. Finally, use your wrench to disconnect the regulator from the tank. Lift the tank out of the pit's base storage compartment and move it to its winter storage location.
Step 2: Remove and Clean the Media
Lift out the fire glass, lava rock, or ceramic logs covering the burner. Use a dustpan and brush to transfer glass or rock to a clean 5-gallon bucket — you'll either reuse it in spring (glass) or replace it (lava rock, every 3-5 years).
Rinse glass media in warm water with a drop of dish soap, dry it fully in the sun or with a towel, and store the bucket indoors with a lid. Glass that sits damp through winter can grow a mild surface haze that doesn't affect function but looks dull on first light-up in spring. Lava rock inspection: if more than a quarter of the pieces have crumbled into grit or are breaking apart in your hands, buy fresh for spring. Ceramic logs: a soft paintbrush removes dust; they rarely need replacement until the ceramic itself starts cracking.
Step 3: Clean the Burner
With the media out, you can see the burner clearly. Vacuum any debris out of the burner pan — leaves, insect nests, accumulated soot. Then use the nylon brush to scrub the top of the burner tubing, paying attention to the small gas-port holes along the top edge. Those ports clog over a season from dust, insect activity, or soot buildup; a clogged port means a dead-flame spot in your flame pattern next spring.
If a port is stubborn, a toothpick or thin pipe cleaner works — never drill or ream the port with a metal tool. The port diameter is calibrated to the gas pressure and burner design; enlarging it changes the flame character and can create unsafe combustion.
For a stainless burner, a wipe with a damp microfiber removes most surface soot. For a brass burner, let patina develop — brass oxidizes to a dull gold color that doesn't affect function and that most owners prefer aesthetically. Resist the urge to polish; polished brass under flame heat-cycles unevenly.
Step 4: Dry the Burner Pan Completely
This is the critical step. Any water left in the burner pan freezes, expands, and either cracks the pan itself or deforms it enough that burner alignment drifts. A pan cracked by freeze expansion is a warranty-void failure on most brands and a $200-500 repair.
Confirm the pan's drain hole is clear by pouring a cup of water in and watching it drain through to the ground below. If it doesn't drain, clear the hole with a wire or pipe cleaner. Then wipe the pan completely dry with microfiber. Let it air out for 15-20 minutes before the next step to be sure.
Step 5: Protect the Ignition System
Locate the ignition module — on most modern pits it's in a sealed junction box mounted inside the pit's base, accessible through a service door. Open the junction box and check that the gasket seal is intact (replace if cracked or missing — manufacturer sells gaskets for $5-15). Confirm the box is dry inside; wipe with a dry rag if there's any moisture.
If your pit has a battery-powered electronic ignition, remove the batteries for winter and store them indoors. Dead batteries left in a junction box over winter corrode and can damage the module contacts. Fresh batteries in spring are cheaper than a $200 ignition module.
For electronic ignition pits on hardwired power, confirm the GFCI serving the pit is functioning — press test, press reset. A tripped GFCI through winter isn't a problem; a GFCI stuck closed when it shouldn't be is.
Step 6: Cover the Pit
Install a fitted cover sized specifically for your pit model. Generic tarps work in a pinch but tend to pool water, which drips through to the burner, which defeats most of the previous steps. A quality fitted cover from the pit's manufacturer runs $75-200 depending on model and extends the pit's lifespan by years.
Secure the cover with the built-in cinch straps or elastic hem. In high- wind areas (coastal, mountain, open-prairie), add two 20-30 lb weight bags on opposite sides to prevent the cover from lifting in a storm.
Natural Gas vs Propane: Winterizing Differences
The procedures above cover both, with these specific differences:
Natural gas setupshave fewer moving parts — no tank to move, no regulator to disconnect, no hose fittings to check. The gas line is permanent and buried below frost line (per NFPA 54 and local code), so freeze isn't a concern there. Your winterizing is mostly about the pit itself: shutoff, cleaning, drying, covering.
Propane setups add the tank handling and the hose + regulator inspection. Each spring before first use, inspect the regulator for corrosion and the hose for cracks, UV damage, or rodent chew marks. Replace either if damaged — both are $20-40 parts available from any propane supplier or hardware store, and both are the common cause of first-light-of-spring gas leaks.
Spring Startup: What to Check Before First Light
When you're ready to use the pit again in spring, don't just pull the cover and light it. Do a quick five-minute check:
Visually inspect the burner pan and tubing for rodent nest material (common in rural areas) or insect nests. Vacuum anything you find. Confirm the drain hole is still clear. Reinstall the media (fresh for lava rock, washed and dried for glass). Reinstall batteries if your ignition is battery-powered. Open the gas supply at the shutoff.
On the first light, listen for an even hiss from the burner before ignition — uneven hiss means a port is still blocked. Light with the burner at full open; let it run for 2-3 minutes to burn off any residual dust or spider webs you missed. The flame pattern should be even and yellow-tipped (for lava rock or logs) or blue-based with yellow tips (for glass). Dead spots in the flame pattern mean a port is clogged; shut off, let cool, clean that port, retry.
If the pit lights cleanly on first try with an even flame pattern, you're good for another season. If not, don't force it — the most common failure is still a port blockage, and a service tech can resolve most issues in under an hour.
When to Call a Technician Instead
Winterizing is DIY-friendly. These three things aren't: a gas leak at any fitting (you'll smell it; shut off supply immediately and call a licensed gas fitter), a cracked burner pan (replace the burner assembly before next use — don't try to patch), or a non-starting electronic ignition after you've replaced the batteries and confirmed the GFCI (the module is likely corroded through and needs replacement by someone who can match the specific part to your pit's brand and model).
For warranty-covered repairs, call the brand first before any third- party service — self-repairs can void coverage on specific components. For out-of-warranty service, any NFI-certified technician (National Fireplace Institute, nficertified.org) can handle gas fire pit service competently.
Frequently Asked Questions
Do I actually need to winterize a gas fire pit if I live somewhere mild?+
Can I leave a propane tank connected to my fire pit through winter?+
What happens if I forget to winterize?+
Should I remove fire glass or lava rock for winter?+
What's different about winterizing a built-in gas fire pit vs a freestanding one?+
Can I store my fire pit cover year-round or just winter?+
Reed — Reed writes the buying guides at BBQs.com — fifteen years selling and installing built-in grills means the picks here are what we'd actually put in our own outdoor kitchen.