How to Light a Gas Fire Pit (Match-Lit, Electronic, Plug-and-Play)
By Reed · Published October 2026
Updated October 2026. Lighting a gas fire pit takes about 30 seconds once you know which of the three ignition types you have — match-lit, battery-powered electronic, or plug-and-play 110V. The safety check before the first spark takes longer than the lighting itself. This walks all three ignition paths, calls out the exact failure modes we see on service calls, and tells you when to stop troubleshooting and call a licensed gas pro.
Short answer:open the gas supply valve, open the pit's control valve to its lowest setting, then trigger ignition. Match-lit means holding a long lighter at the burner edge. Electronic ignition means pressing and holding the piezo button for 5-10 seconds. Plug-and-play ignition means the same push-button cycle on a 110V module instead of a battery. First-light flame should be even, blue at the base with yellow tips, and settle into a clean steady pattern within thirty seconds. If it doesn't, stop. Troubleshoot. Do not keep cycling.
Most "my gas fire pit won't light" service calls we take trace back to one of four things, and three of those four you can fix yourself in a weekend afternoon. The fourth needs a licensed gas fitter and a manometer. This walks the full lighting procedure for all three ignition types we sell, calls out the gotchas we see, and tells you where to draw the DIY line.
Safety Check Before You Light Anything
Three checks, every single time, before the first spark. Not because it's overkill — because unburned natural gas or propane pooling in a fire pit cavity between failed ignition cycles is how patio fires start.
Gas supply at the source.Trace the line from the pit back to its source. On natural gas, that's the stub-out valve at the pit location — a 1/4-turn ball valve in a weatherproof box. On propane, that's the tank valve on your LP cylinder (hidden in the pit's base cabinet for a built-in table like the Outdoor Plus Regal 60). Valve handle parallel to the pipe = open. Perpendicular = closed. Confirm open before you touch the pit's control.
Lava rock placement.The media covers the burner tubing fully but does not bury it. Fill to the top of the tube, no higher — a buried burner starves for combustion air and either won't light, lights with weak yellow flames, or lights and dies in 30 seconds. Spread evenly, no bare patches, no deep piles. On propane pits, no media piece smaller than 1/2 inch; LP flows heavier than NG and small pieces create hot spots and ignition shadows.
Clearances and extinguisher.Ten feet minimum from any combustible structure (siding, deck post, pergola upright) per most municipal codes. A Class-B fire extinguisher within arm's reach — the household water bottle does not count against a gas fire. If a hose with a shutoff is closer, that works too, but not pointed directly at a burning gas flame; use it to cool surrounding combustibles if things go sideways.
Match-Lit Ignition Walkthrough
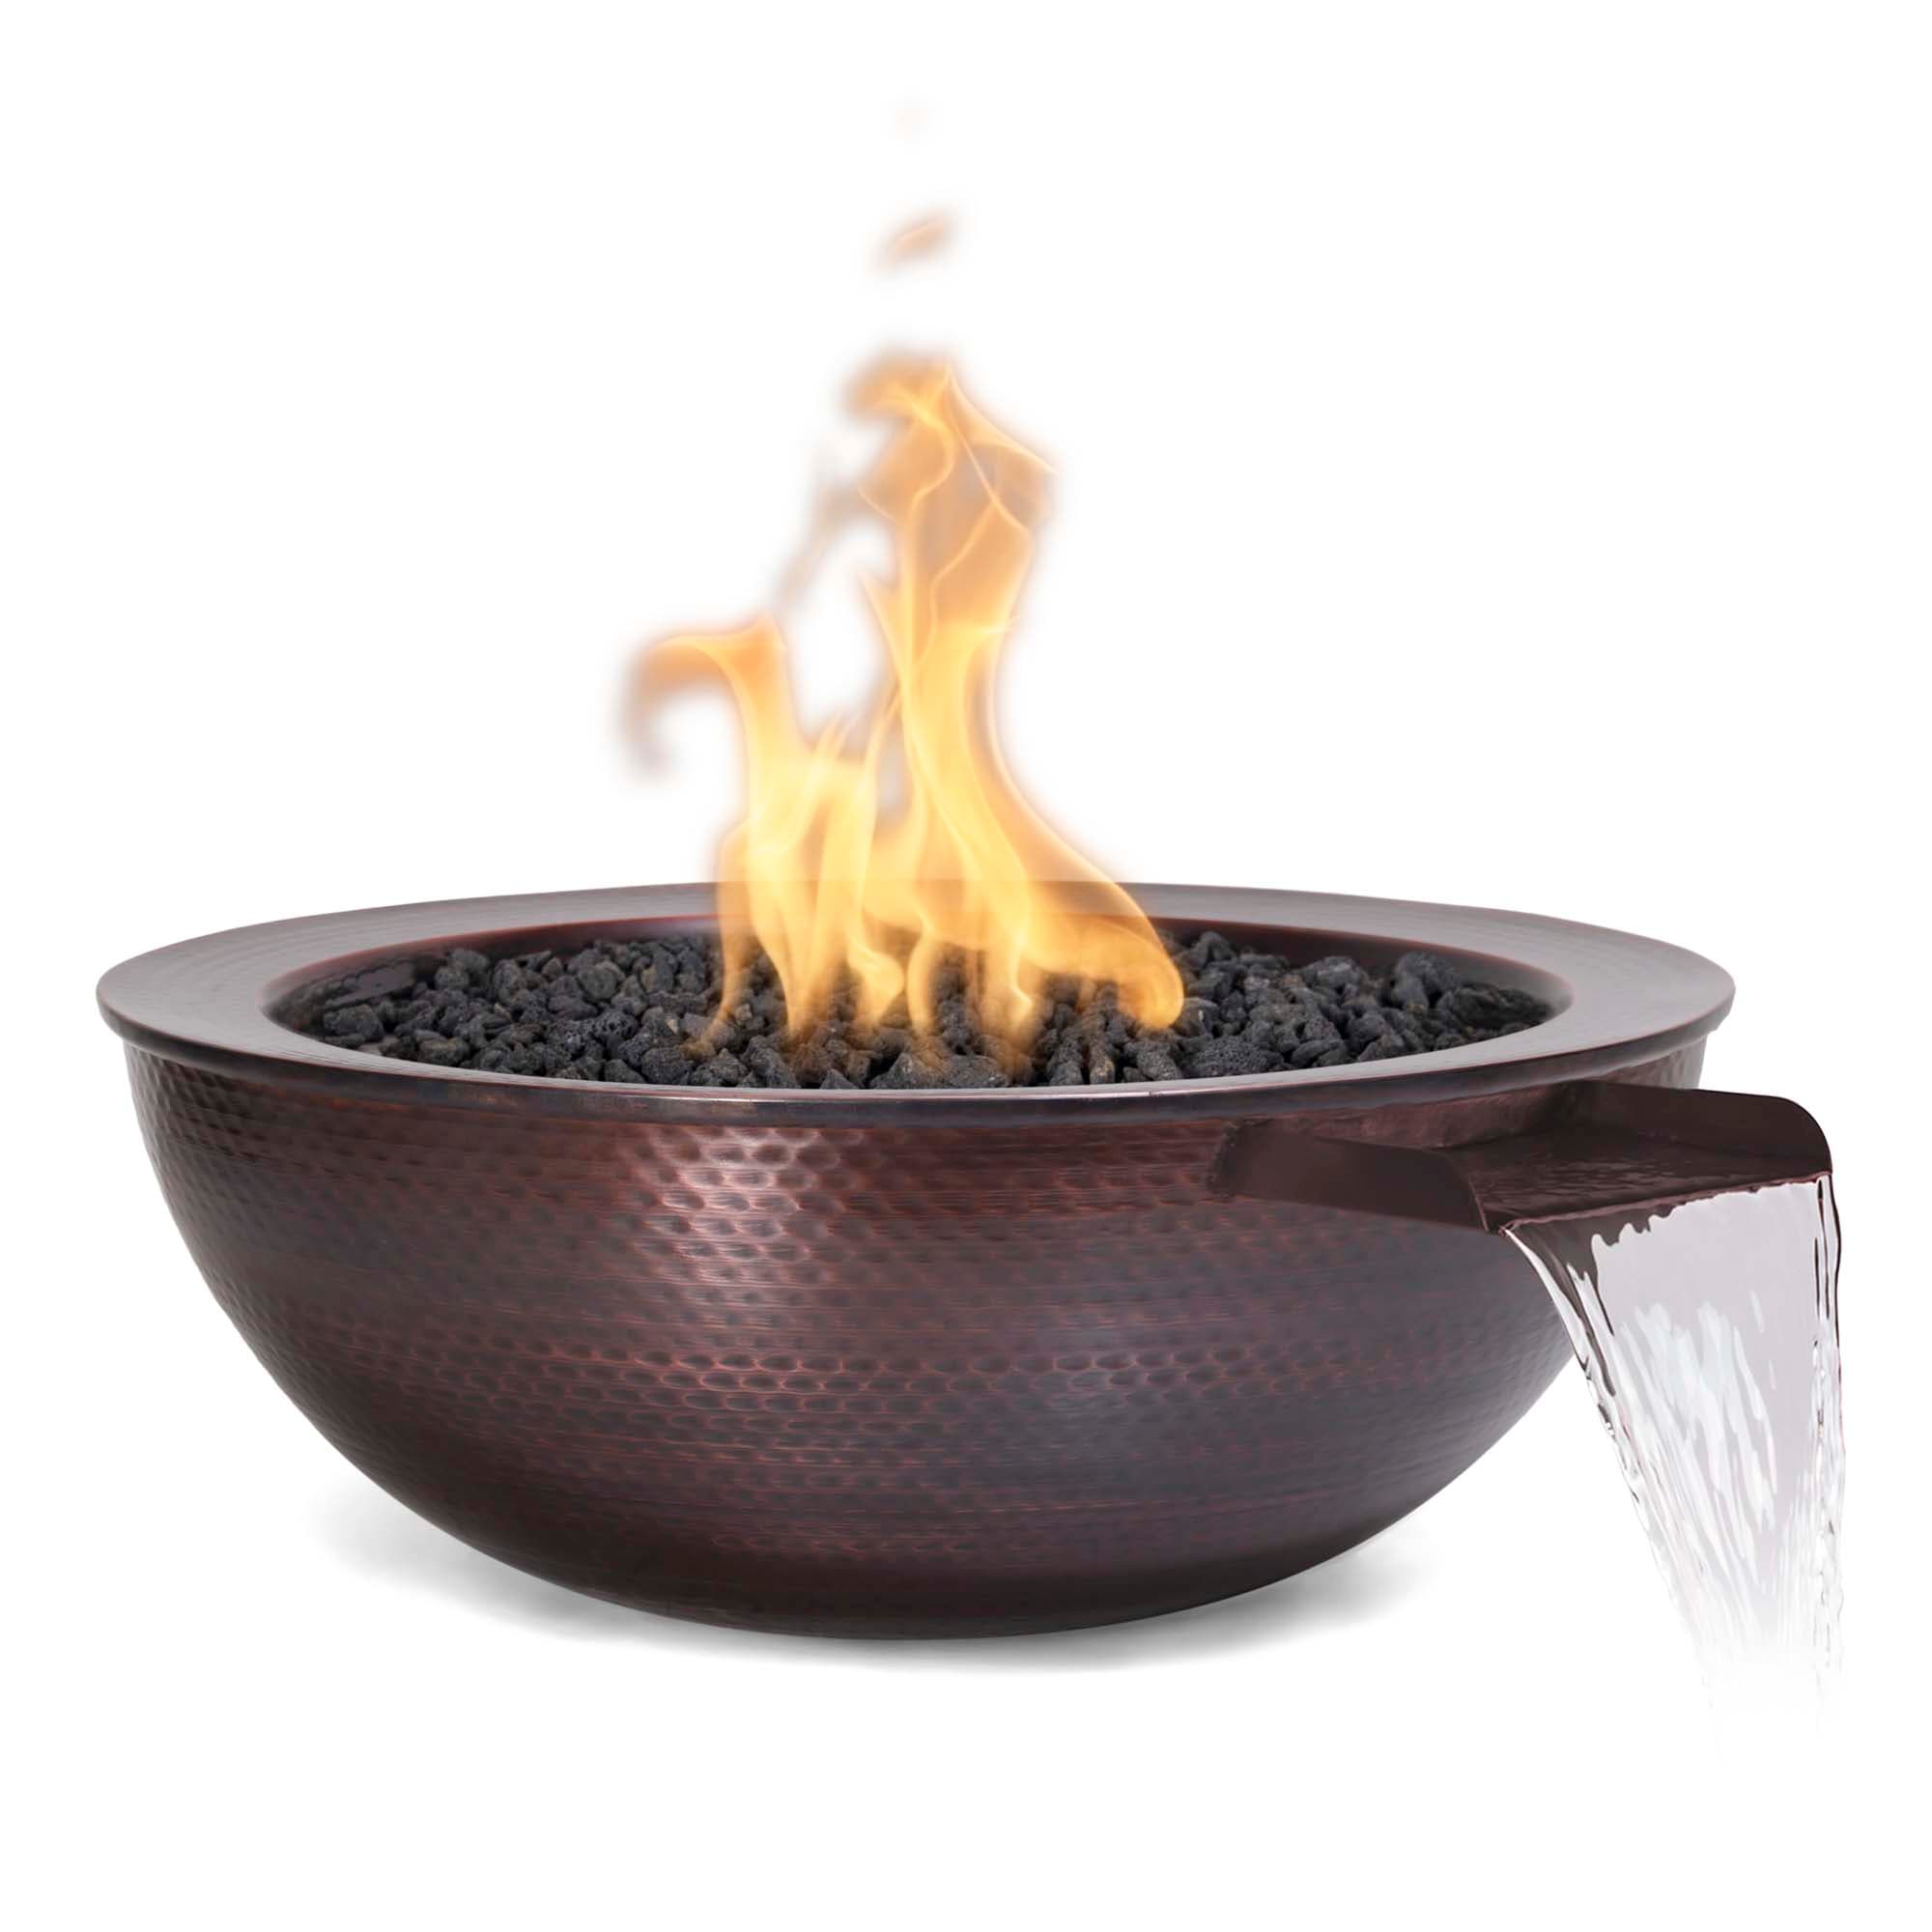
Match-lit is the oldest and simplest ignition type — a manual gas valve with a key, no spark source. You bring the flame. The Outdoor Plus Sedona 27 match-lit copper bowl is the archetype — one valve, one key, one lighter, done. The tradeoff: you have to be within arm's reach of a burning gas pit at the moment of ignition. For most homeowners that's totally fine. For nervous first-timers, electronic ignition is gentler.
The sequence.Hold a long-reach butane or BBQ lighter (not a short match — the stock photos are a lie) at the edge of the burner, flame already lit. With your other hand, insert the valve key and turn slowly to the lowest open position. The burner should catch within two seconds. Once lit, remove the lighter, then turn the key up to full output over about five seconds — slow enough to let the flame establish evenly across the burner, fast enough that you aren't standing there with gas flowing to a half-lit pit. Pull the key out. That's it.
If the burner doesn't catch within two seconds of the key going open, close the valve immediately, step back, let gas dissipate for 30 seconds, then try again. Repeated failed match-lit attempts without a dissipation pause pool gas in the pit cavity.
Electronic Ignition Walkthrough
Electronic ignition replaces the manual key with a battery-powered push-button that generates a spark at the burner. The Outdoor Plus Sedona 27 electronic ignition copper bowl and the larger Cazo 30 electronic ignition both use the same 9V-battery module. Press, hold, listen for the rapid clicking of the spark, wait for the burner to catch, release.
The sequence.Open the gas supply valve upstream. Press and hold the push-button igniter. You'll hear a rapid tick-tick-tick as the spark fires 10-15 times per second. Keep holding — the gas valve opens as part of the same button press, so the spark meets the gas within the first second or two. Flame catches, you release. Total time, about 5-10 seconds. If the pit hasn't caught by 10 seconds, release the button and wait 30 seconds before trying again.
The single most common electronic-ignition failure is a dead or weak 9V battery. Swap the battery first on any no-light service call. Second most common: a wet or corroded ignitor electrode after a wet winter. Wipe the electrode dry with a clean rag, retry. If it still won't spark, the module may need replacement — a $40 part most installers keep on hand.
Plug-and-Play 110V Ignition Walkthrough
Plug-and-play ignition is the premium option. Same push-button operation as electronic, but the spark module runs off a 110V outlet instead of a battery, which eliminates the dead-battery failure mode entirely. It also typically includes a thermocouple flame sensor that shuts the gas valve automatically if the flame blows out — a safety upgrade matched-lit and basic electronic pits don't have. The Outdoor Plus Regal 60 Corten steel plug-and-play is a representative example.
The sequence.Verify the 110V outlet feeding the pit is live and the pit's power switch is on. Open the gas supply valve. Press and hold the push-button igniter. The spark cycles continuously as long as you hold — unlike battery ignition, there's no spark-fatigue limit. Flame catches within 5 seconds for most installs; release the button. The thermocouple confirms flame and keeps the gas valve open. If the flame blows out (wind, cat jumps on the pit, kid pours a drink), the gas shuts off within a few seconds automatically.
Plug-and-play is the most reliable ignition type in wet, cold, or windy weather. It is also the only ignition type that fails completely when the power is out — which is why match-lit still has a loyal following in storm-prone regions.
Troubleshooting: Why Won't It Light?
Work upstream to downstream, every time. Guessing wastes afternoons.
No gas at the burner.Verify the house or tank shutoff is open. Verify the stub-out valve (NG) or tank valve (LP) at the pit is open. Verify any inline shutoffs between them are open. On a propane install, verify the tank isn't empty — a full 20-pound exchange cylinder weighs about 37 pounds; a shake- test tells you fast. On cold nights under 20°F, LP in a half-full tank boils off too slowly to feed a 65,000 BTU pit — upgrade to a larger tank or wait for warmer weather.
Gas is there, no spark.Match-lit: your lighter isn't reaching the burner — longer-reach lighter needed. Electronic: swap the 9V battery, wipe the electrode dry, retry. Plug-and-play: verify the outlet is live (GFCI tripped is the usual culprit after a rain), verify the pit's power switch is on, retry.
Spark and gas, no flame.The spark isn't reaching the gas — electrode is positioned too far from the burner after a cleaning, or an orifice is clogged with pipe scale, spider webs (yes, really — spiders love burner orifices in storage), or lava rock dust. Remove the media, inspect the burner tubing, blow out any debris, reset the media and retry.
Flame lights then dies in 30 seconds.On plug-and-play, the thermocouple isn't sensing flame — electrode bent out of position or thermocouple failing. On any ignition type, a buried burner starves within 30 seconds — pull media back off the tubing to the correct level. If the flame is small and blue and dies, supply pressure is too low; call a pro with a manometer.
When to Call a Pro
Four scenarios where you stop troubleshooting and call a licensed gas fitter:
You smell gas and can't locate the source. You've verified gas supply and the ignition system but the pit still won't catch after three attempts (unburned gas keeps pooling — stop). The flame pattern looks wrong at full output (big yellow sooty flames on NG, weak flames on LP, roaring sound, dead spots across the burner). Any part of the install looks newly damaged after a storm, impact, or rodent chew.
First-light tuning on a brand-new install is also a reasonable pro call — a gas fitter with a manometer verifies supply pressure at the burner inlet in ten minutes, which beats a weekend of guessing. If you're a contractor doing a client install, we support that through our pro program — PDF spec sheets, direct line for pre-install questions, and priority support when a commissioning hits a snag. Before you order, the full gas fire pit install walkthrough covers the plumbing side; the BTU guide covers how much heat you actually need; and the full Outdoor Plus brand page has every ignition variant we carry.
Frequently Asked Questions
How do you light a gas fire pit?+
Why won't my gas fire pit light?+
What's the difference between match-lit, electronic, and plug-and-play ignition on a gas fire pit?+
Do I need to put lava rock in a gas fire pit?+
Is it safe to light a gas fire pit on a windy day?+
When should I call a professional to light my gas fire pit?+
Products & brands in this guide
Related reading
Reed — Reed writes the buying guides at BBQs.com — fifteen years selling and installing built-in grills means the picks here are what we'd actually put in our own outdoor kitchen.